A while ago I wrote a blog on shooting a wedding with the Nikon D7200 and 18-140mm lens. I have found that I simply can’t follow the trend of shooting with prime lenses simply because they give that extra 5% of quality that nobody can see anyway. Granted, they give more control over depth of field but I’m one of those strange people who likes more depth of field, especially with weddings because generally the people want a lot in focus so they have a record of the day including the background and venue which they paid thousands of dollars for. A decent zoom lens provides much greater versatility for my style of shooting, a prime lens gives more versatility when it comes to low light but the last 3 weddings I videoed had more than enough light not to have to worry about it. There is also the added fact that longer lenses have the ability to ‘blur the background’ when needed which adds to the mix of photos, and video provided.
I had photographed a dozen weddings over the last 15 years and thought that video was too complicated. For beginners It’s easier to get a few good photos to show, to make it look like you’re a good photographer, than it is to produce a good video. BUT: Once you’ve learned enough about video it is MUCH easier to capture the emotions of the day than it is to do so in photographs. The movement and the audio add another two dimensions to the emotions of the day.
So my plan was to get into video, I advertised on the Facebook wedding groups that I would do a full wedding video, as a beginner [take what you get] for NZ$500 [about US$350]. I booked one wedding, then got contacted at the last minute by someone else whose “family were trapped by lockdowns due to covid” so they needed a video, then I saw a post about someone needing a 2 hour video done [after the first wedding I did]. With the first wedding I got a bit squeezed into the mold of using “primes or a fast zoom” so got the Panasonic 12-35mm f2.8 and reasoned that I could use the “EX Tele” setting to multiply that by 2.7 when needed [using the centre of the sensor for HD video] resulting in almost having a 24-200mm f2.8 at the press of a button. I was reasonably happy with the results but still felt too restricted by the zoom range plus the fact that in the EX-tele mode the autofocus was unreliable, possibly because it was using less of the frame to focus with[?].
So I returned to the 14-140mm [28-280 equivalent] which is my favourite walkabout lens. Something I’ve taken a while to learn: - don’t be forced to use lenses that someone else says you should use, shoot with what you enjoy shooting with. Today’s software fixes so many lens issues that you can easily use kit lenses for important shoots. I use dxo-PL4 for editing photos and as you open the RAW files you can see the software correct distortion for you.
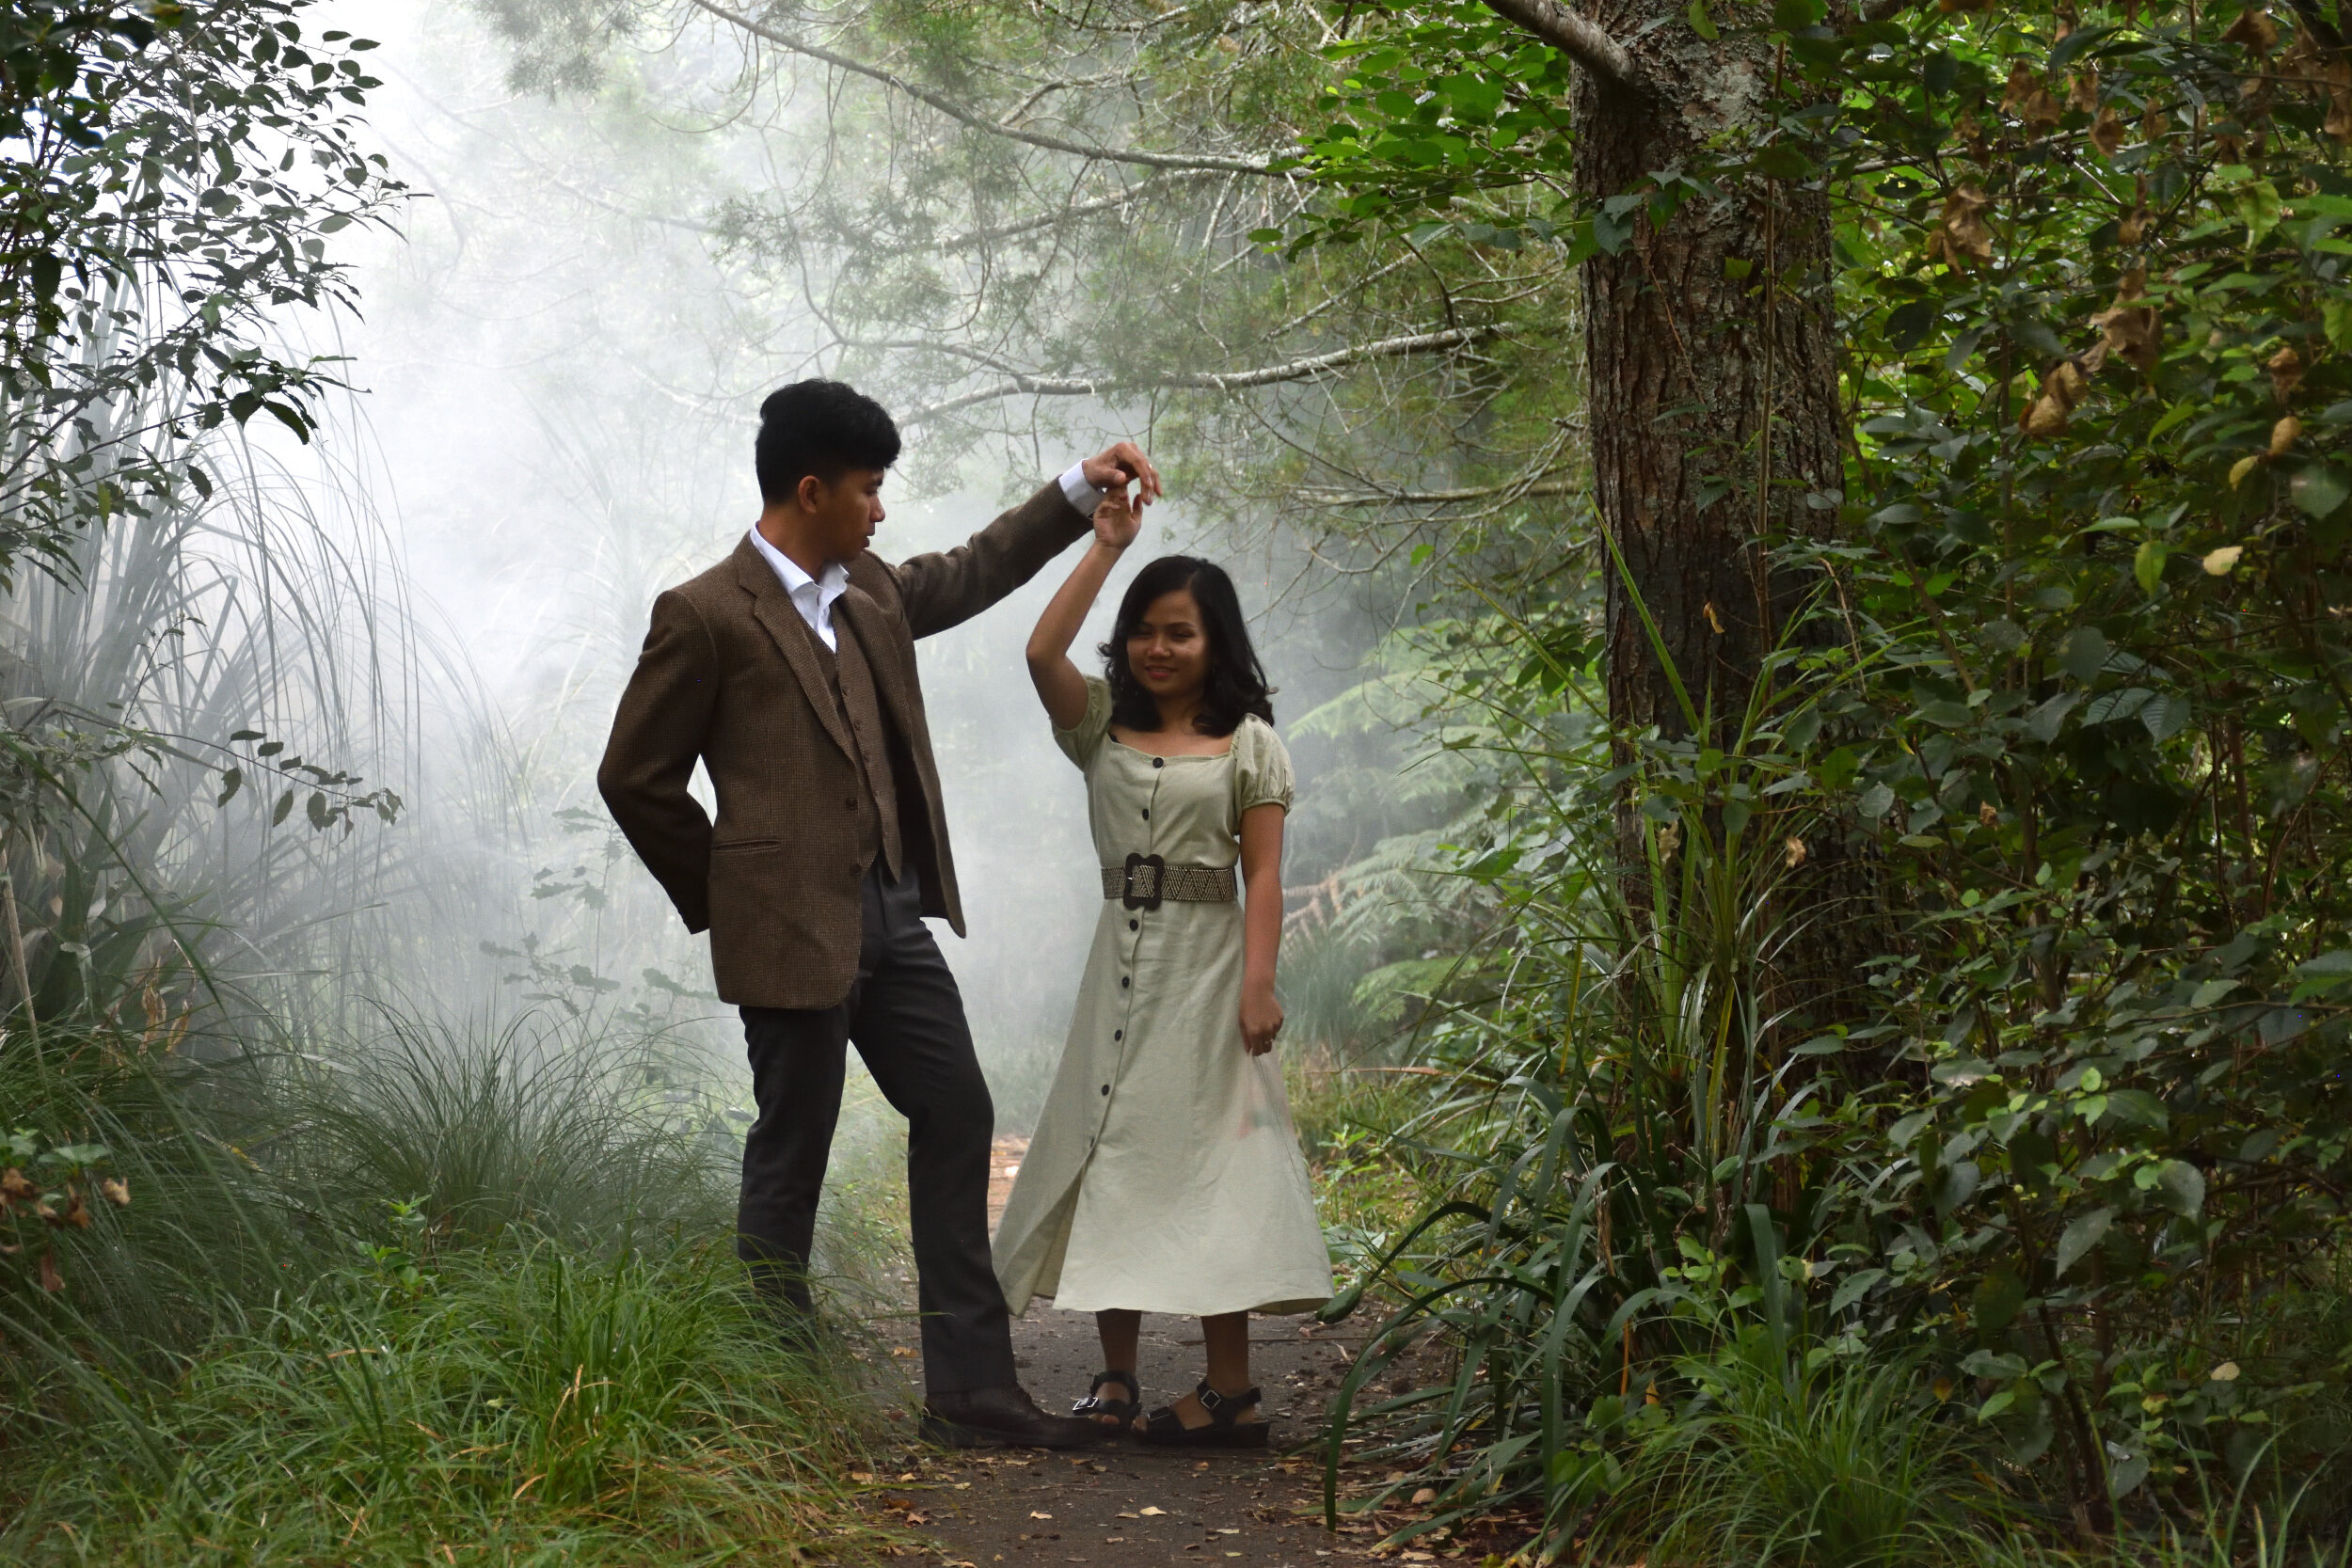
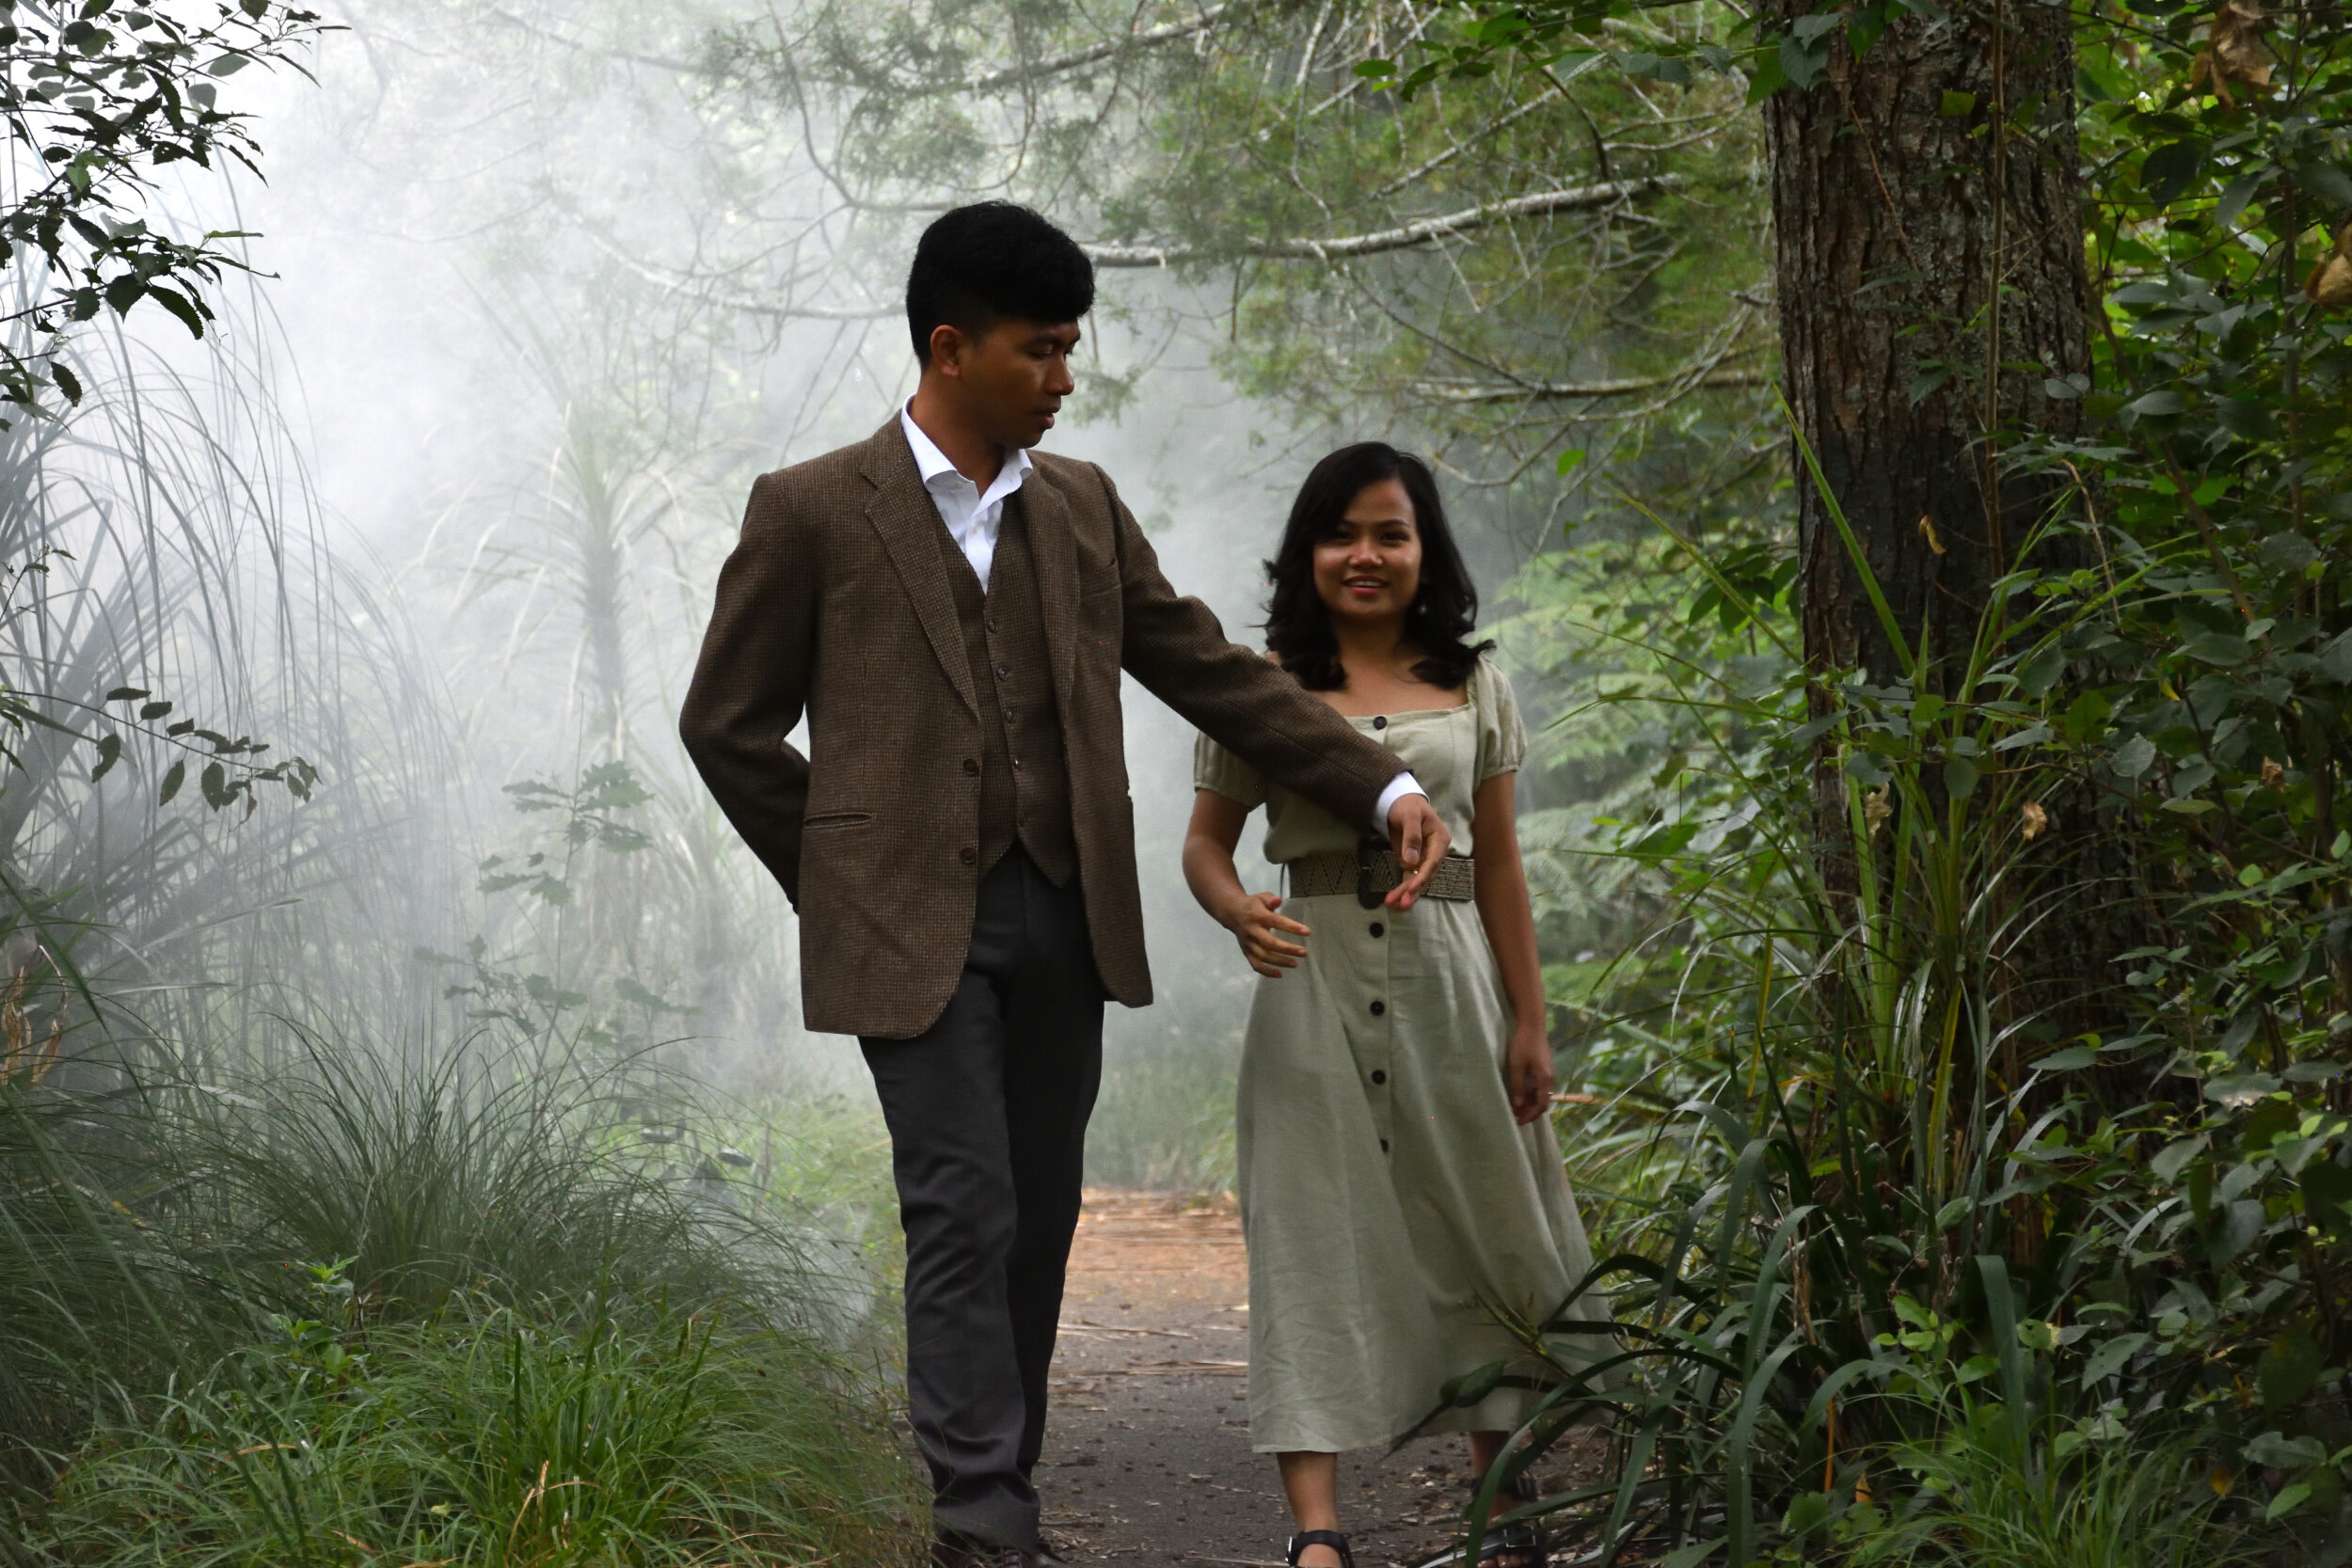
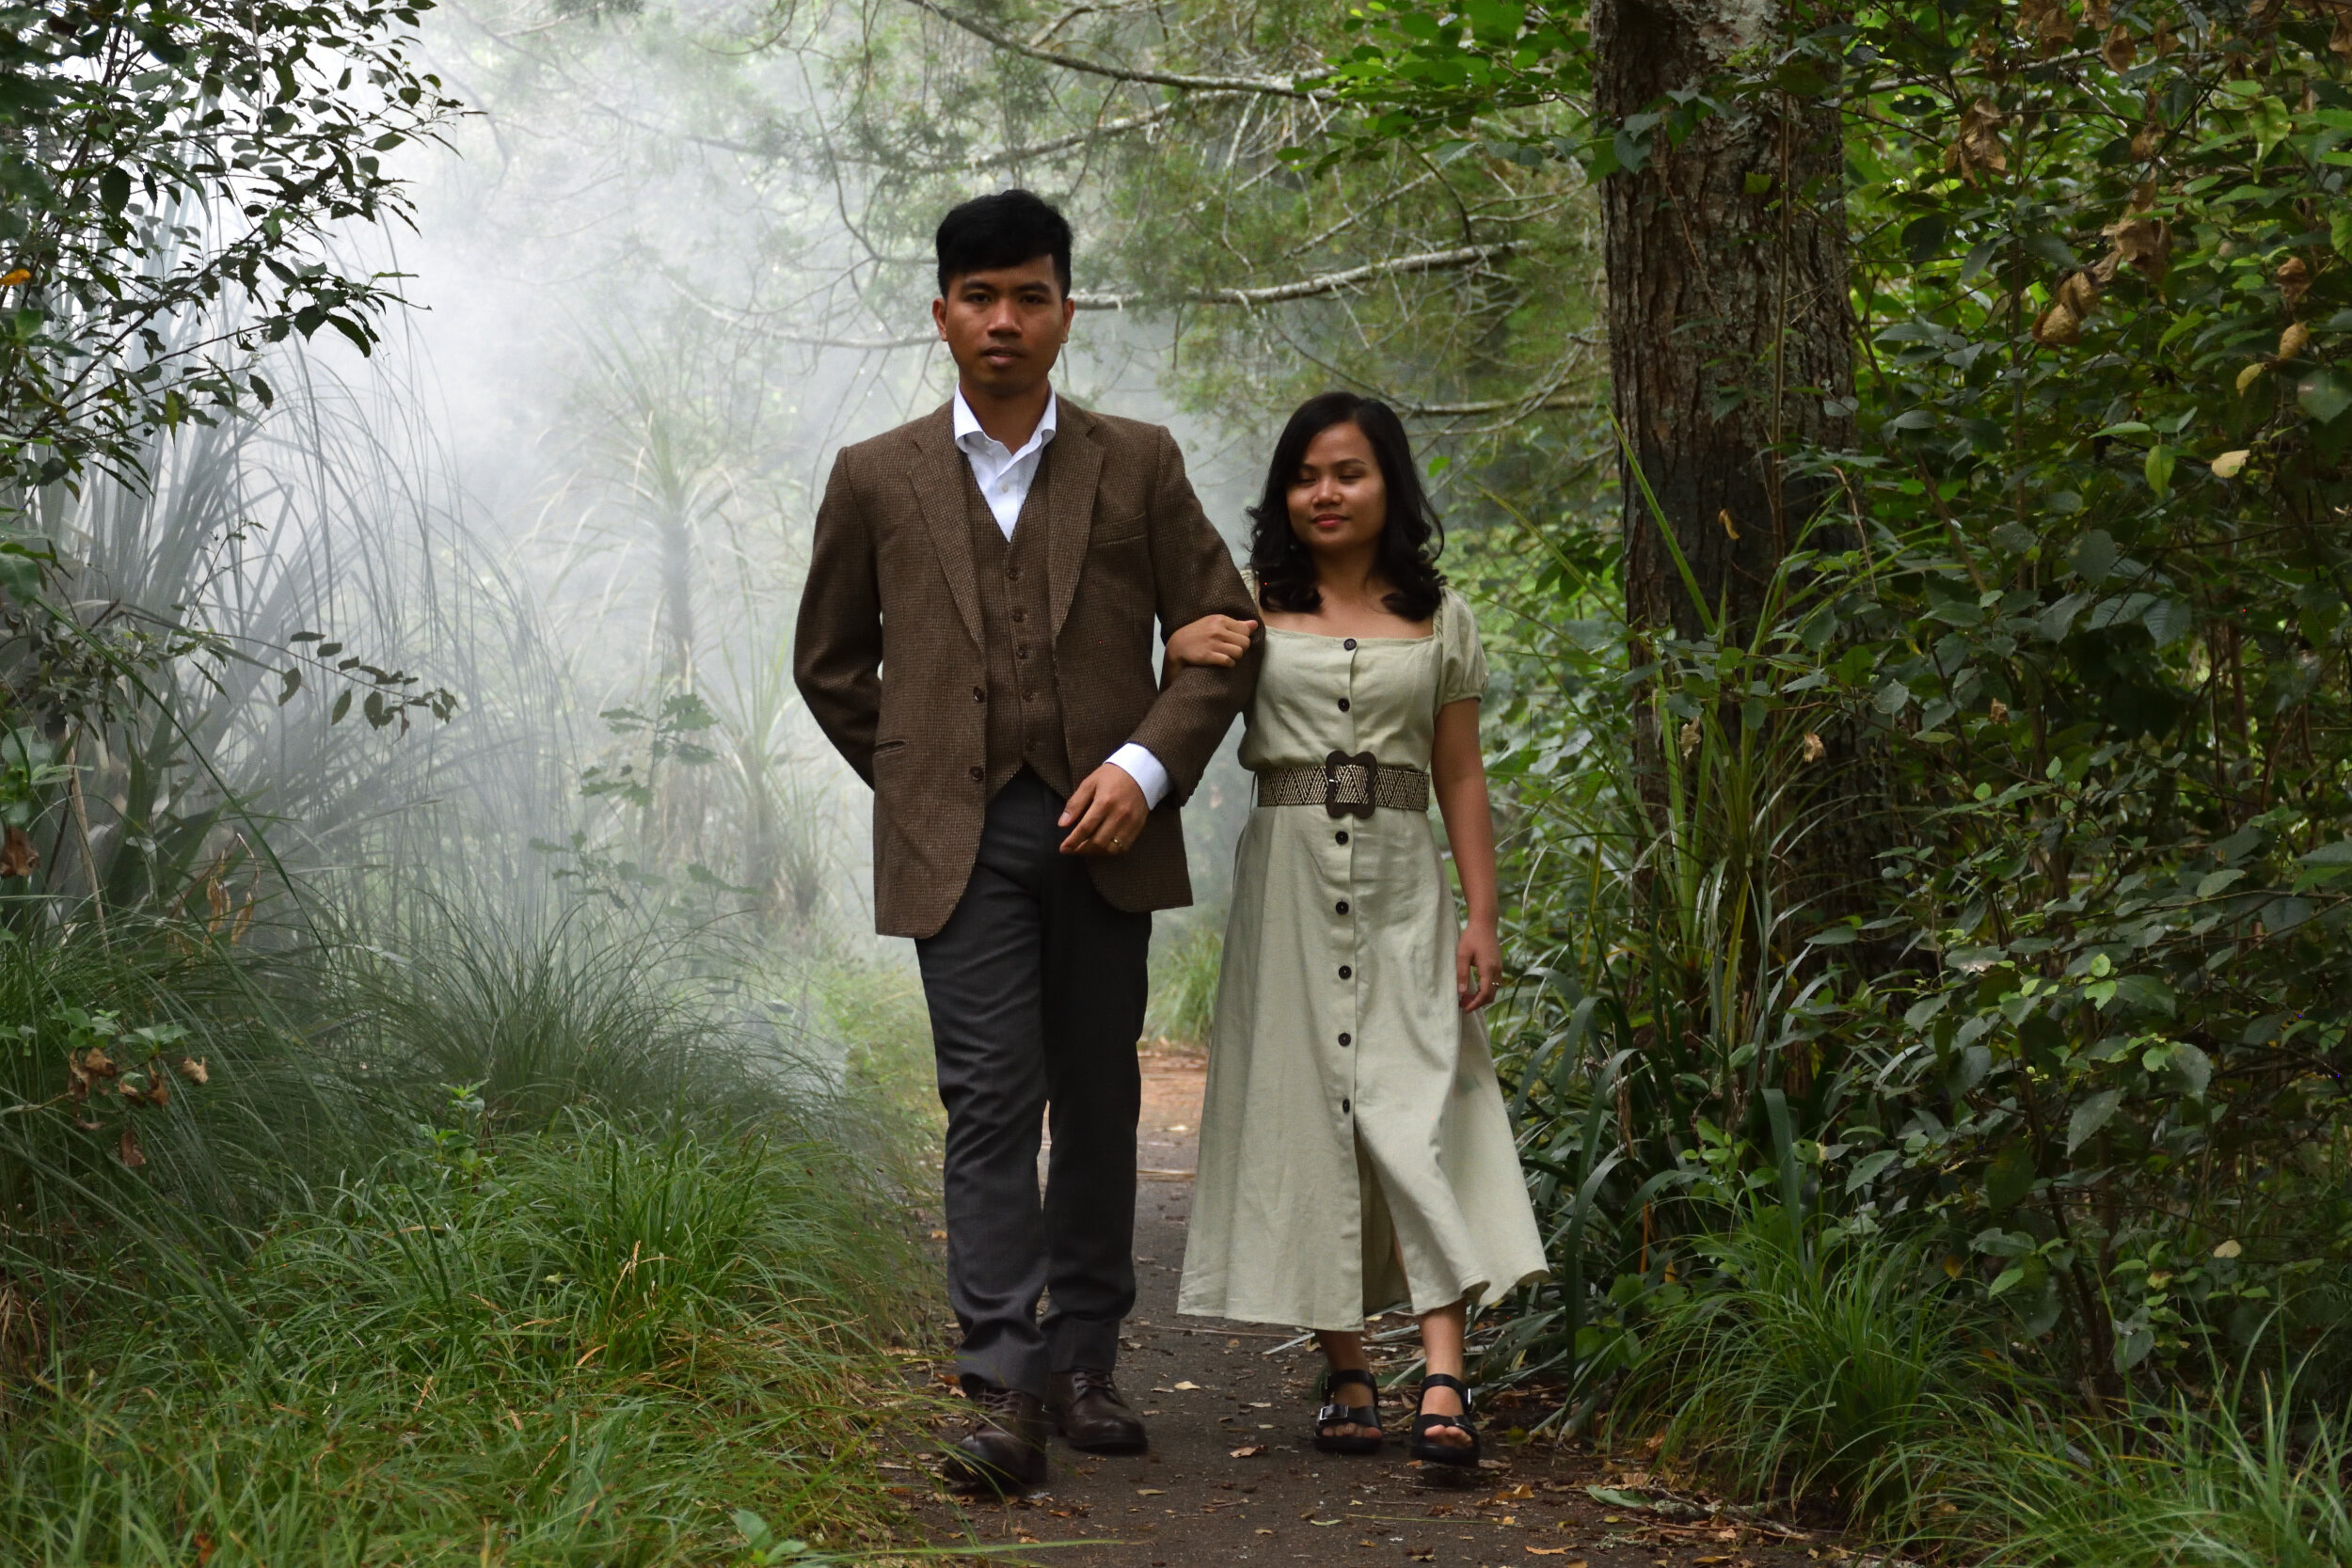
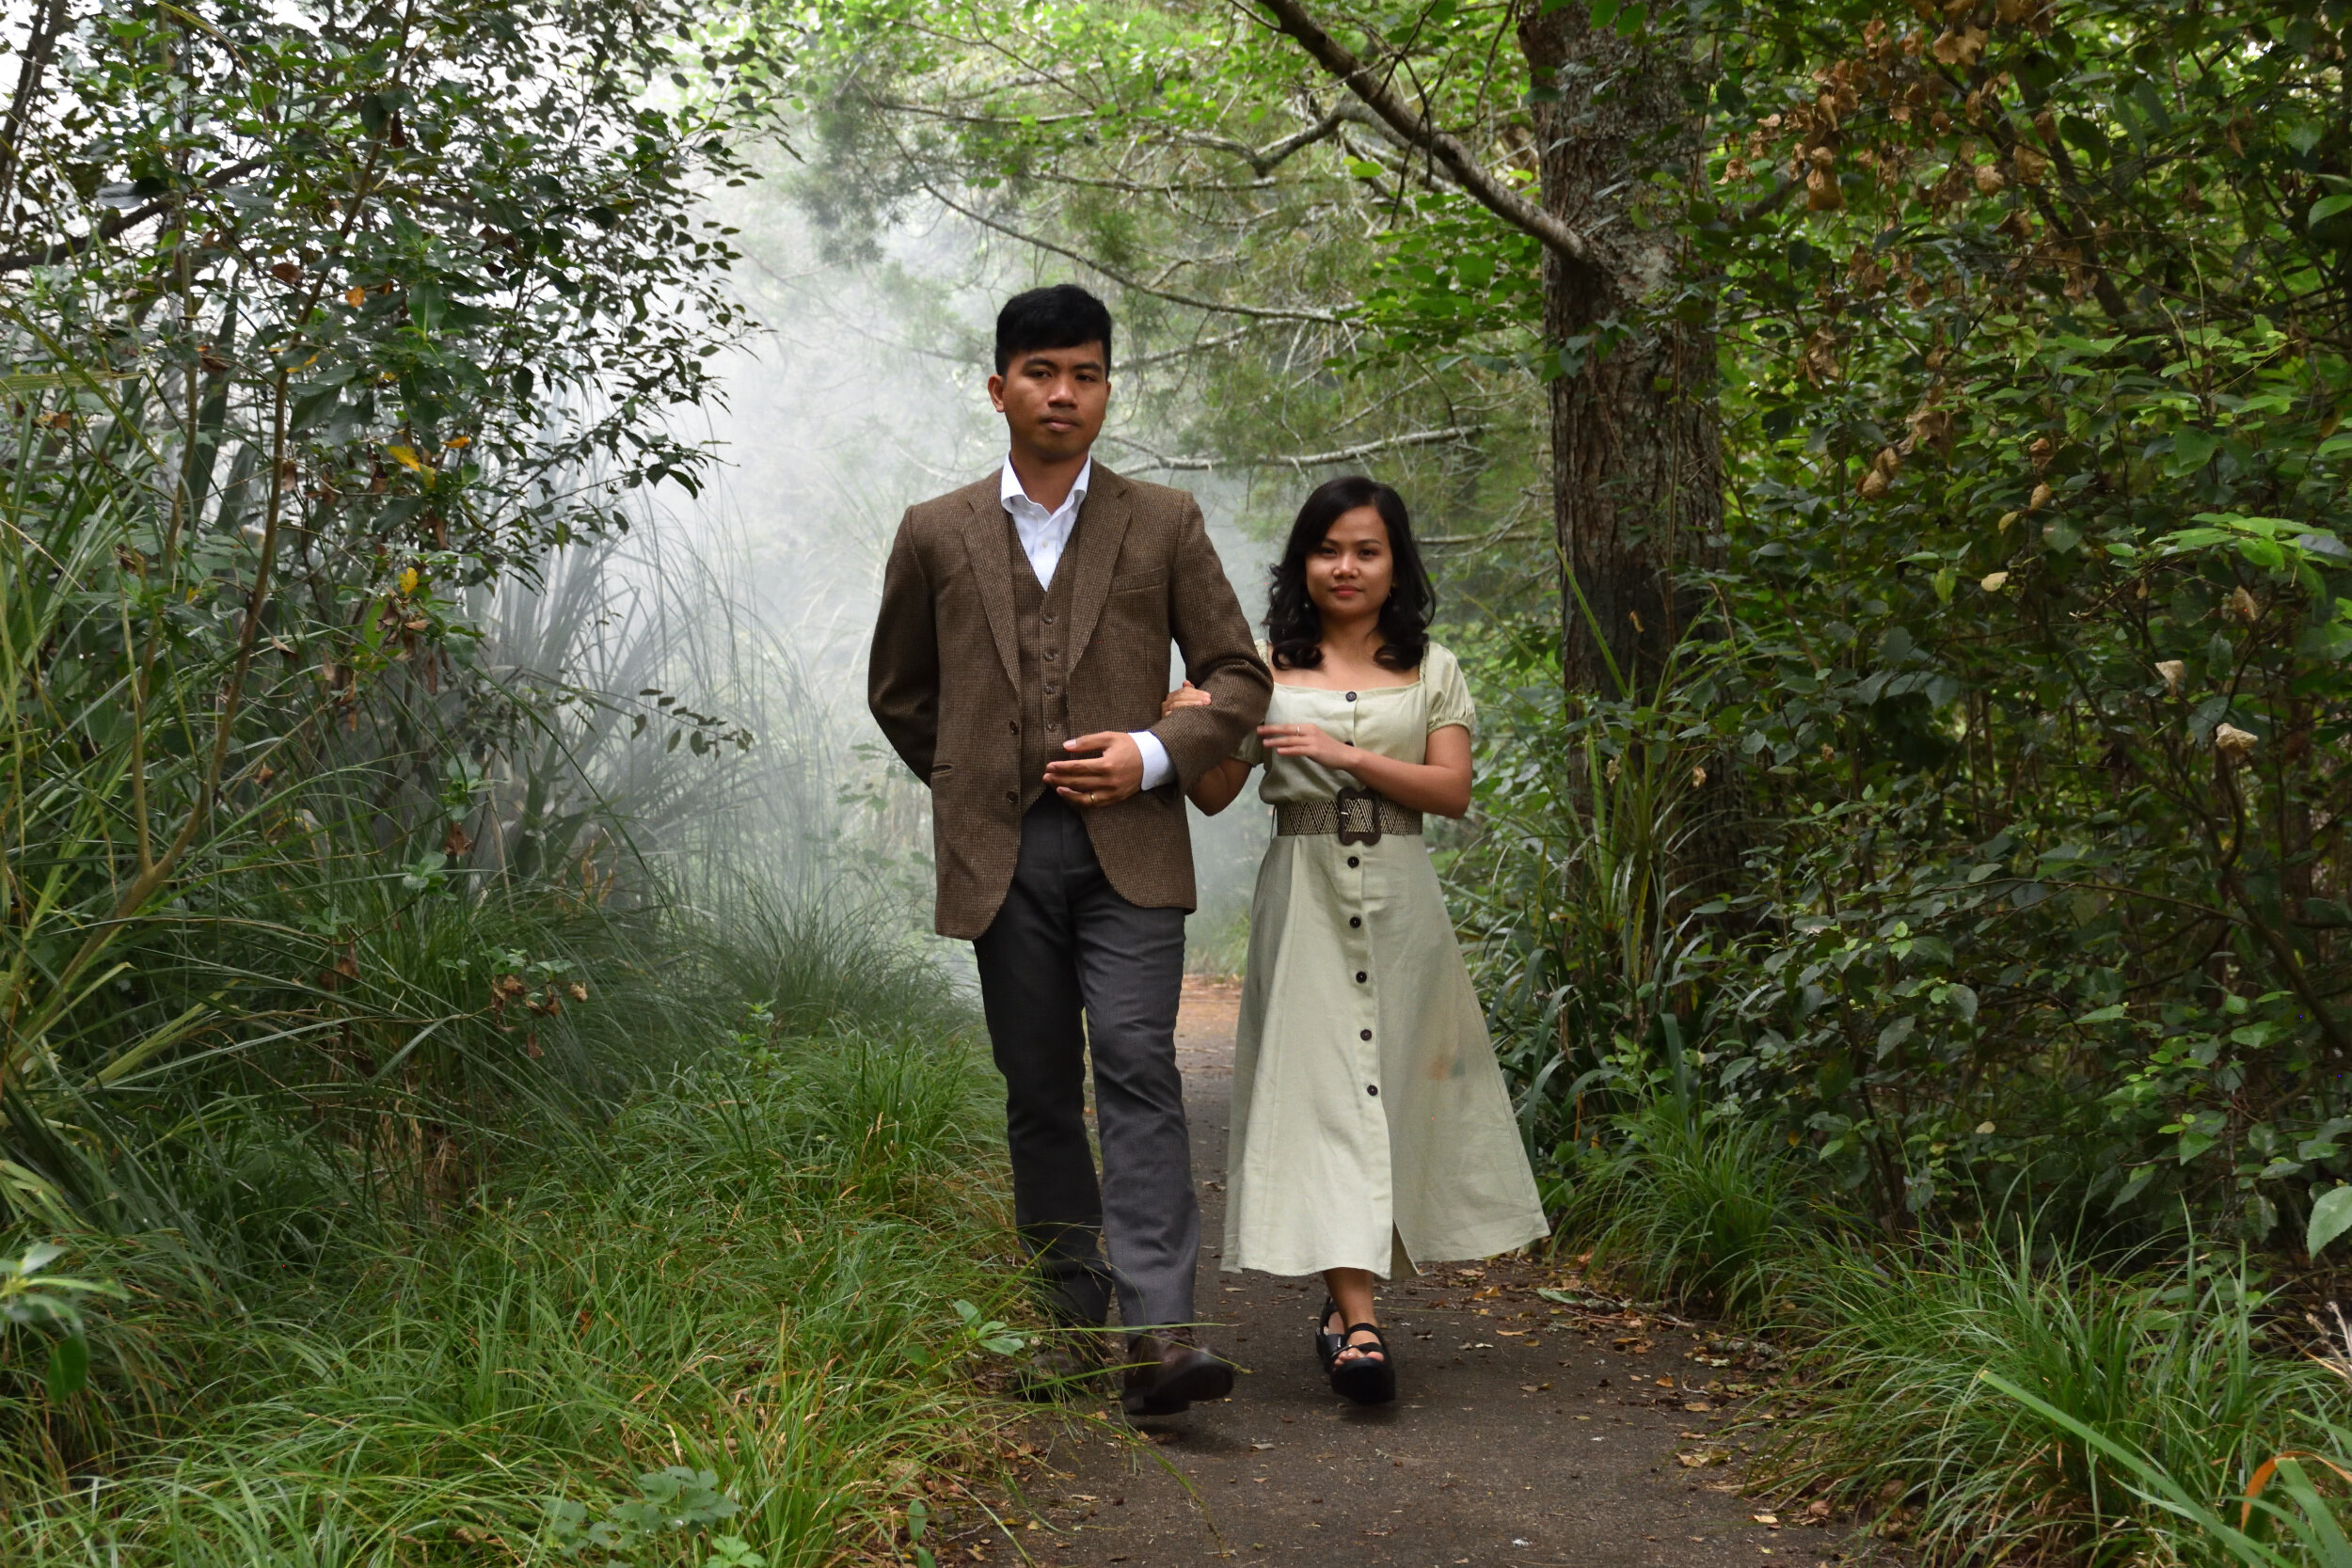
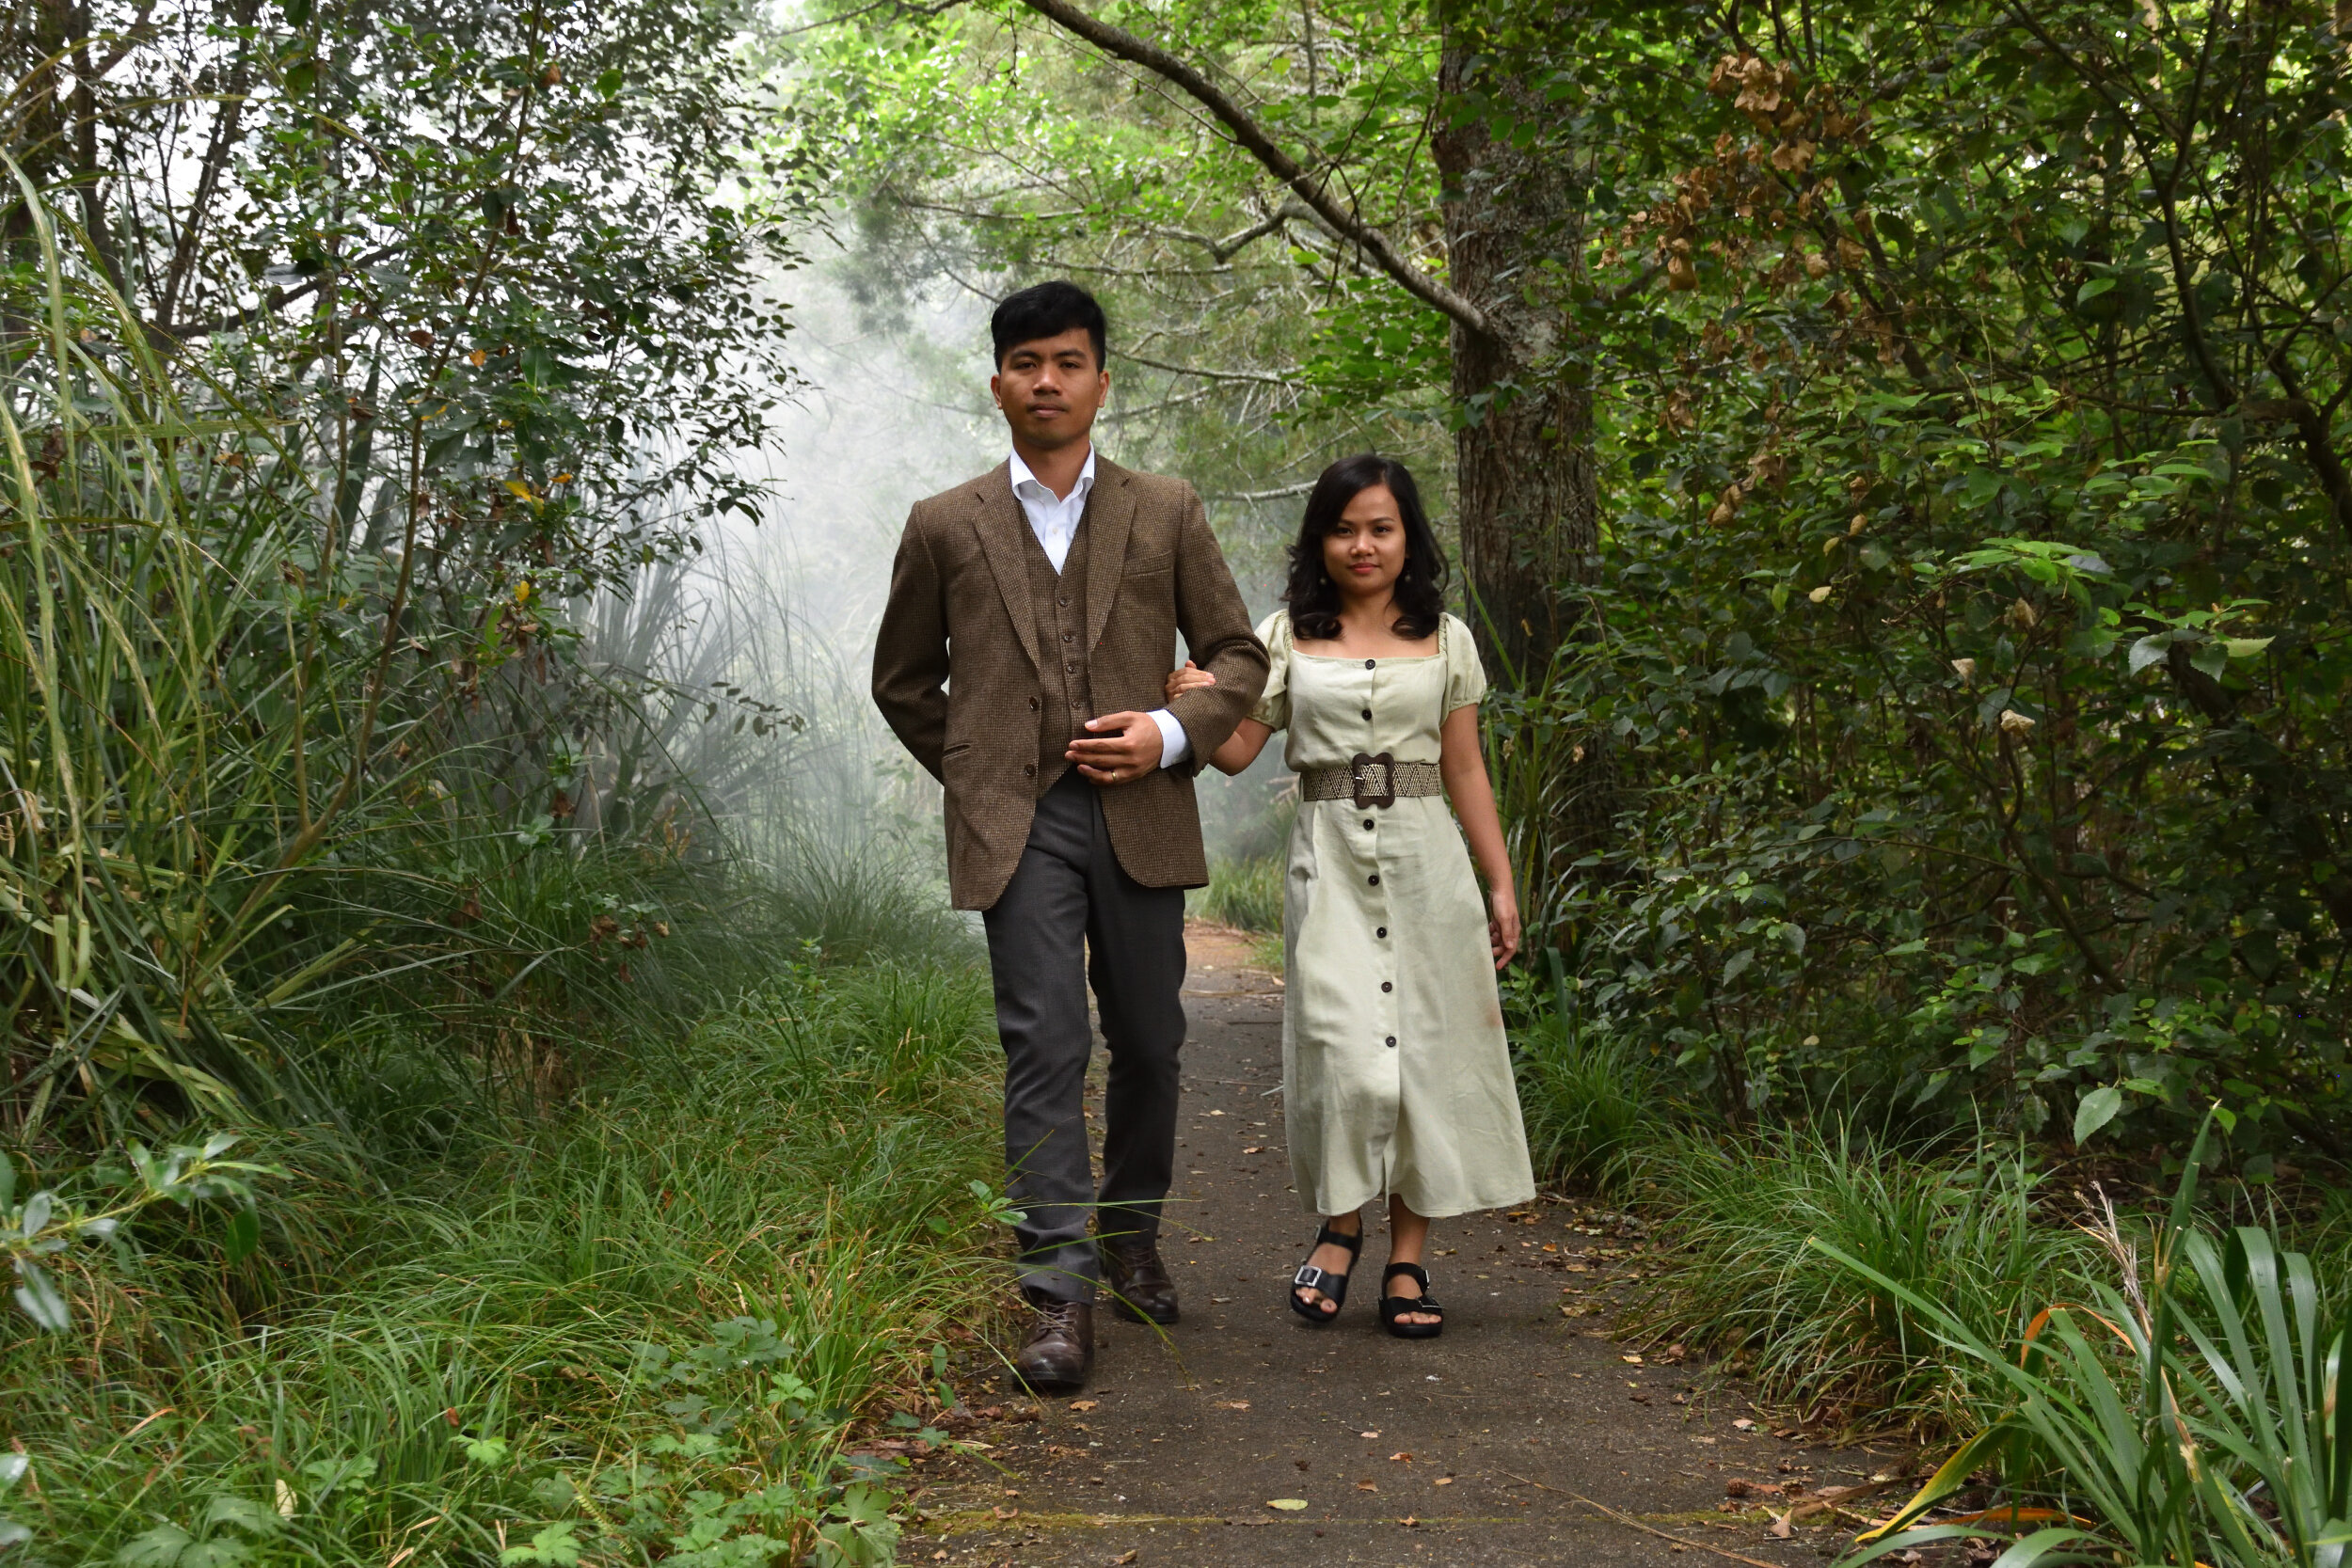
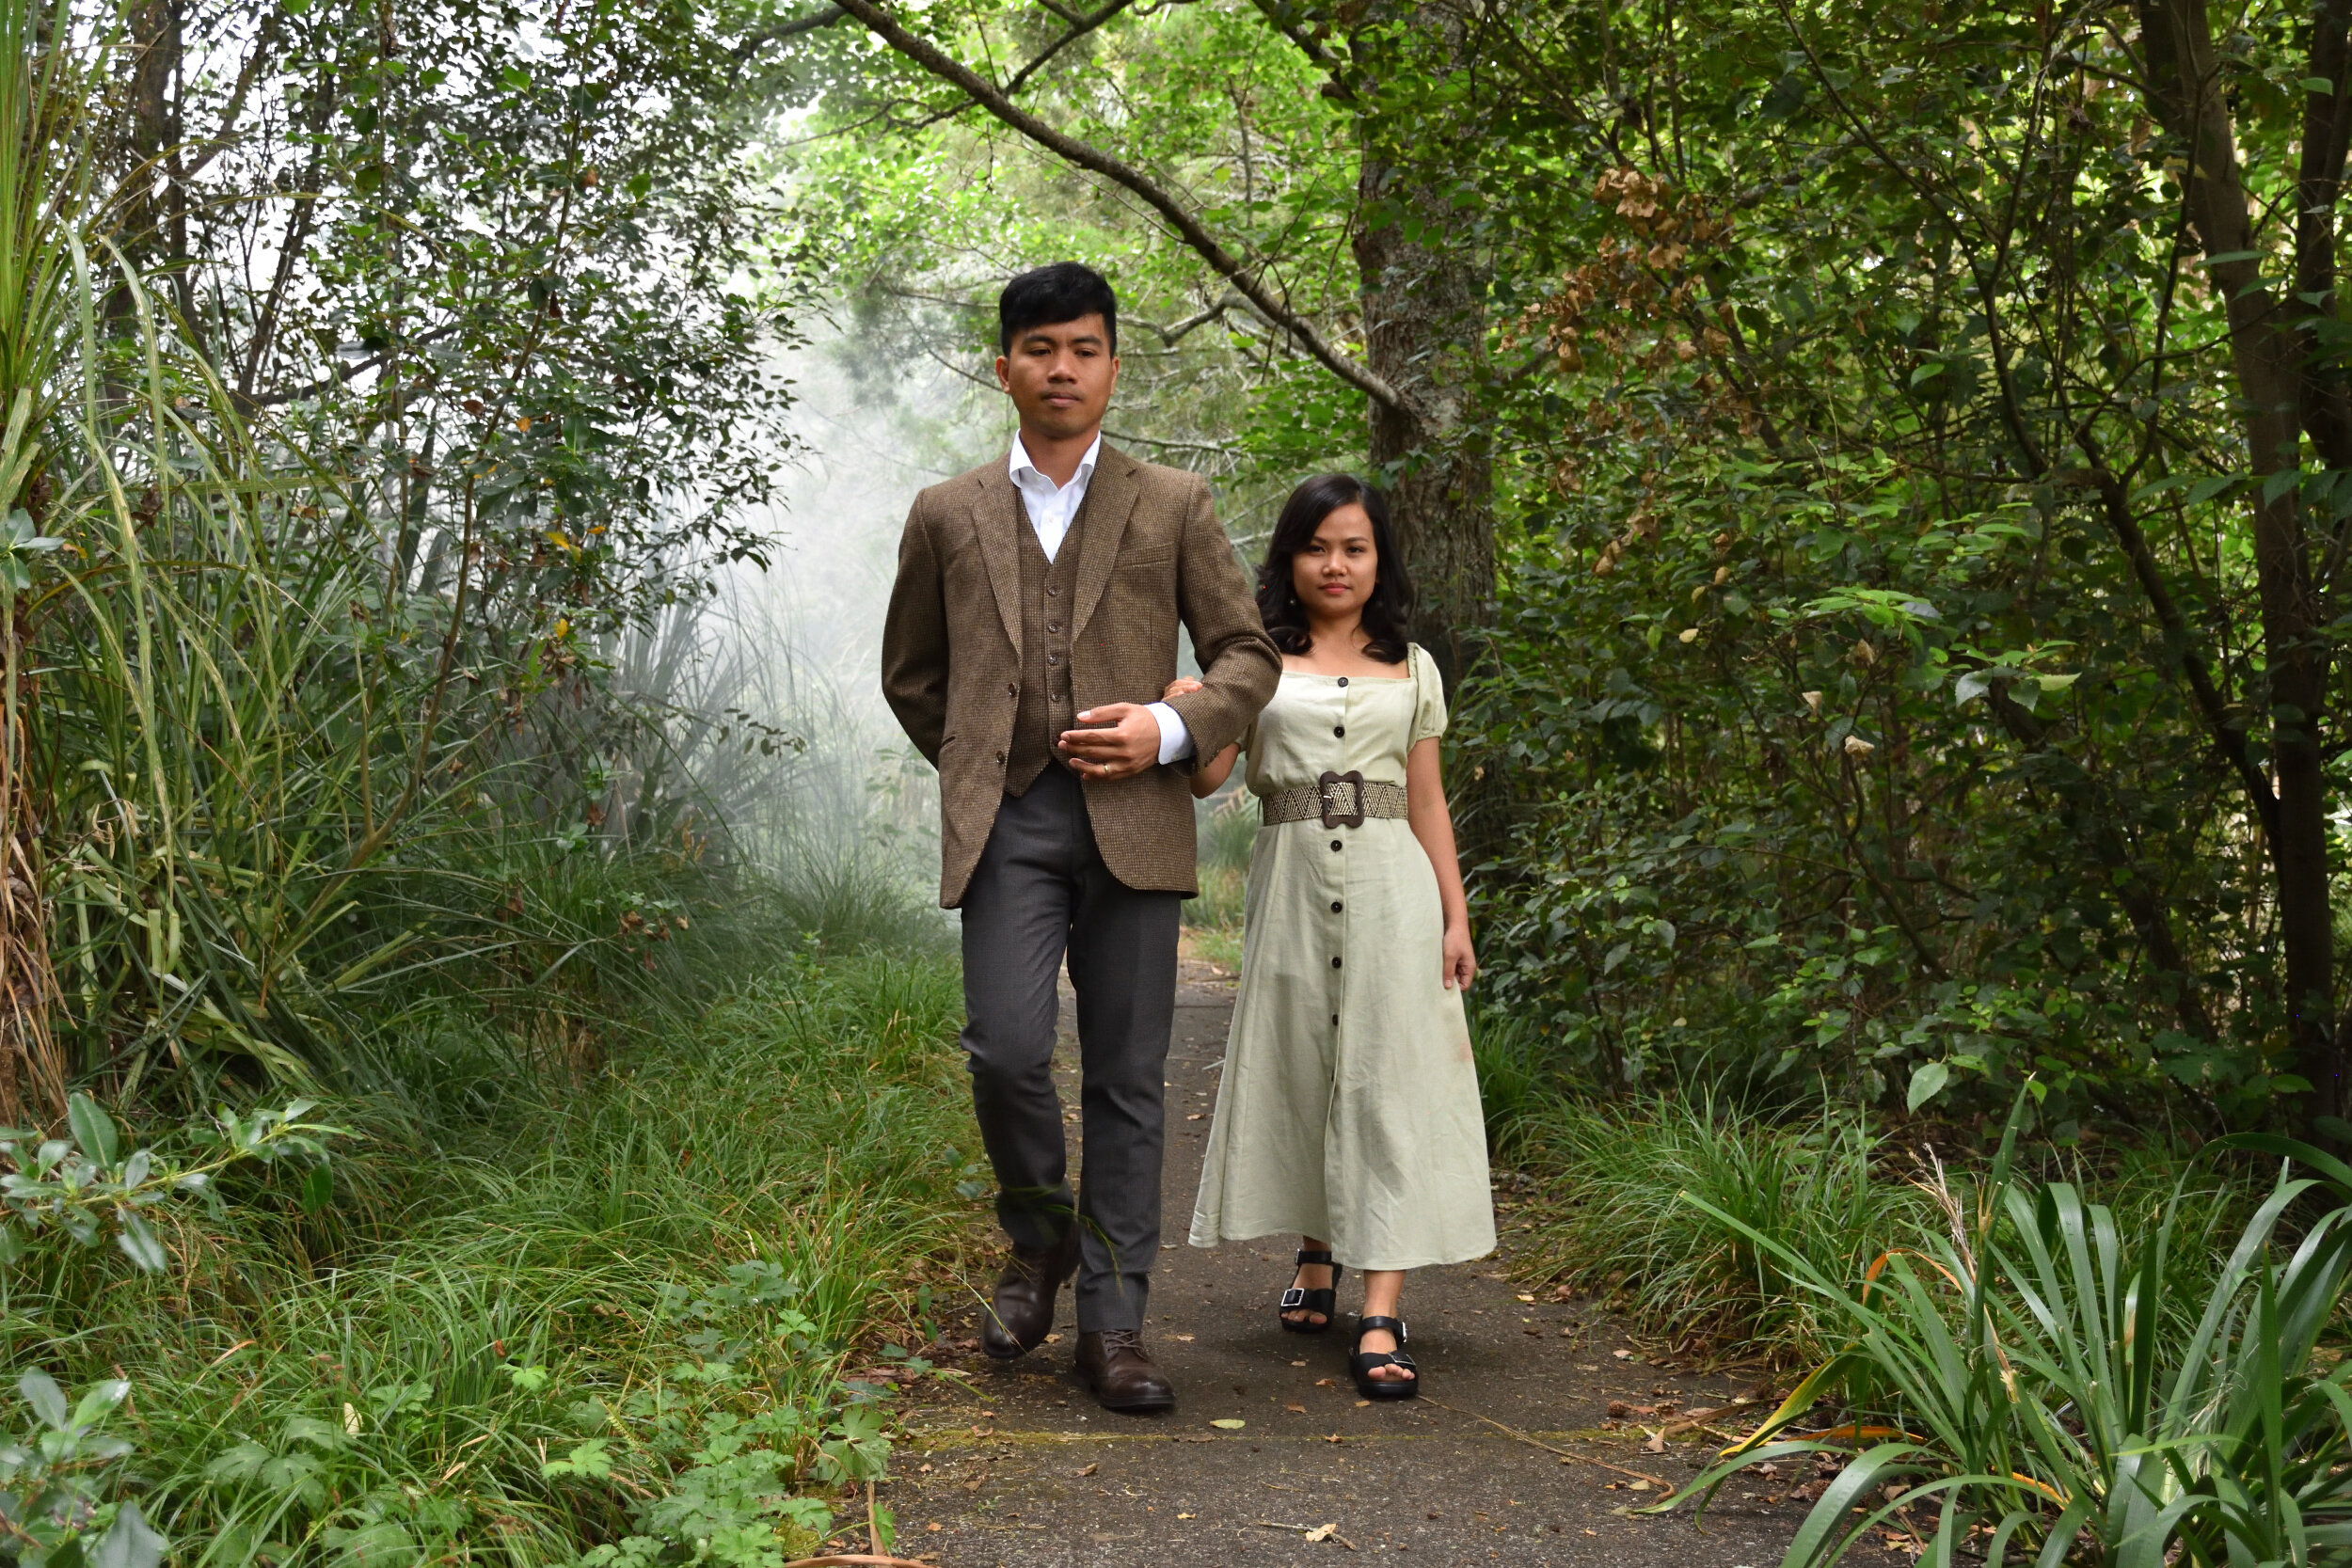
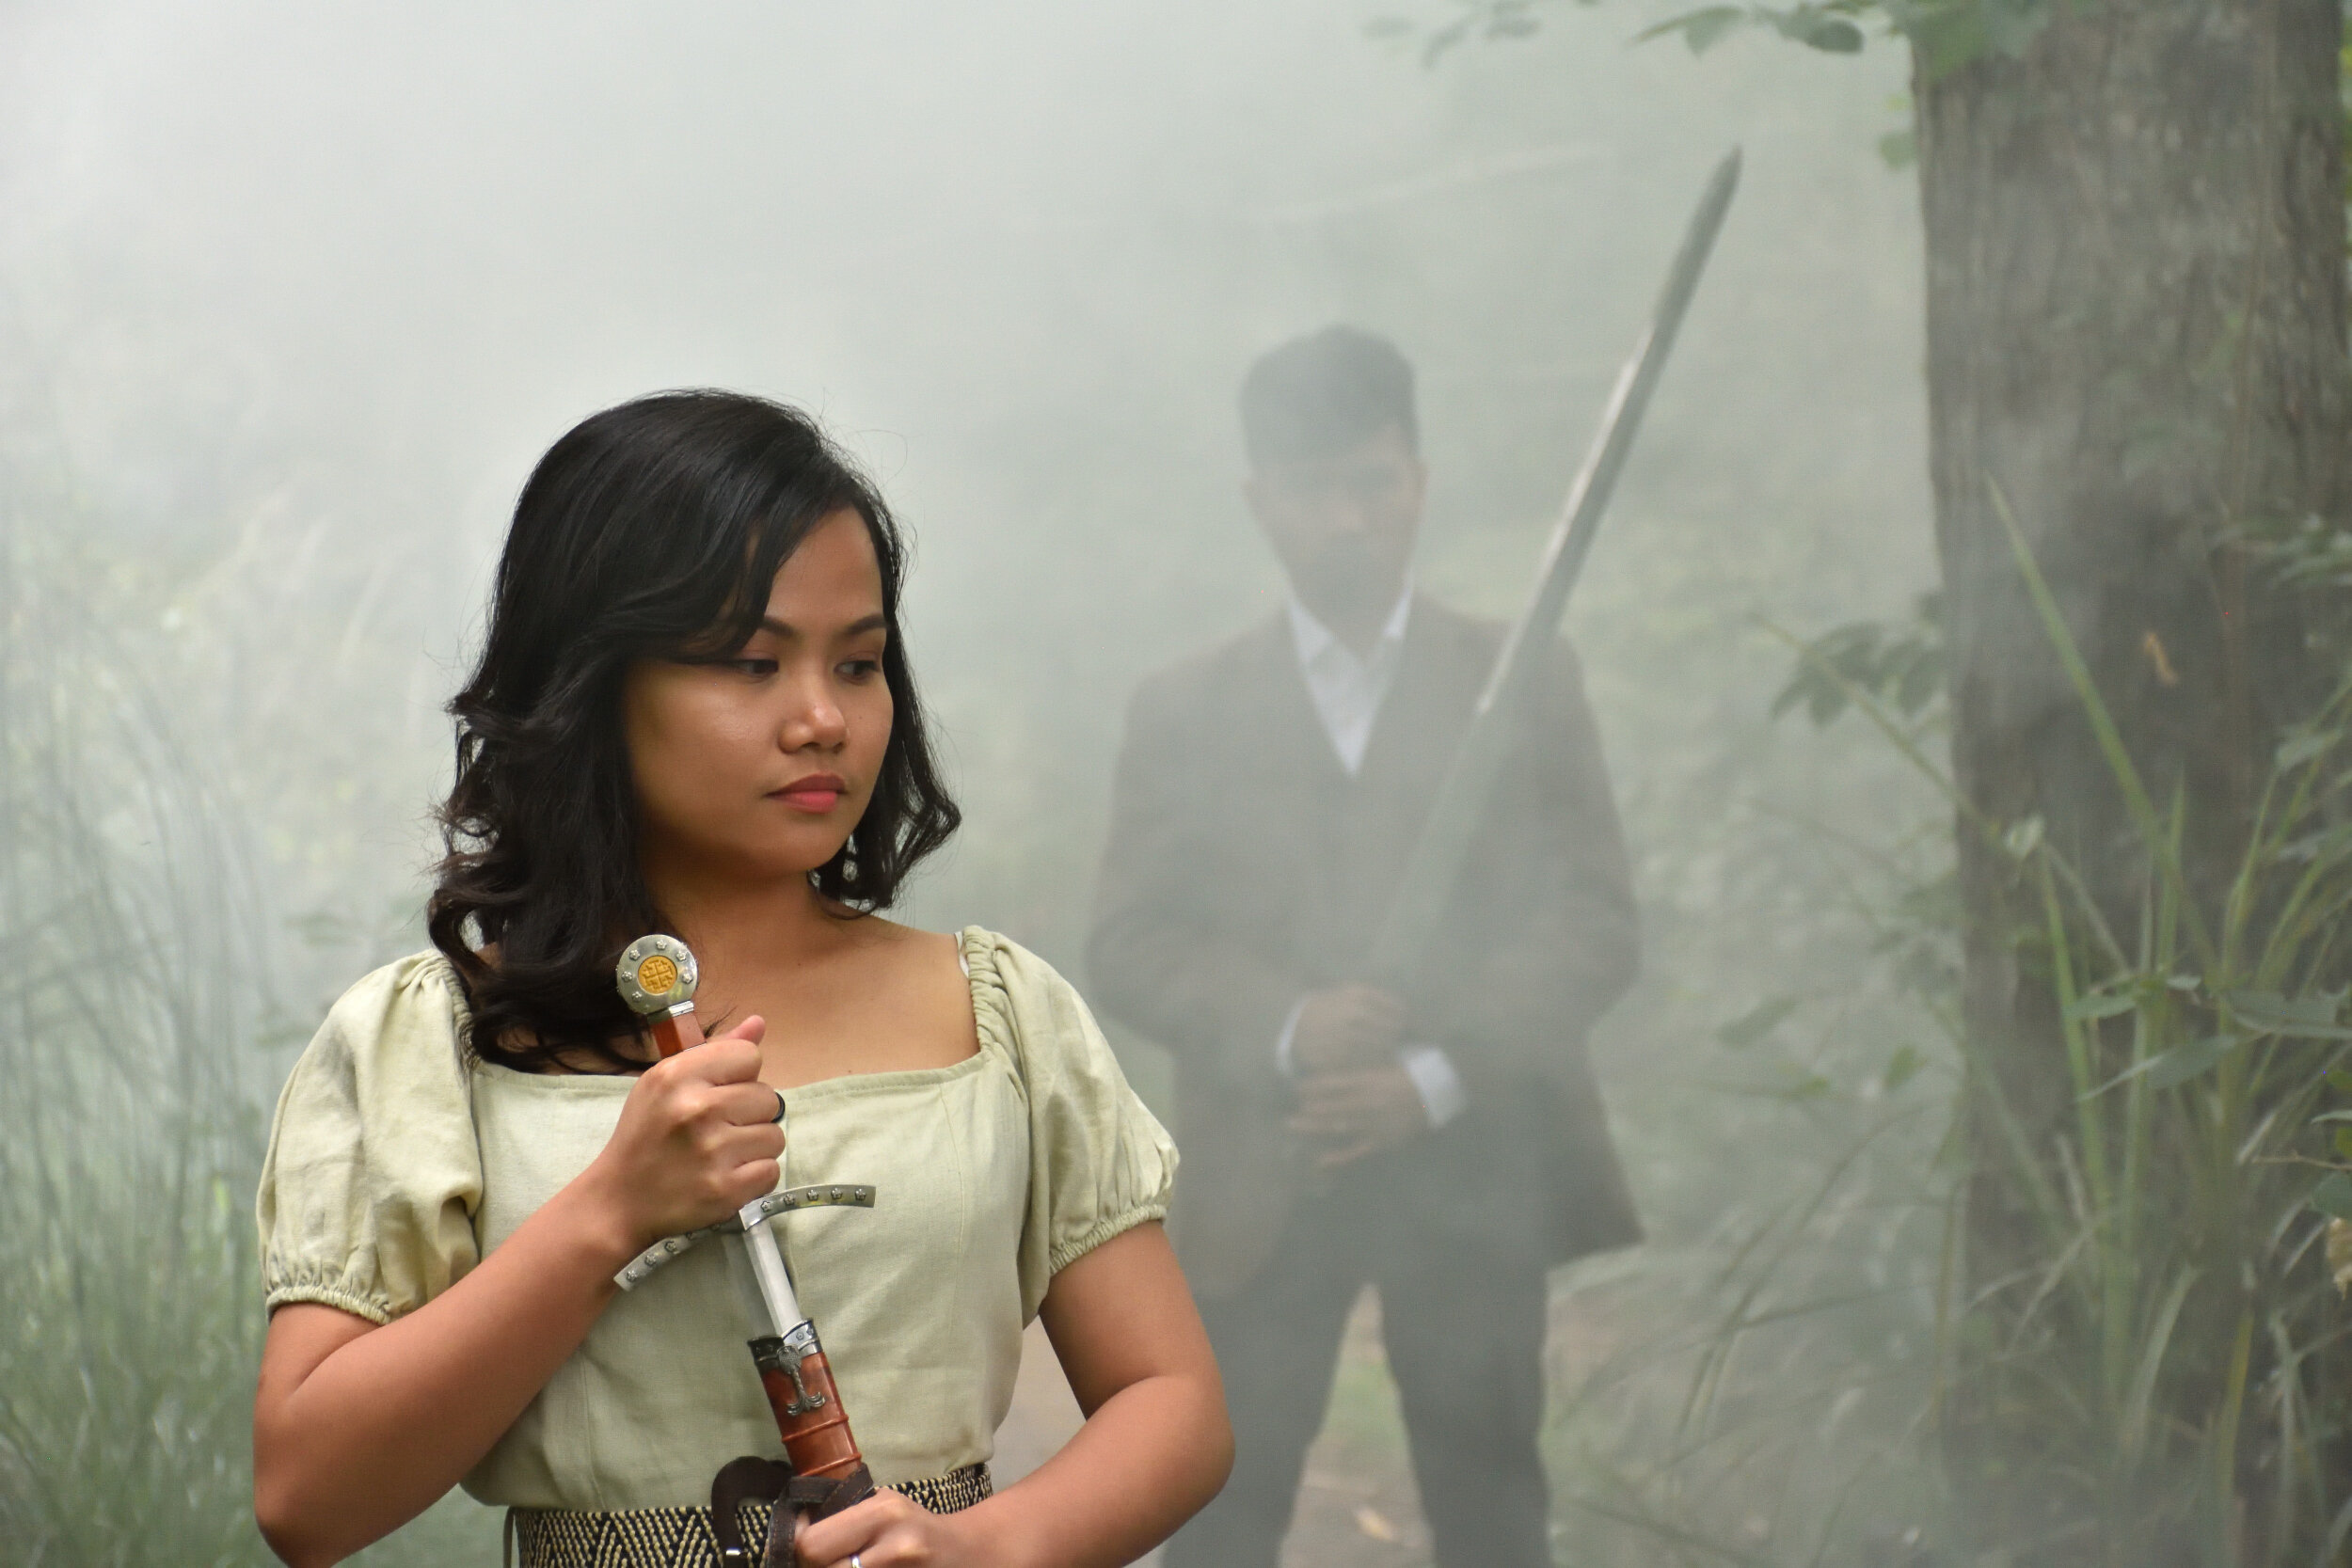
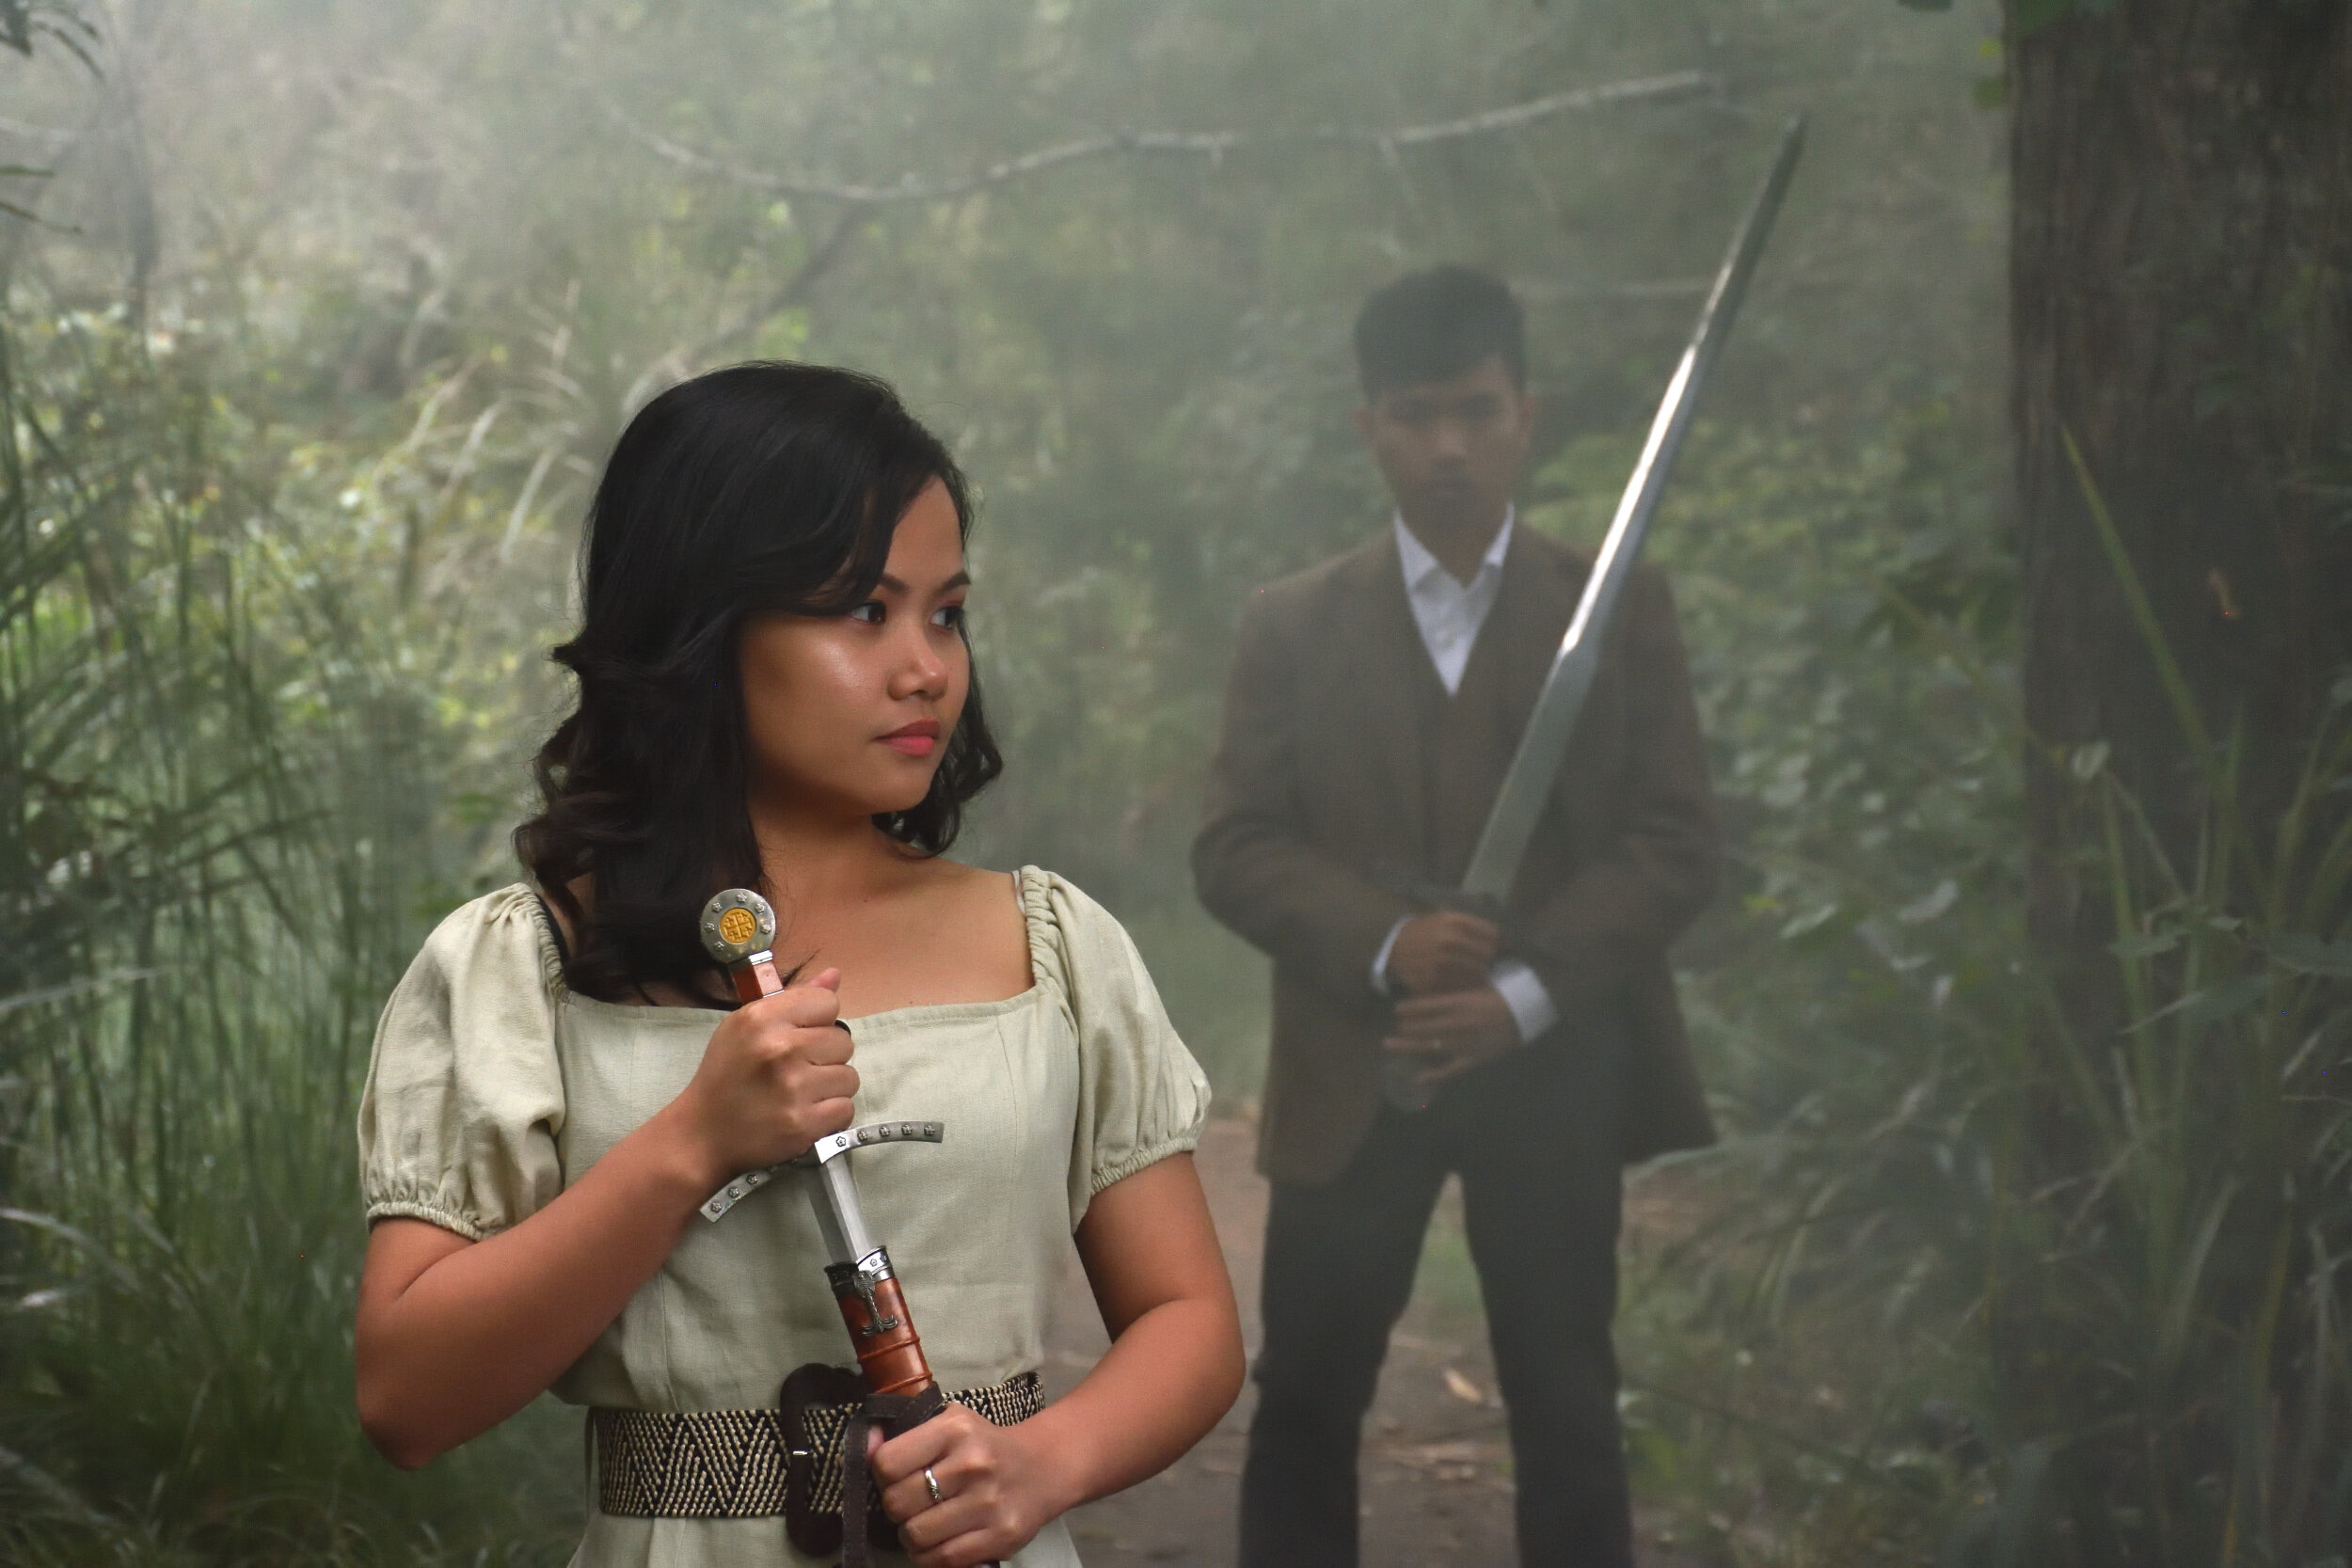
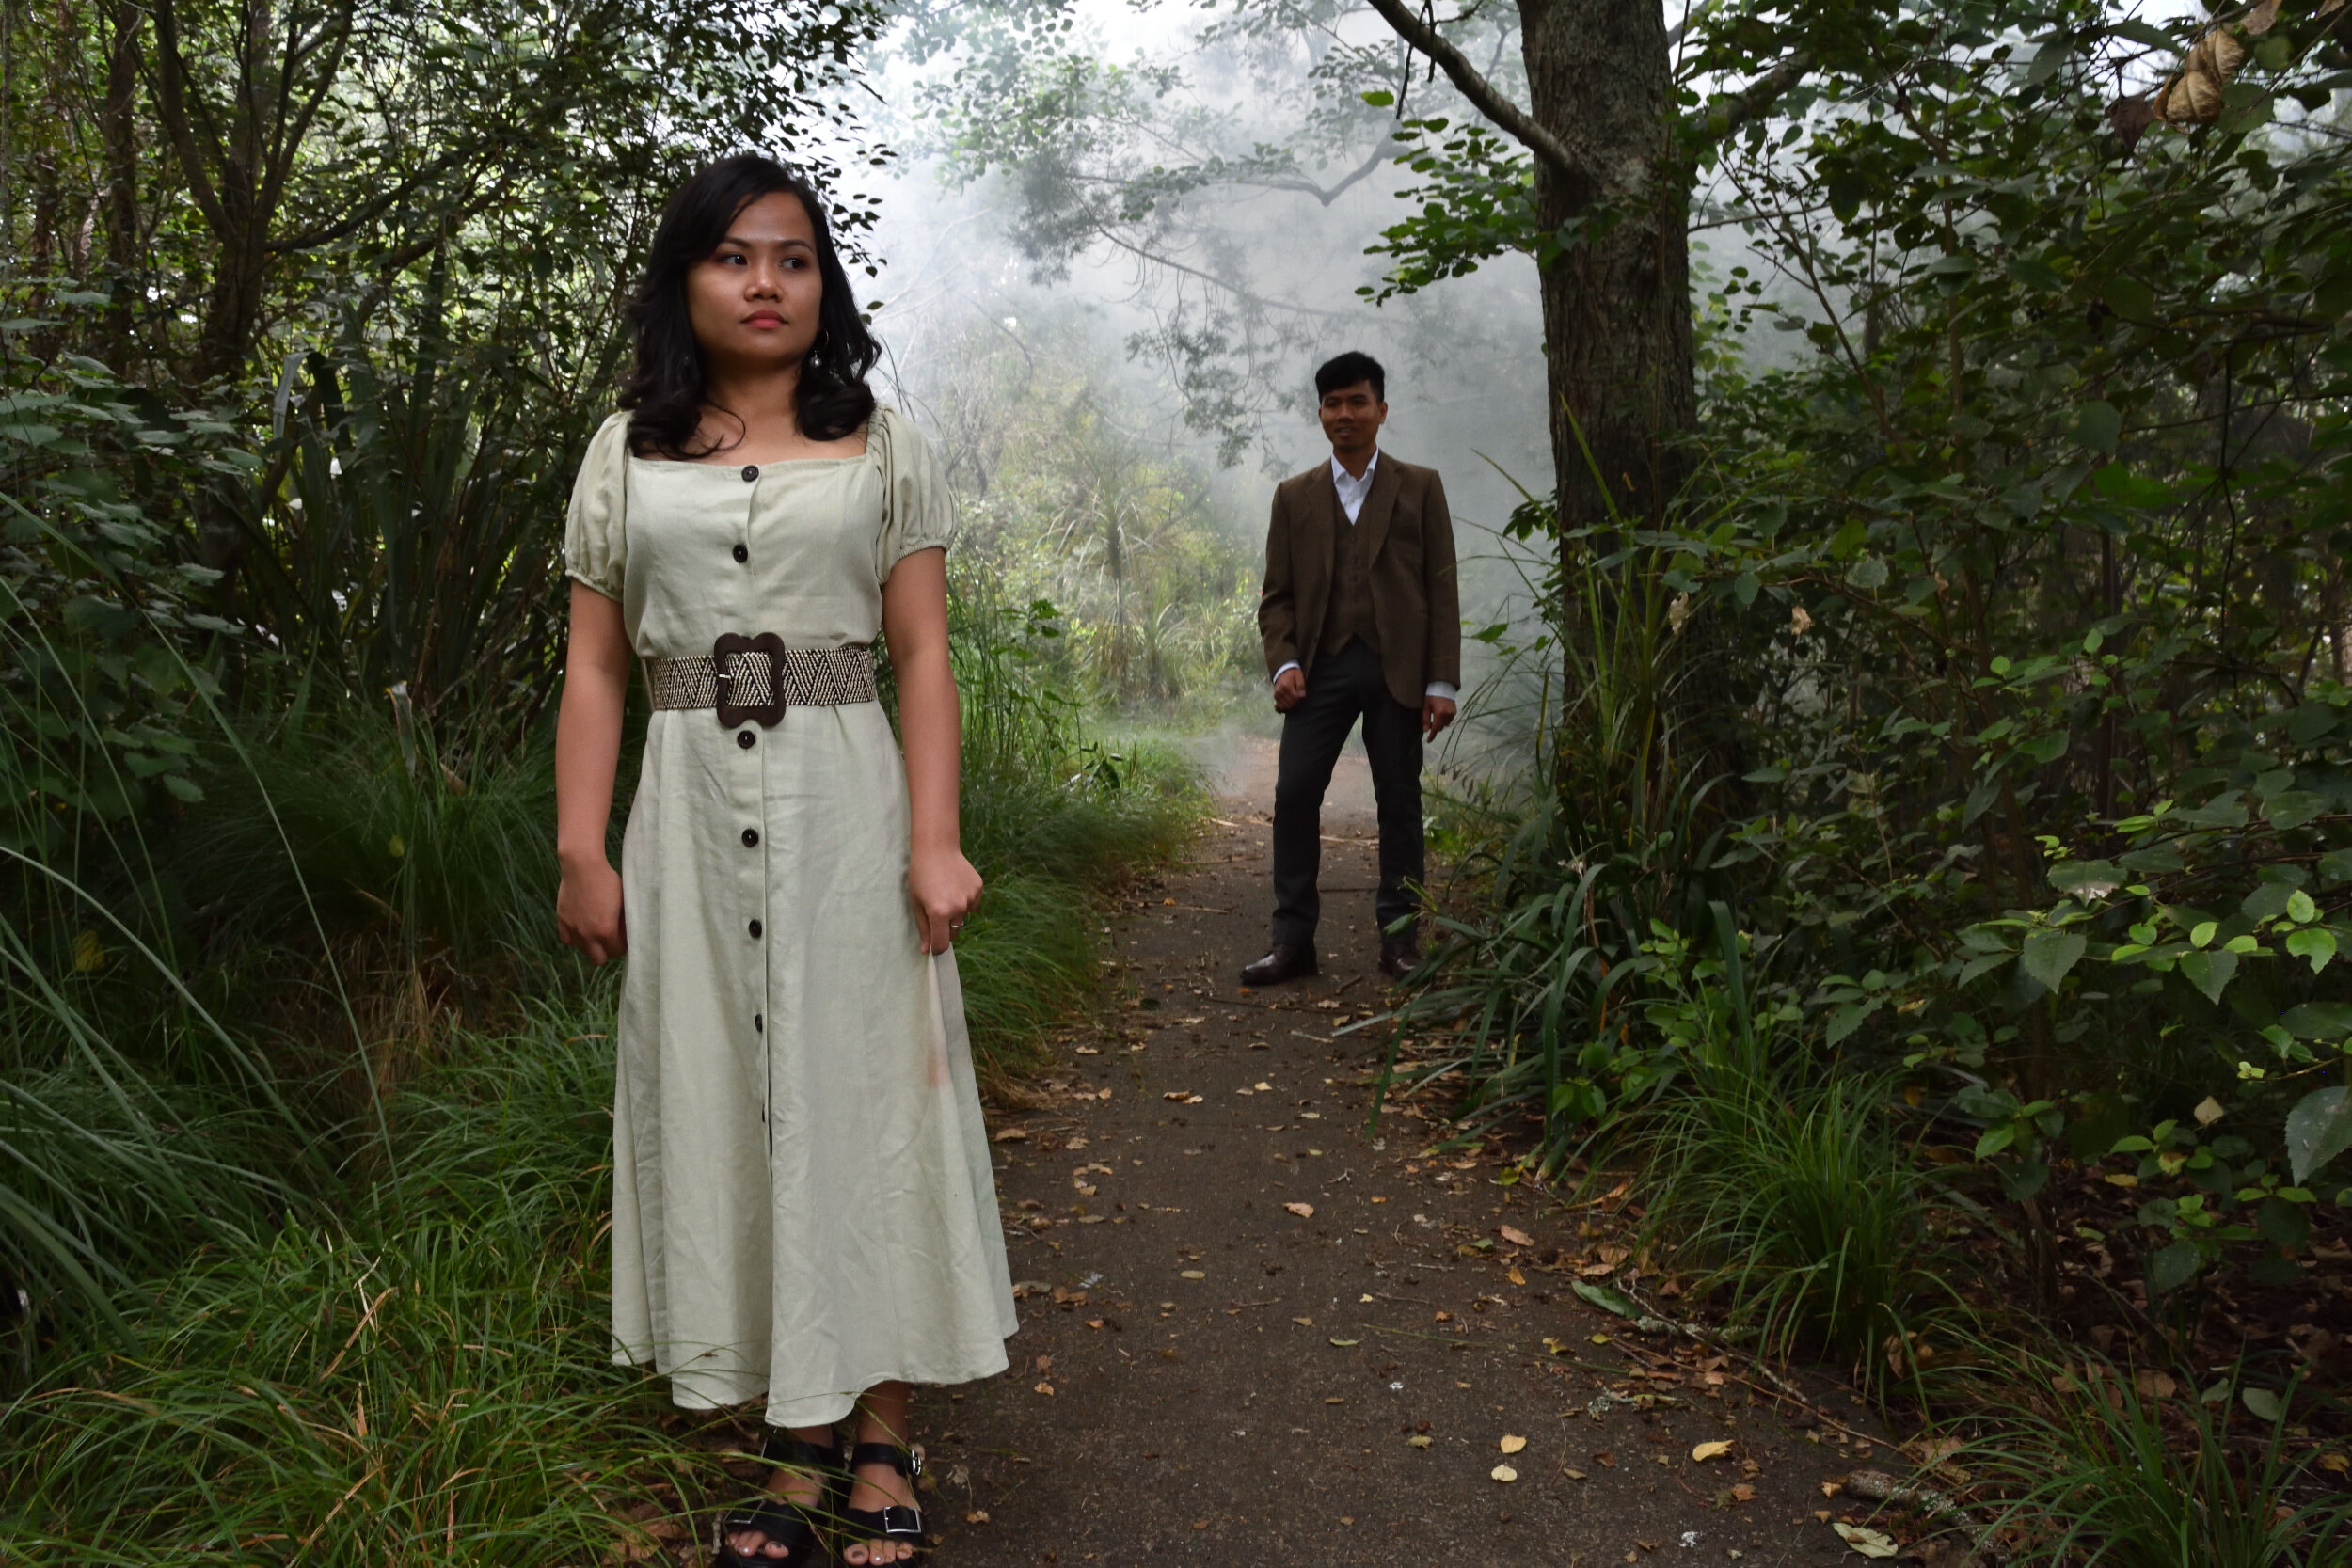
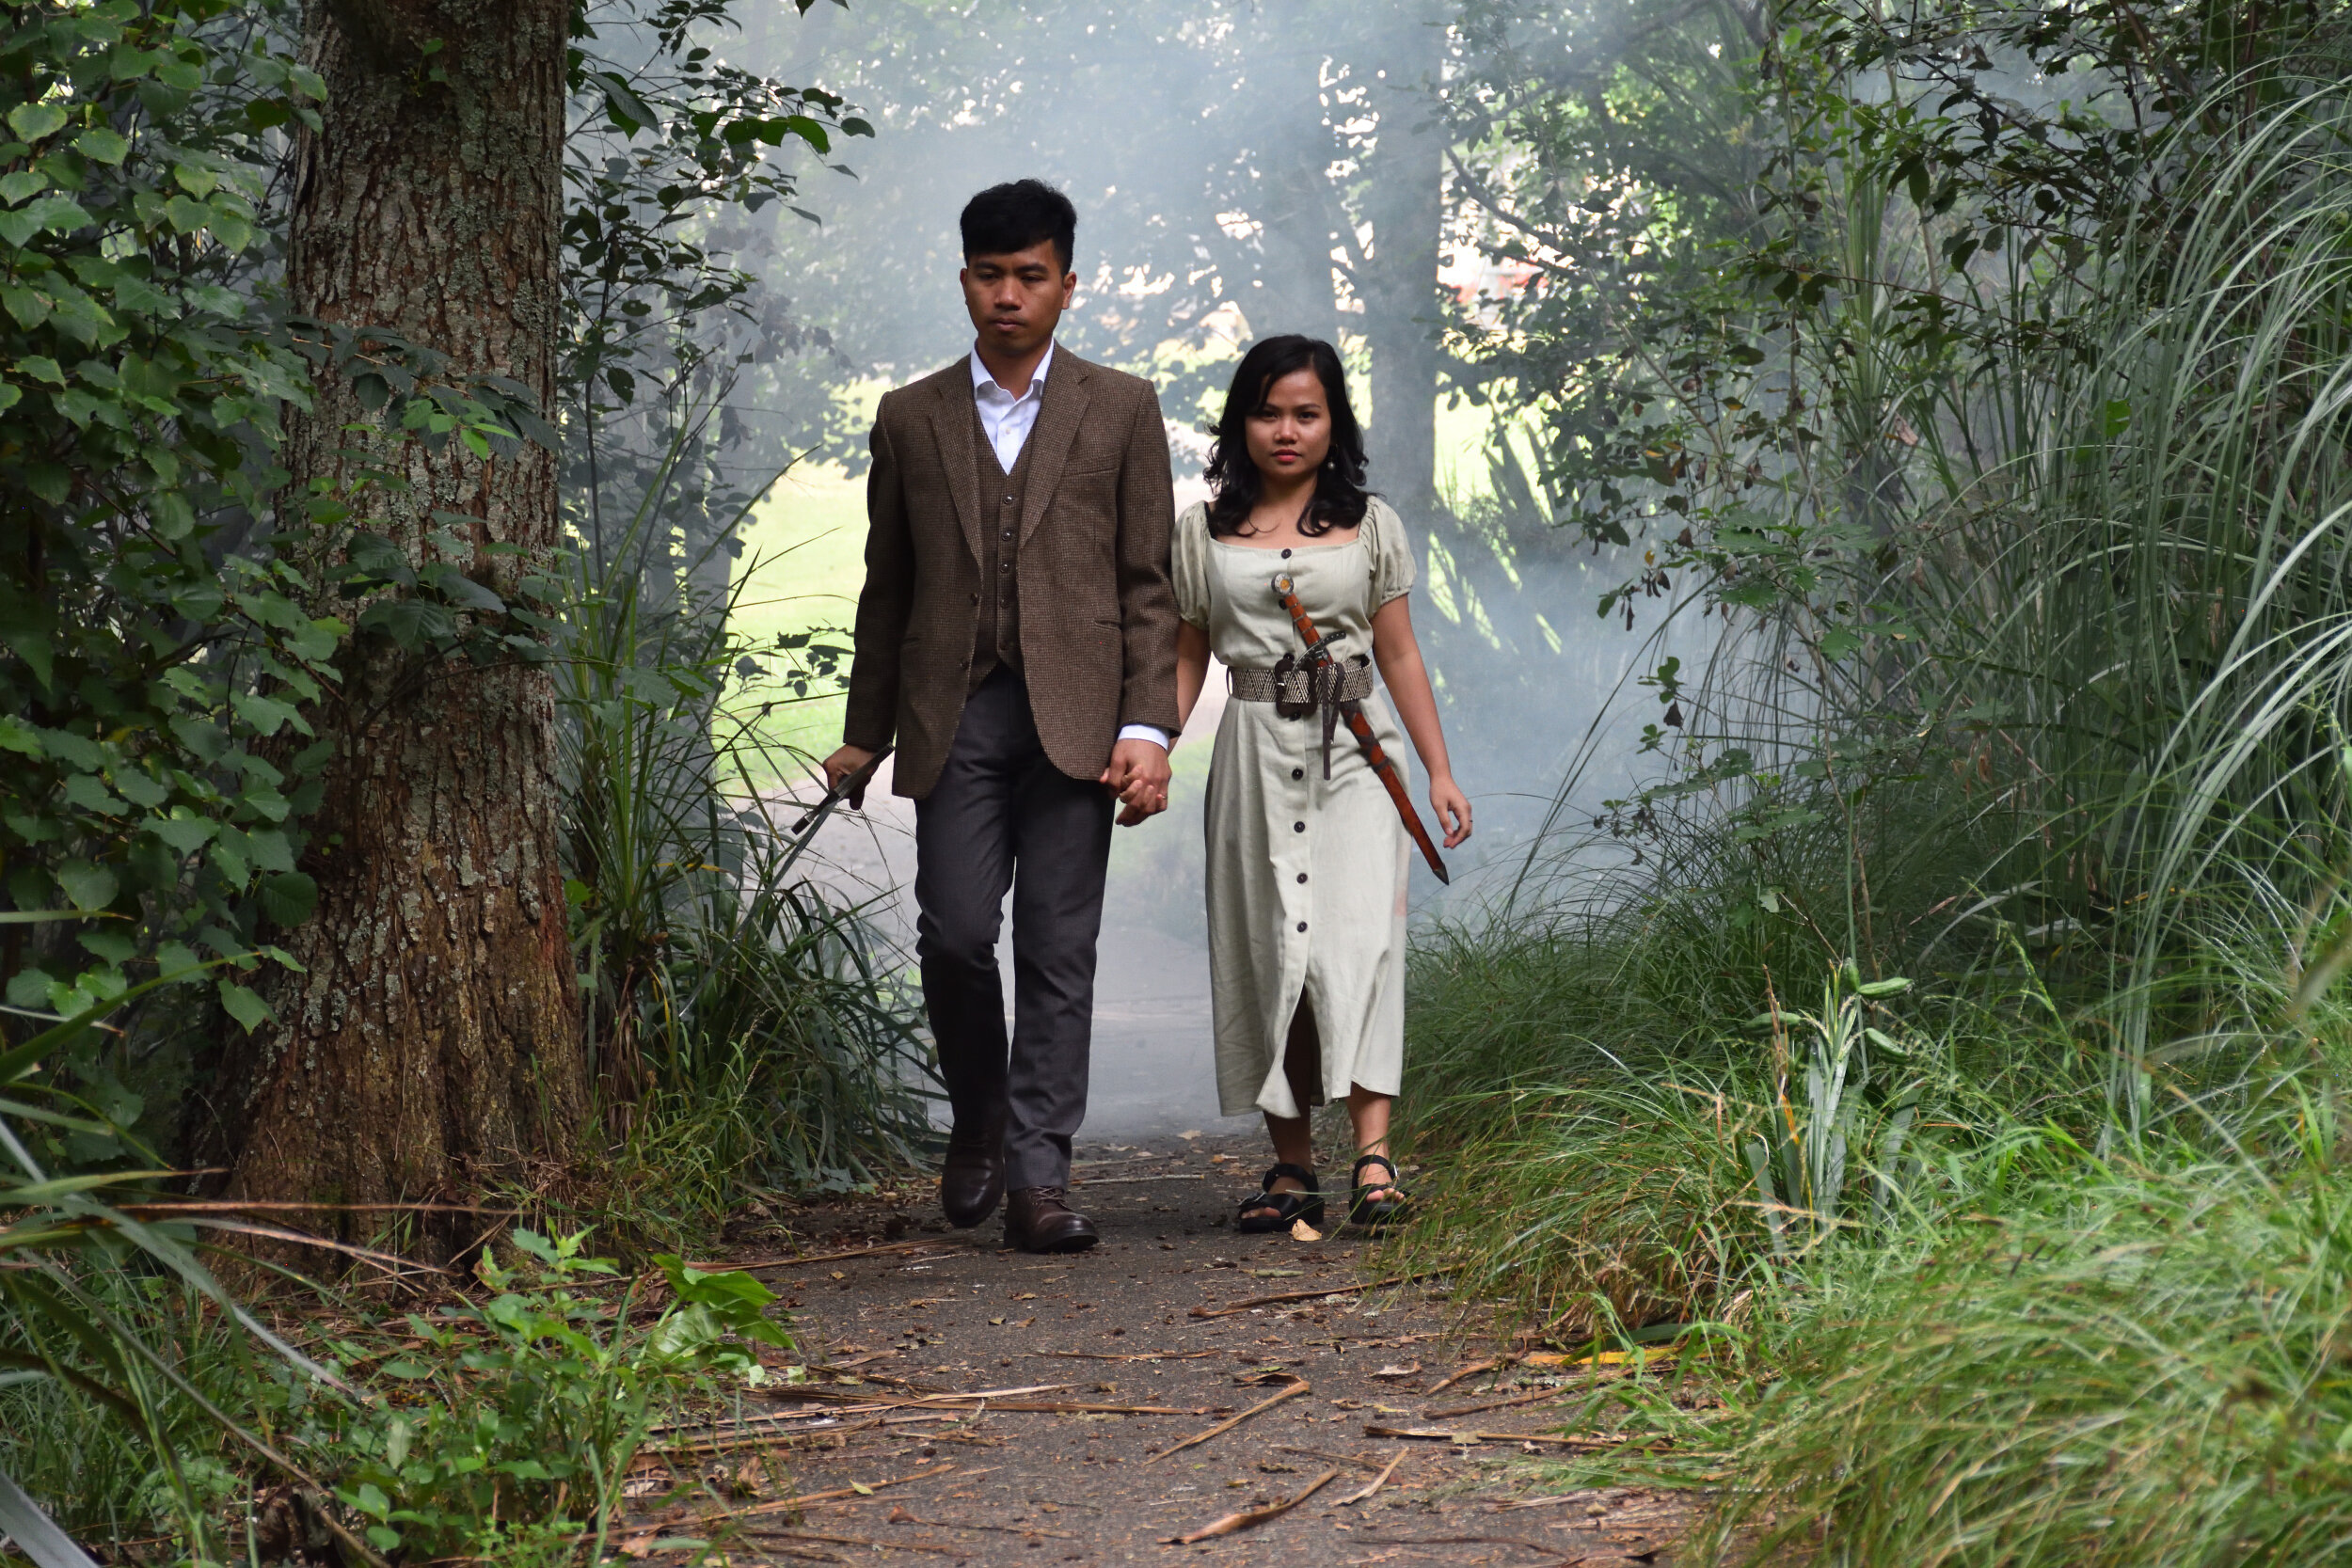
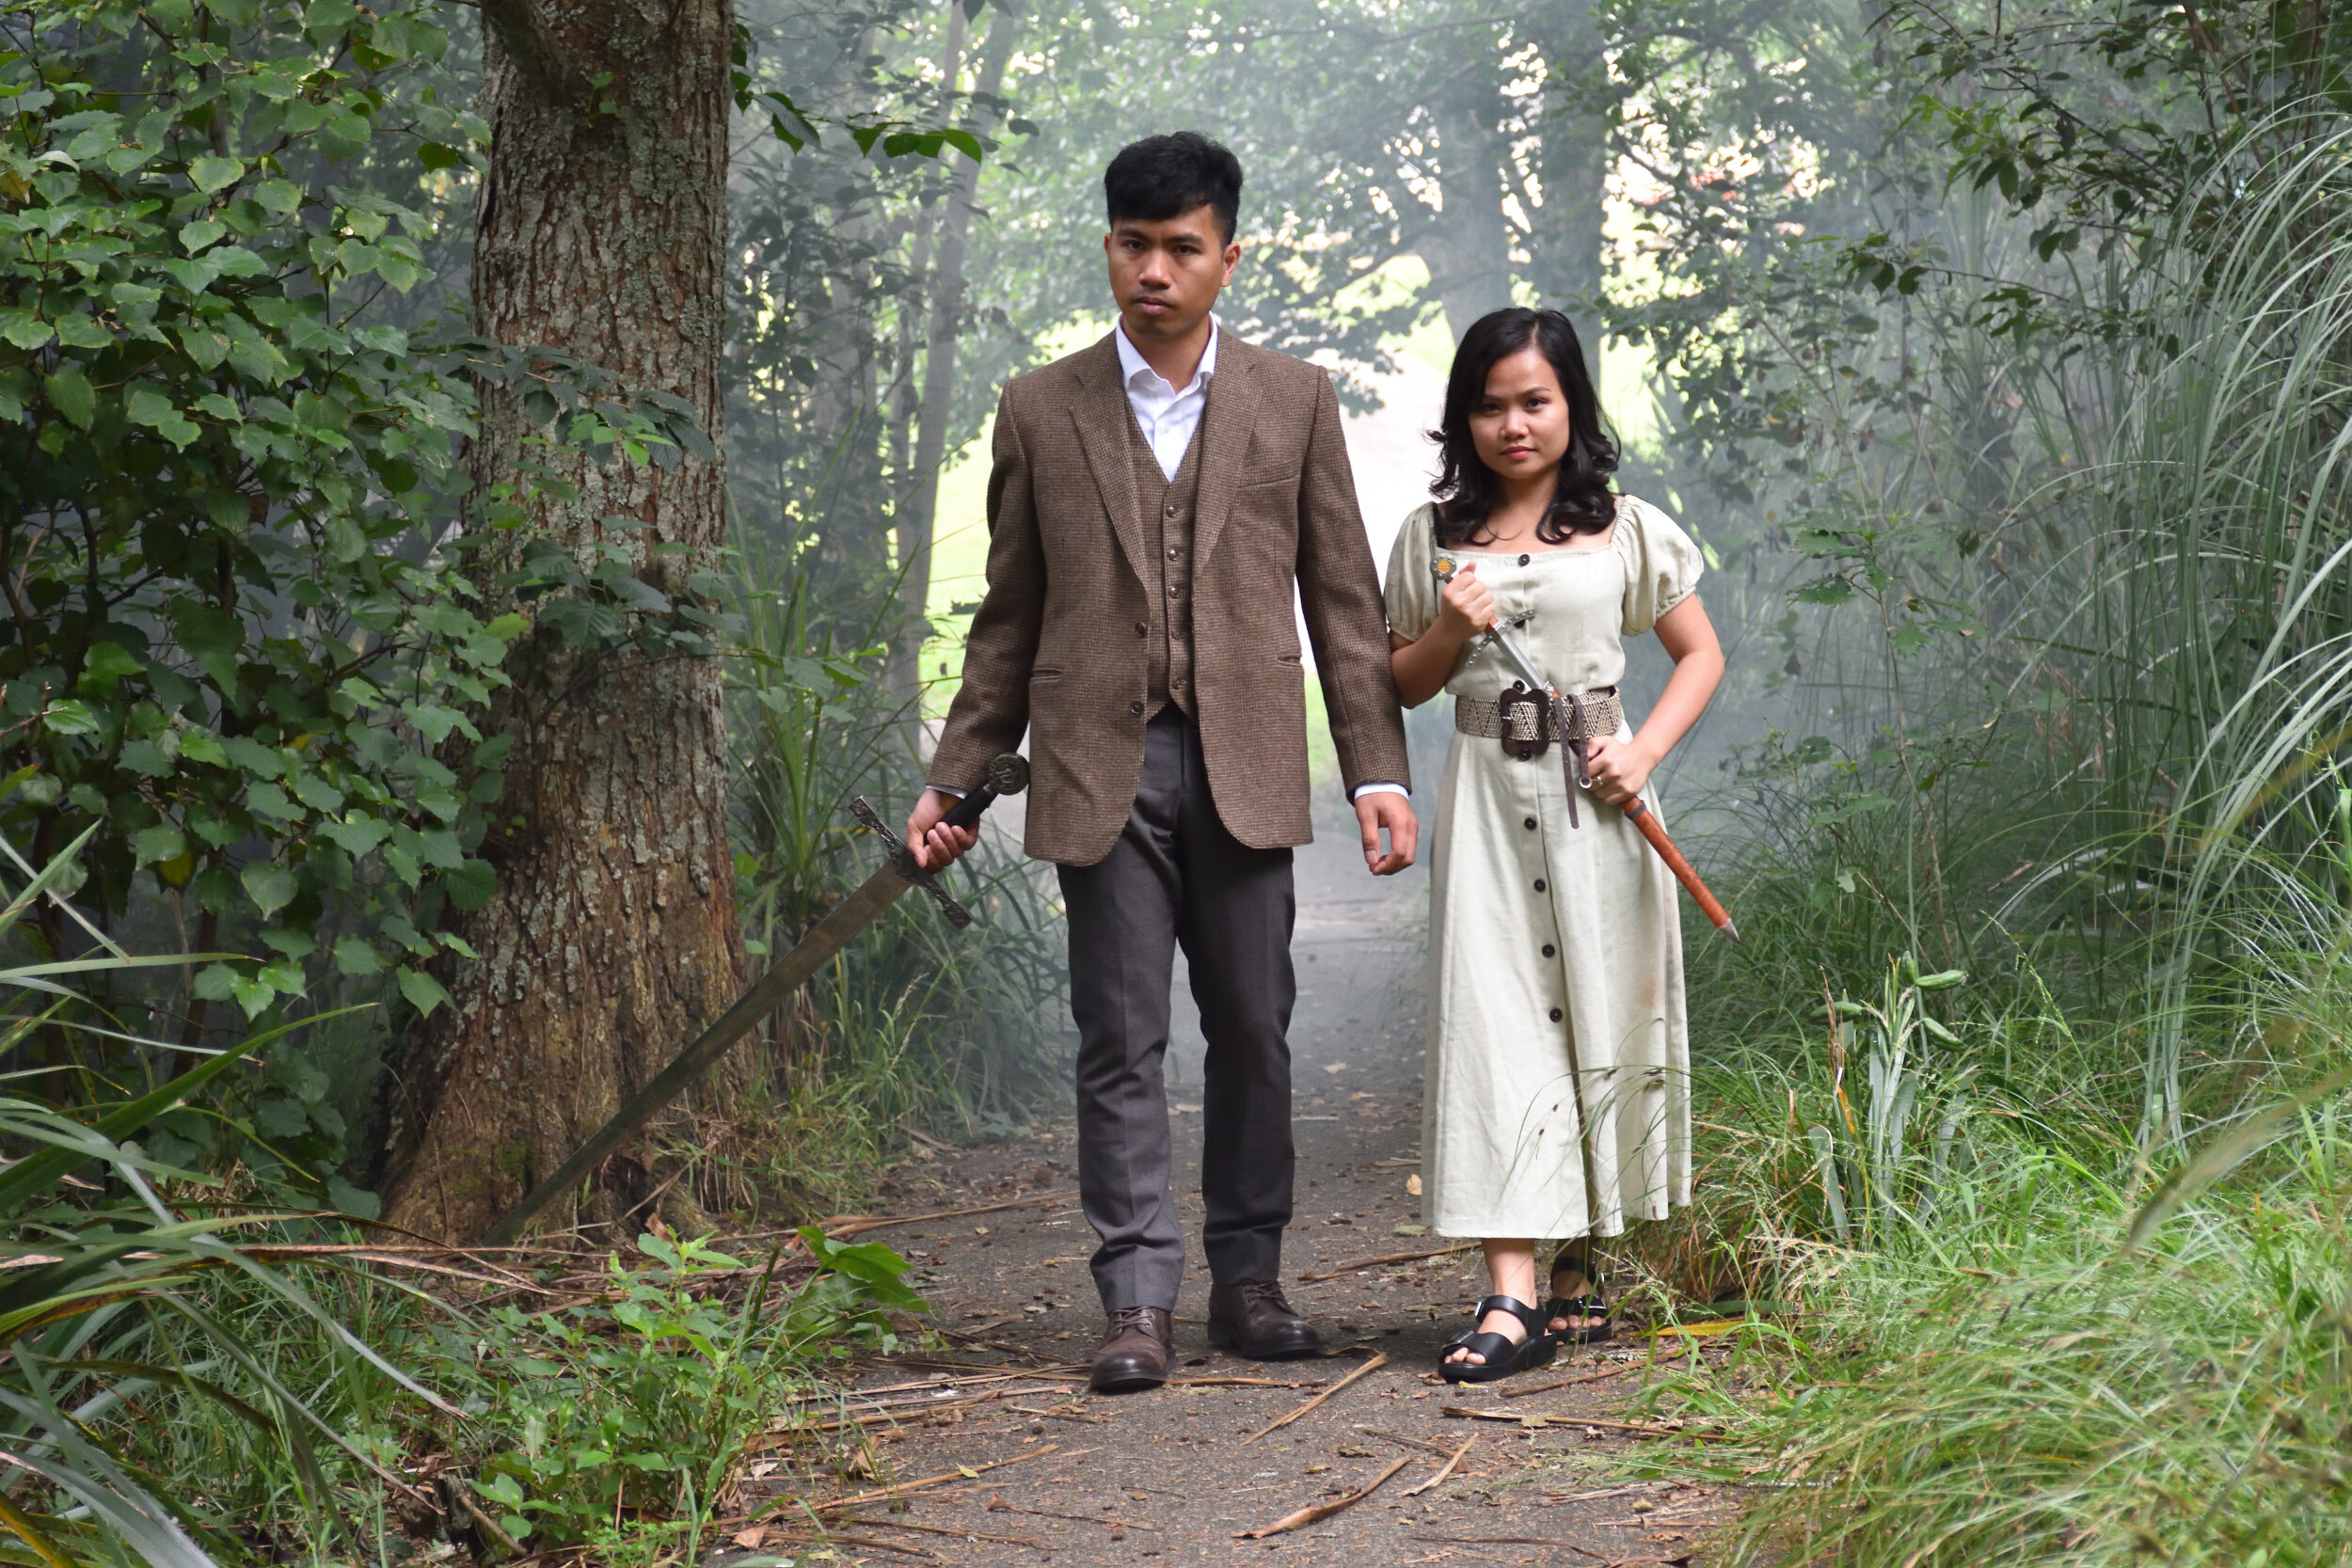
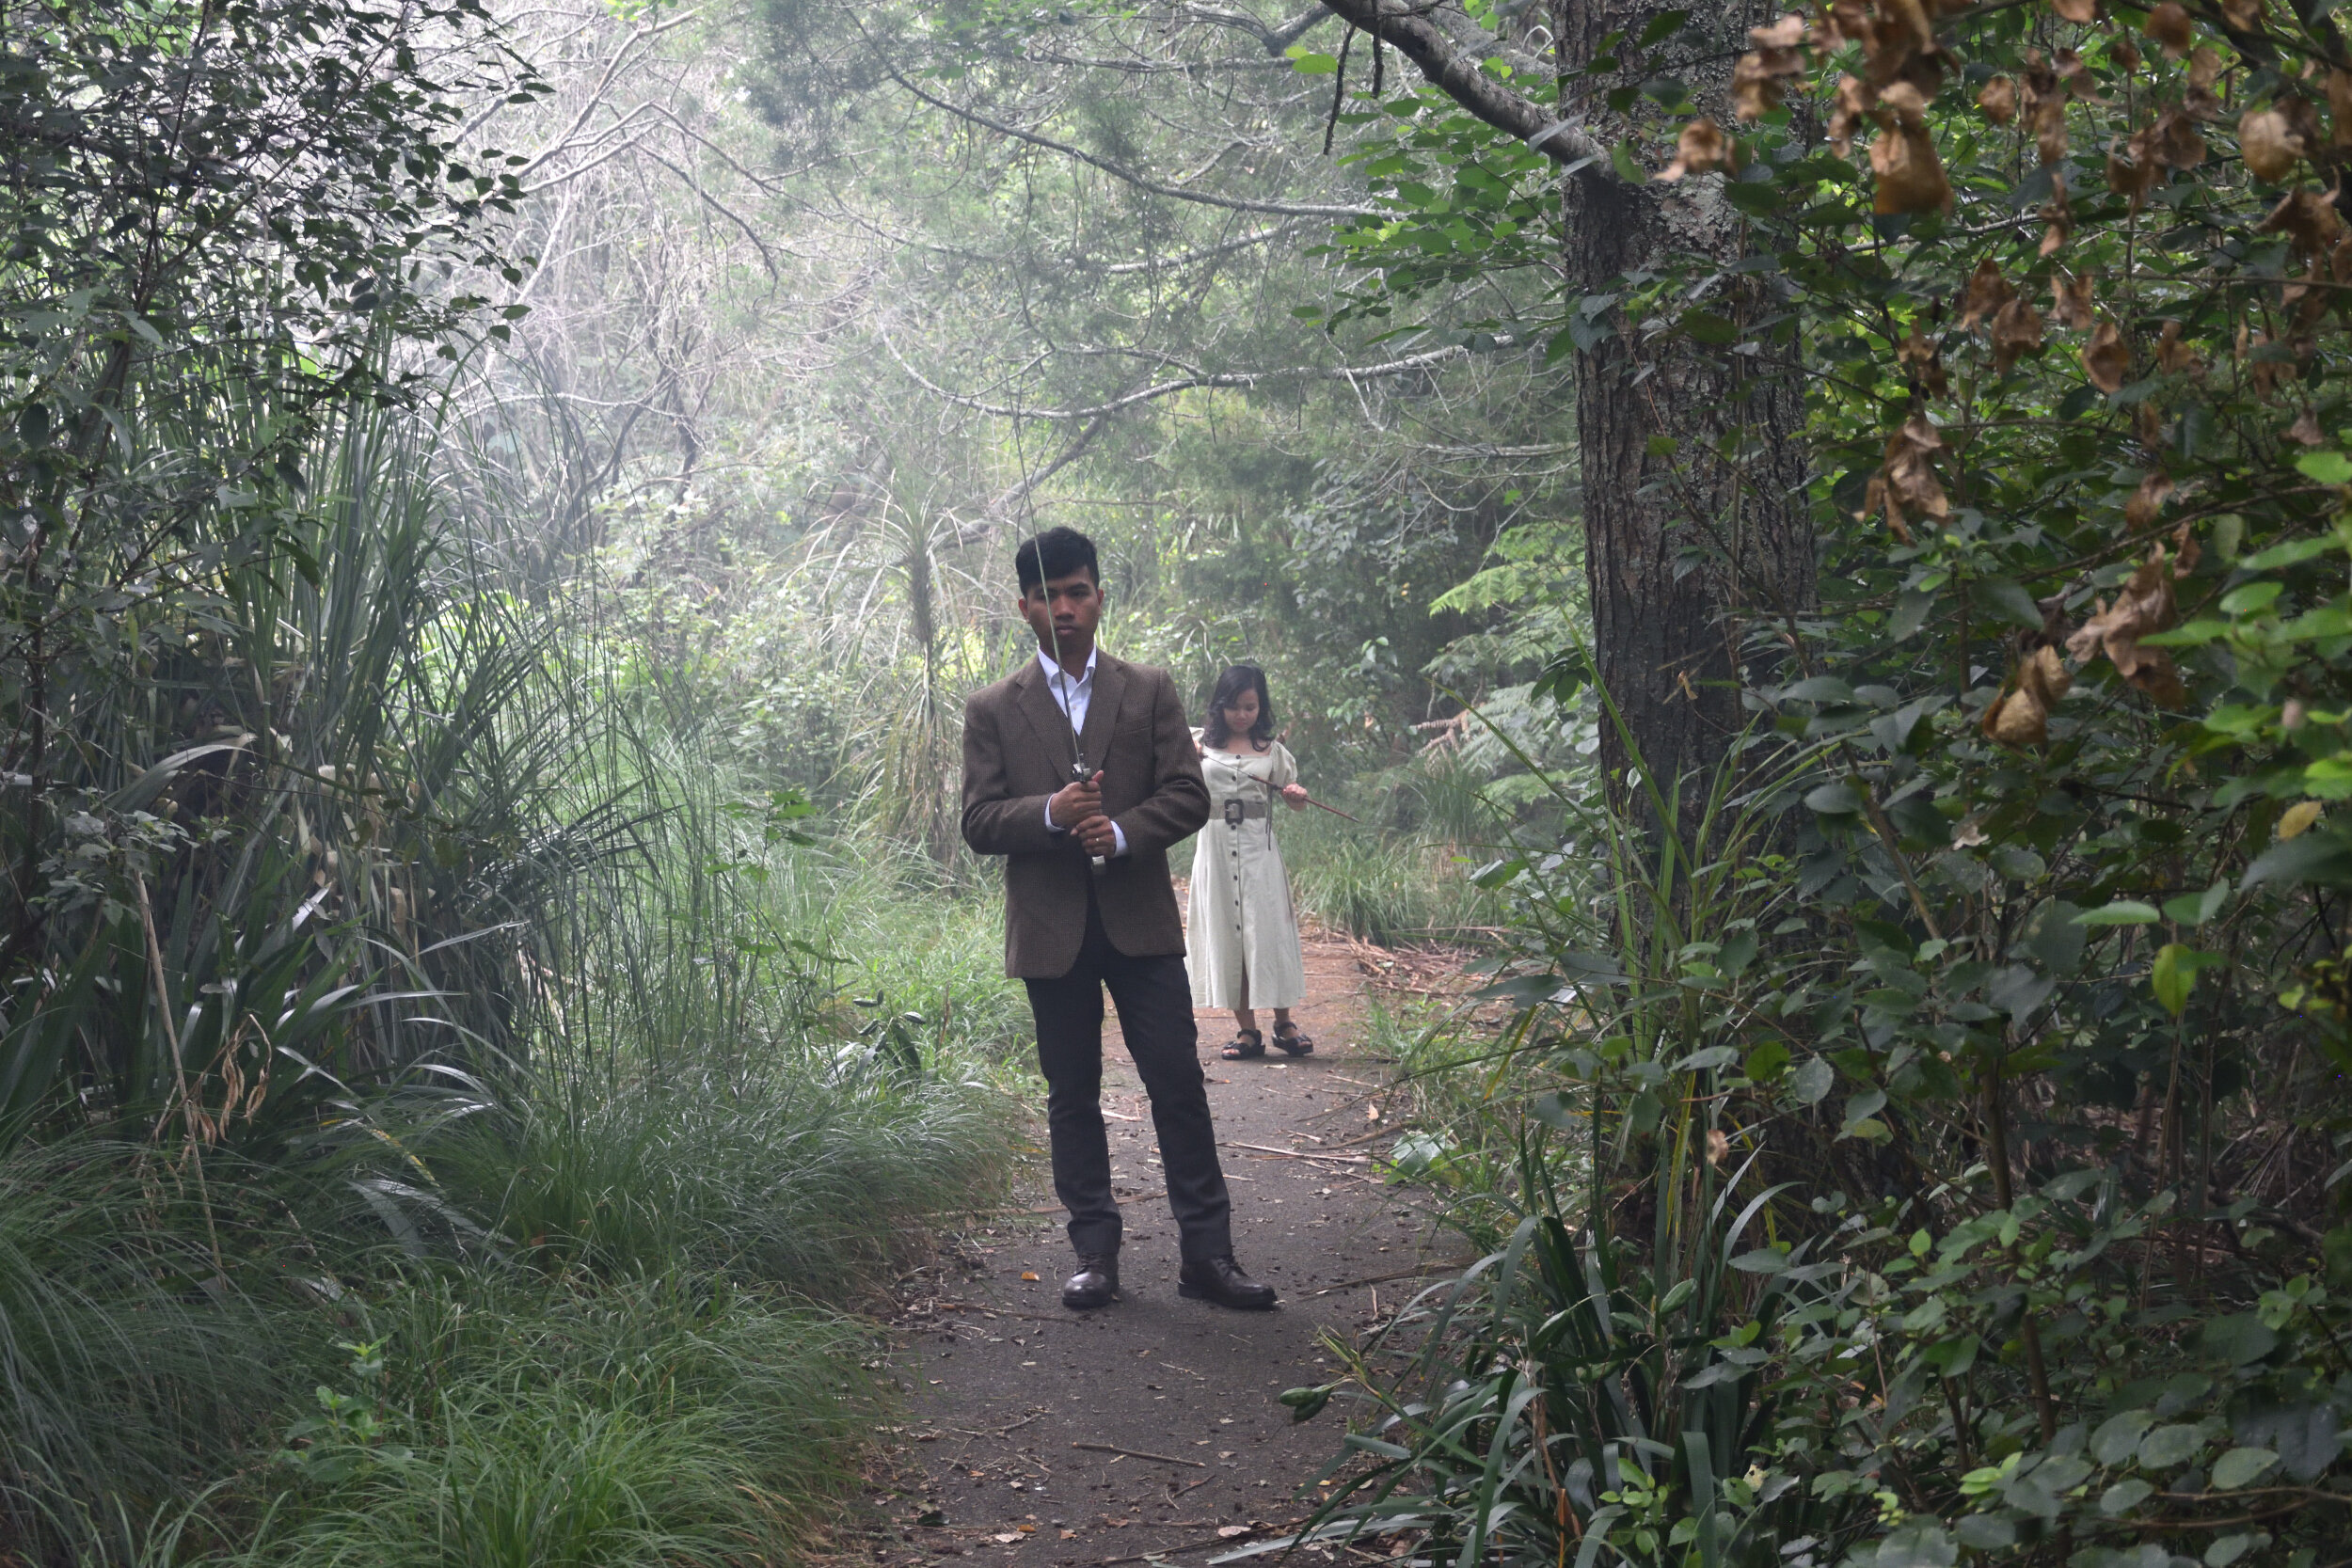
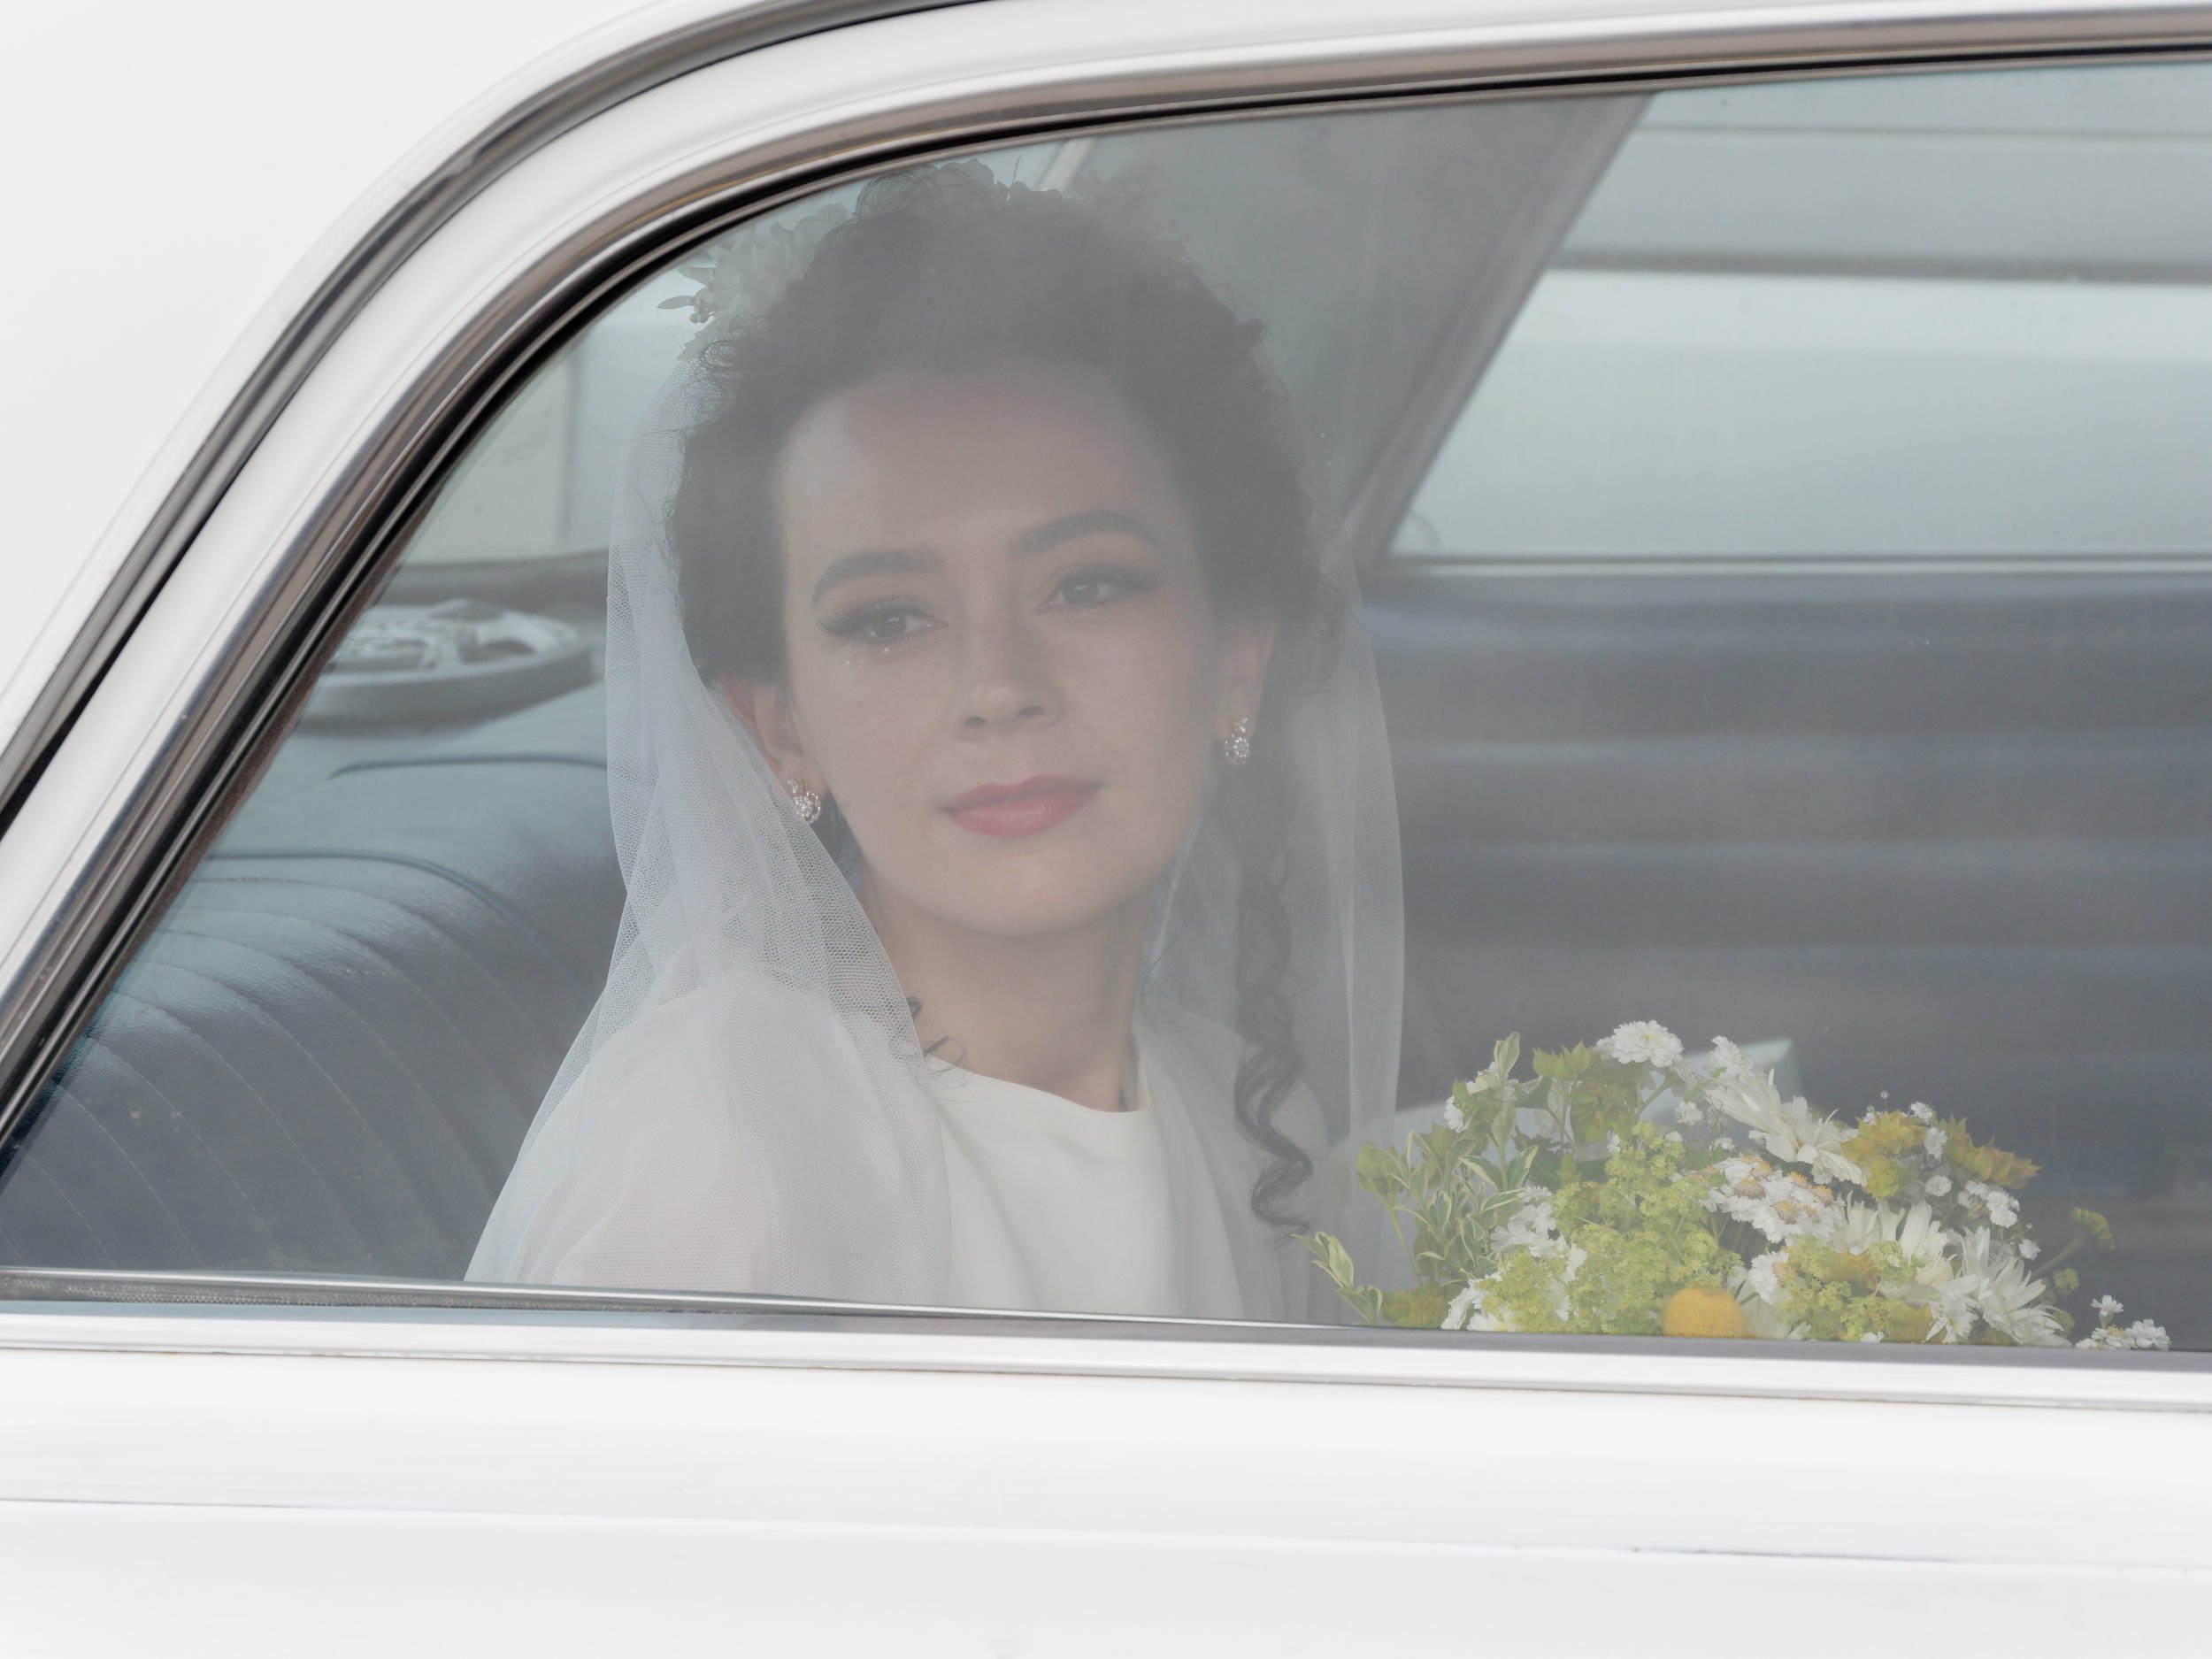
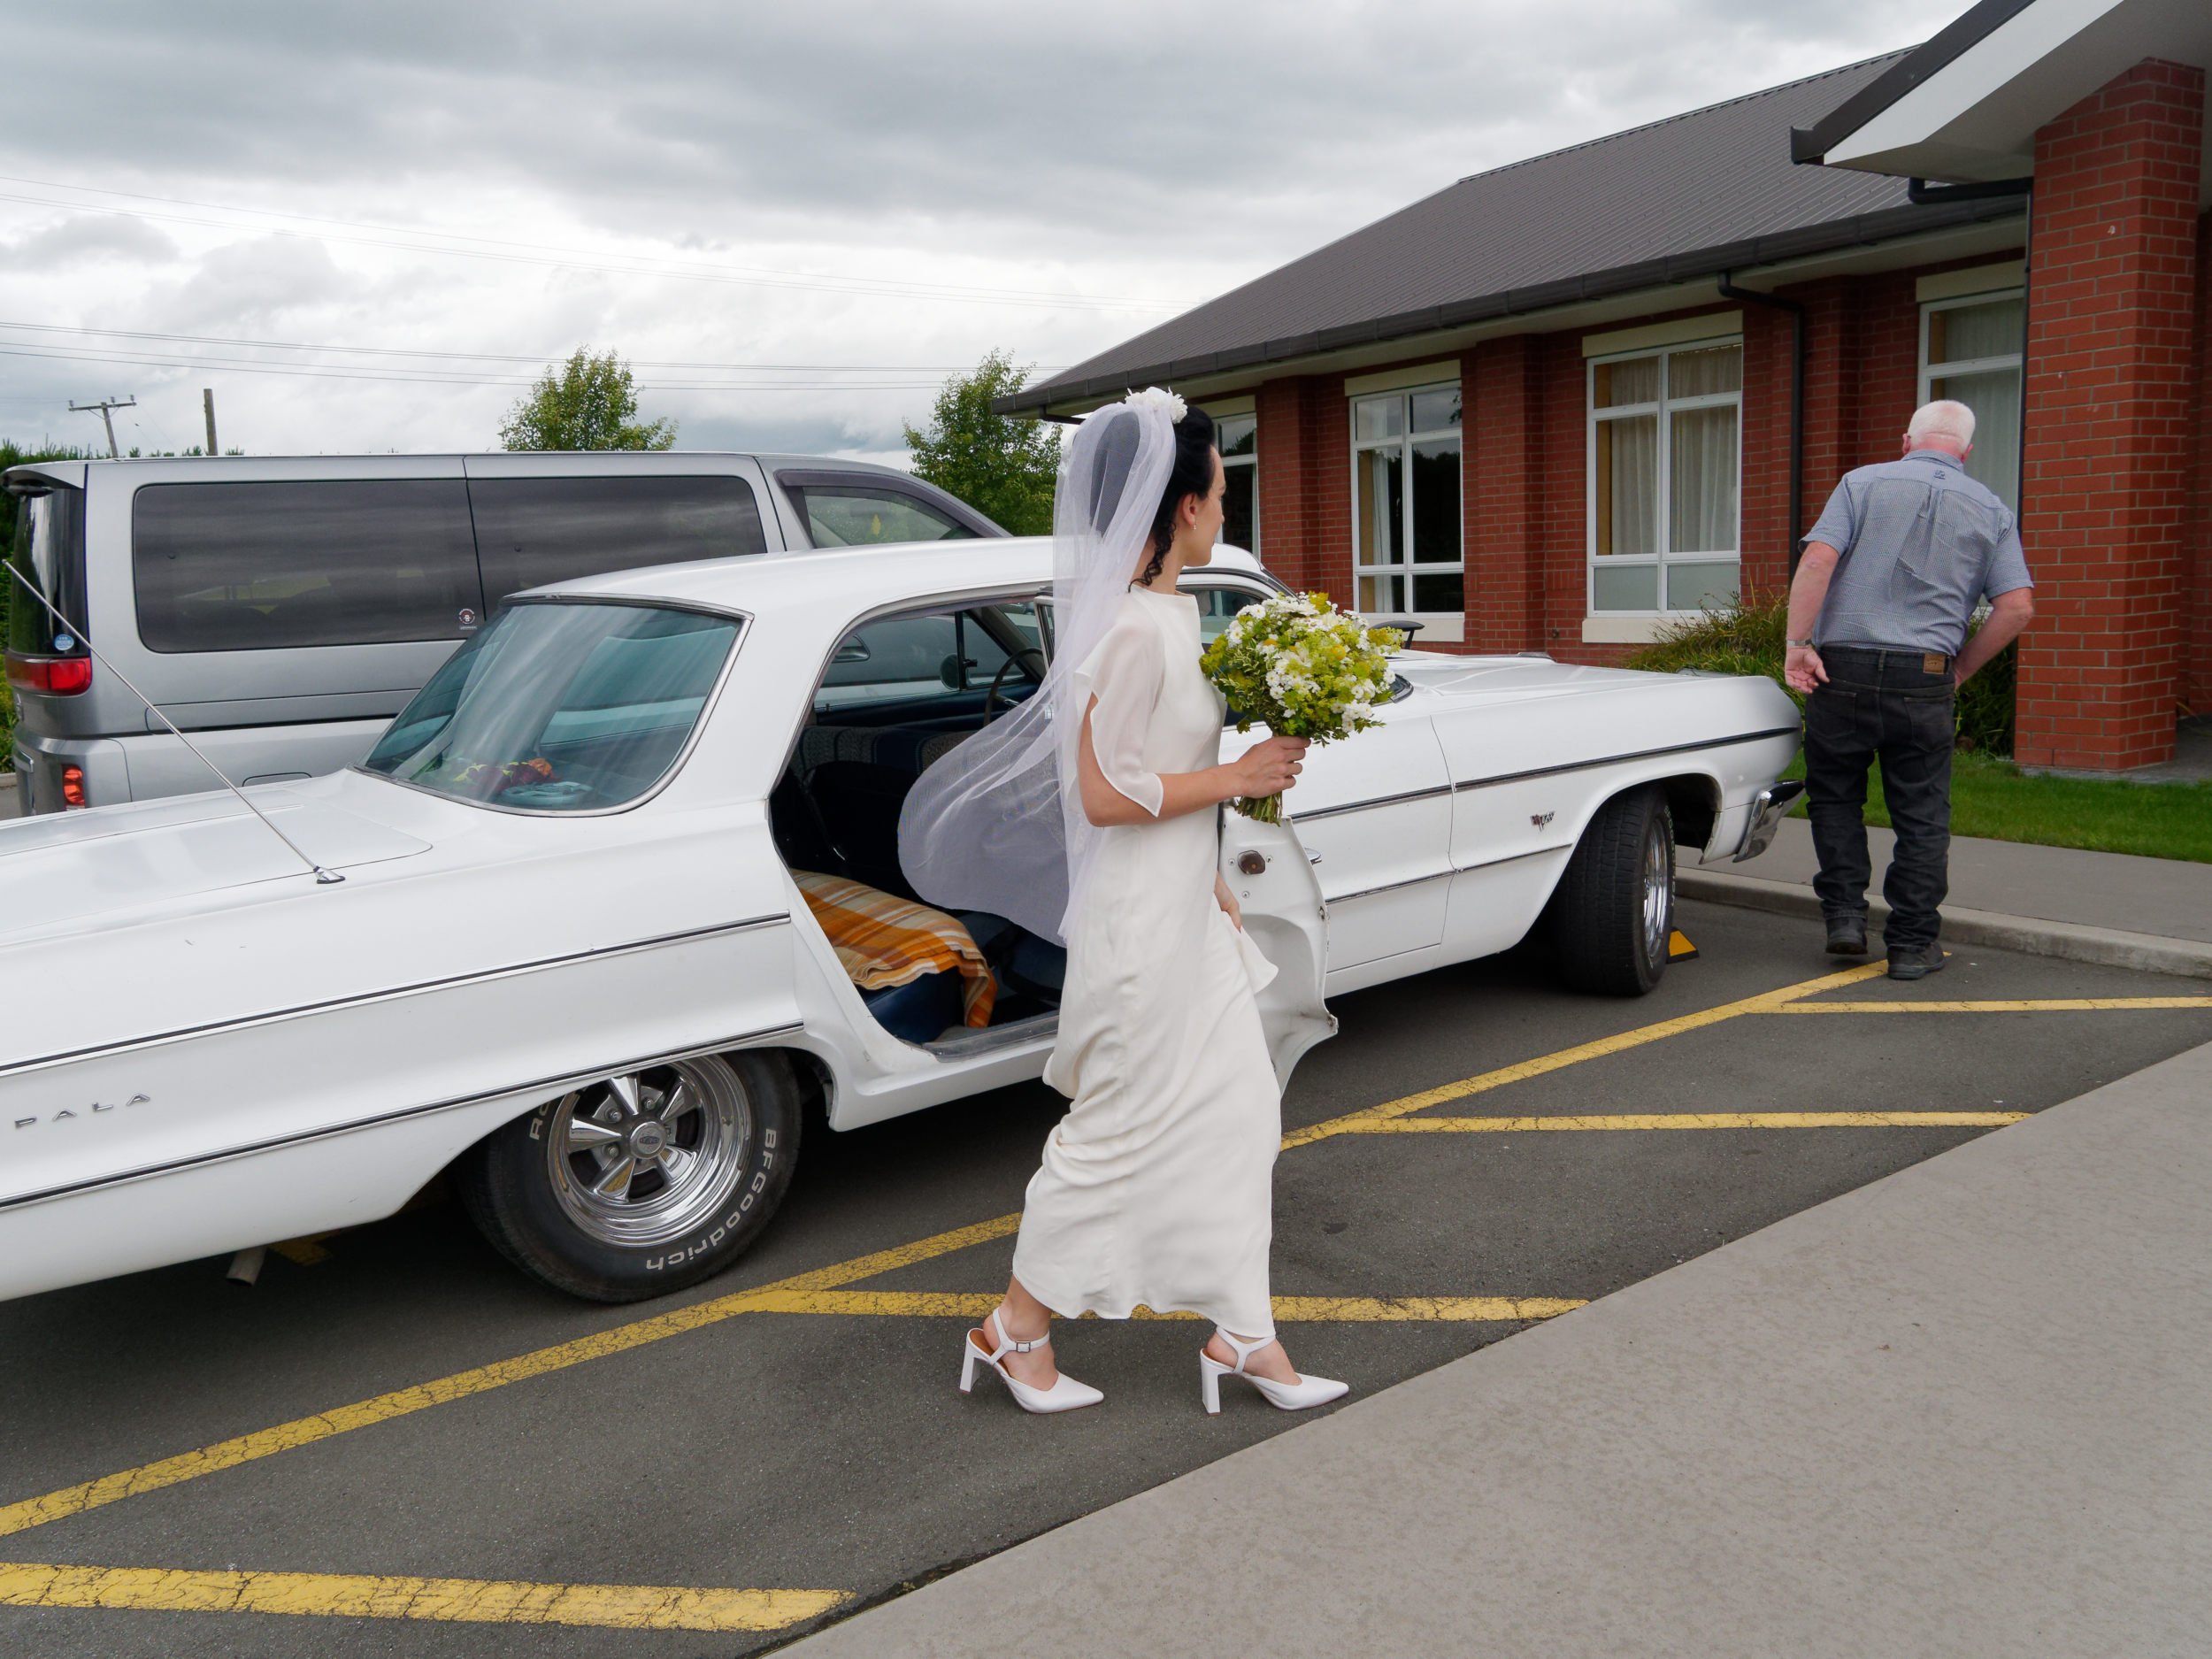
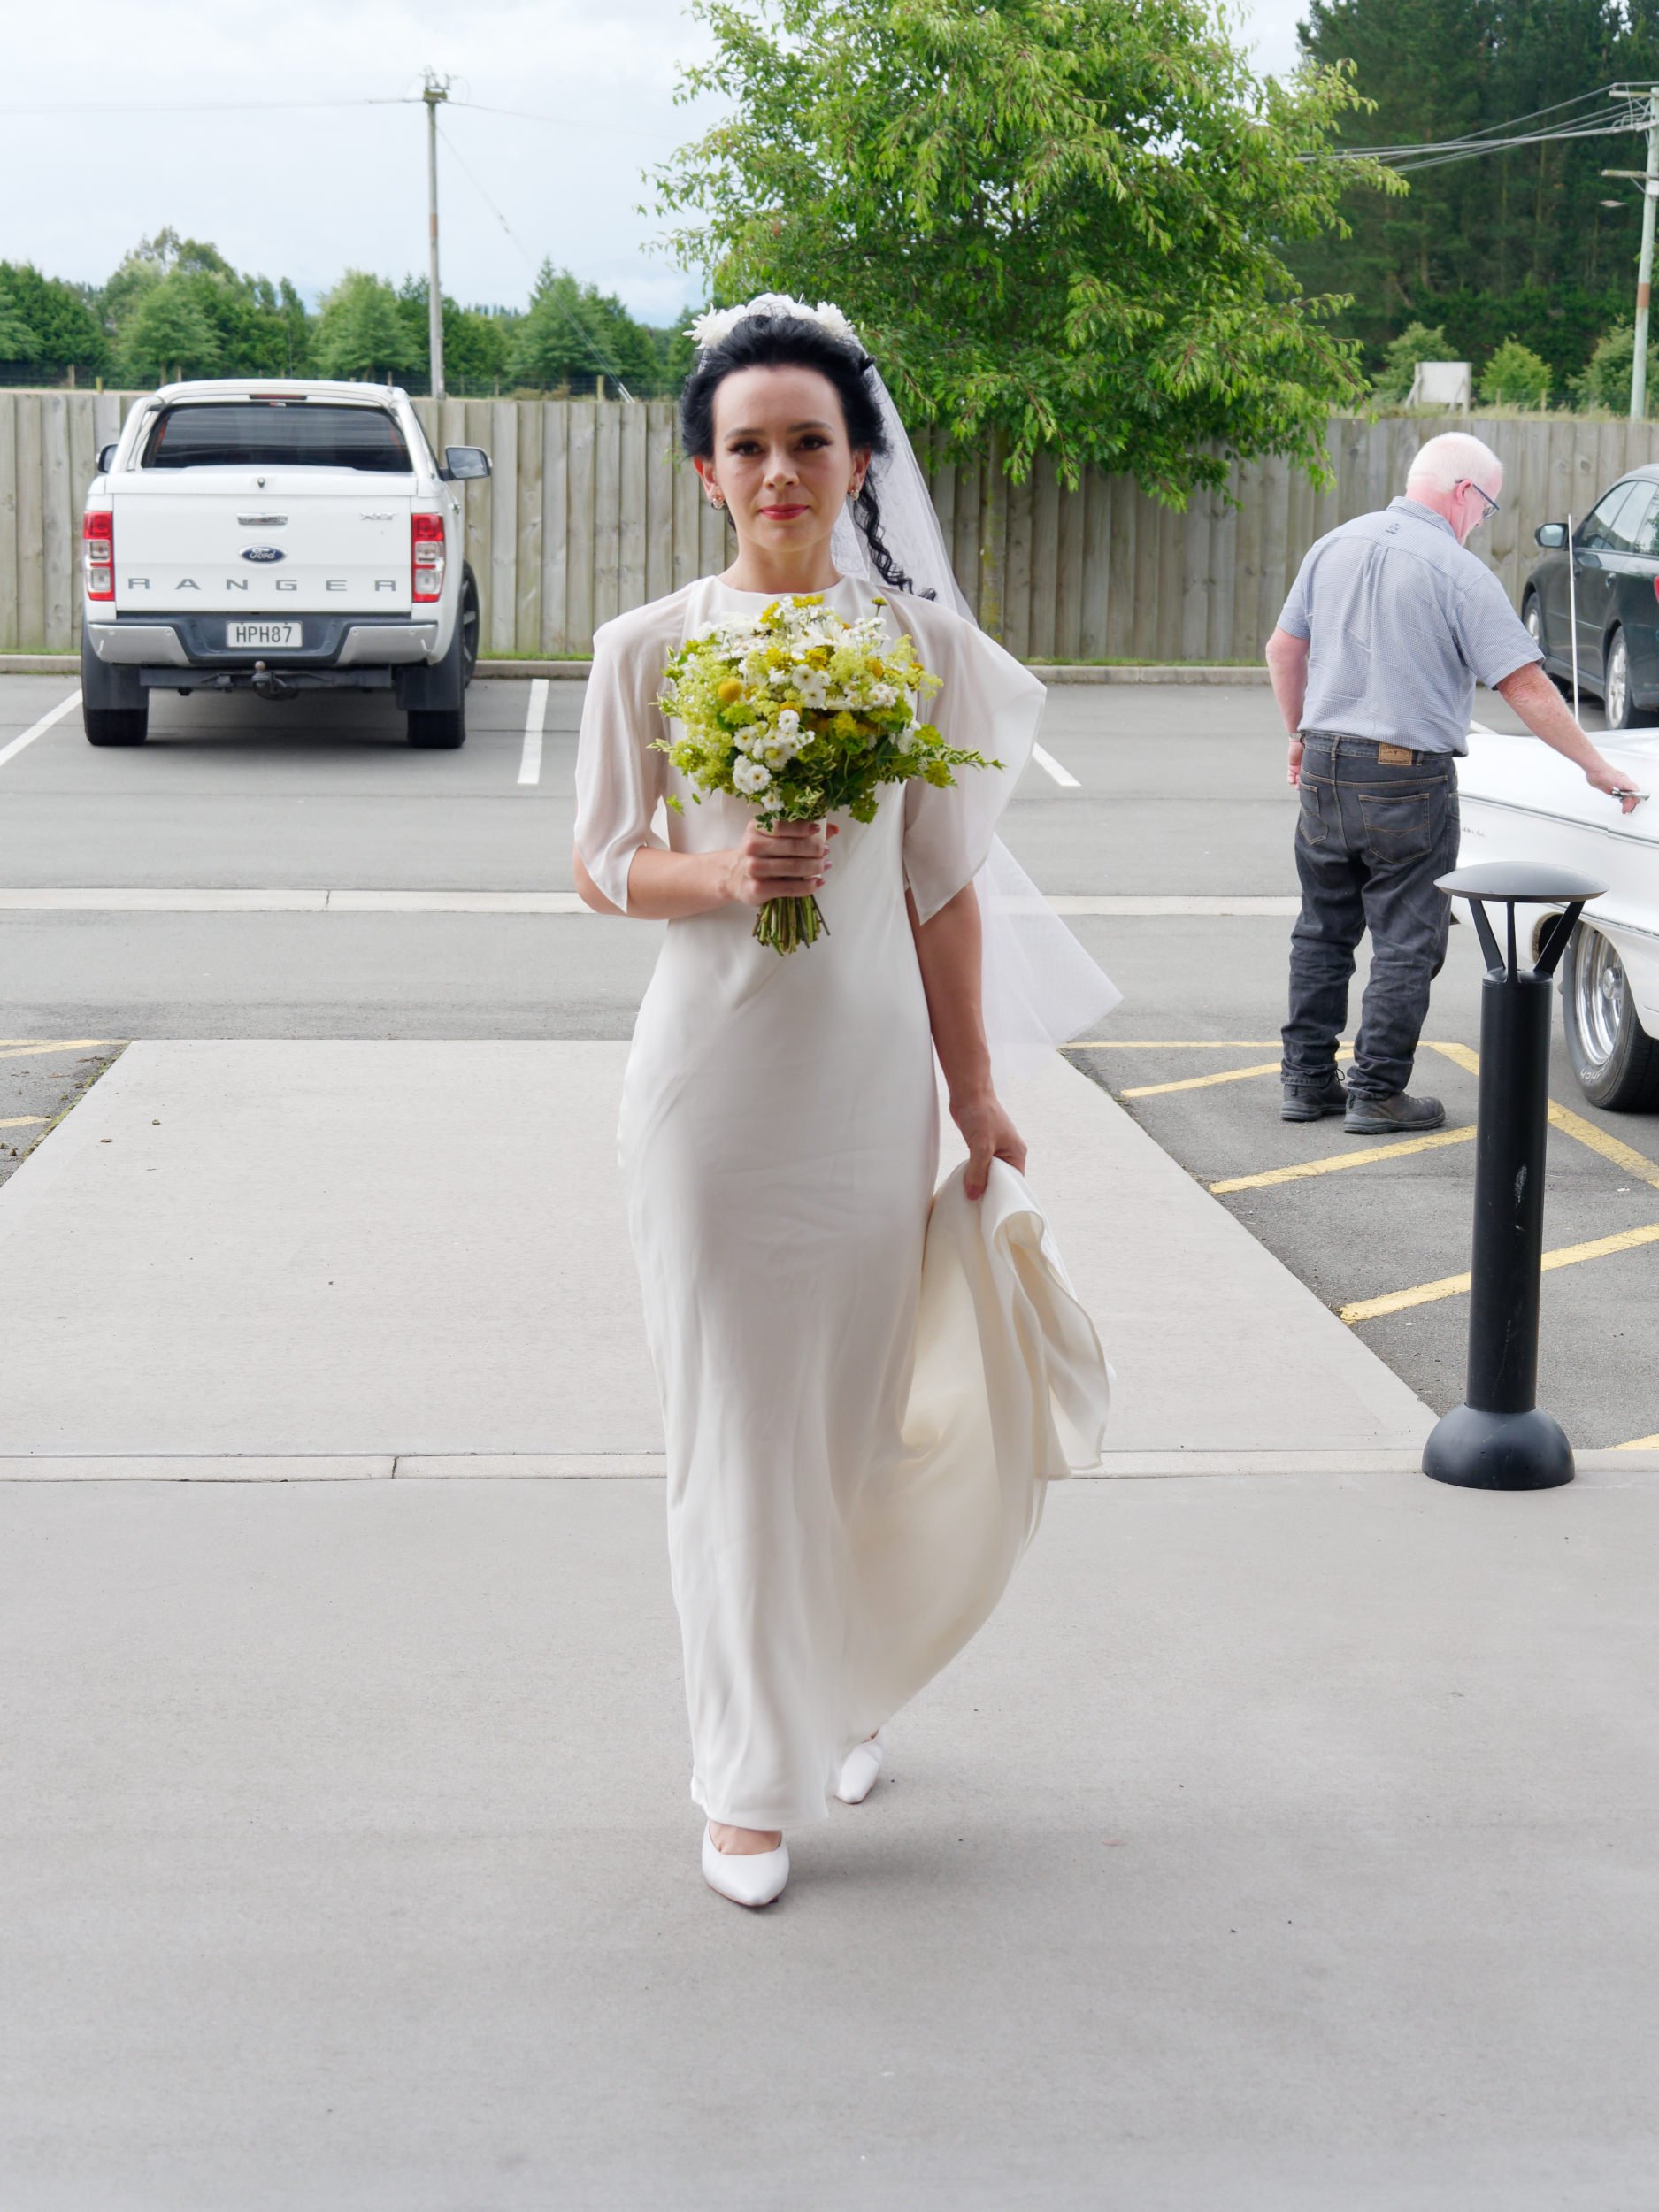
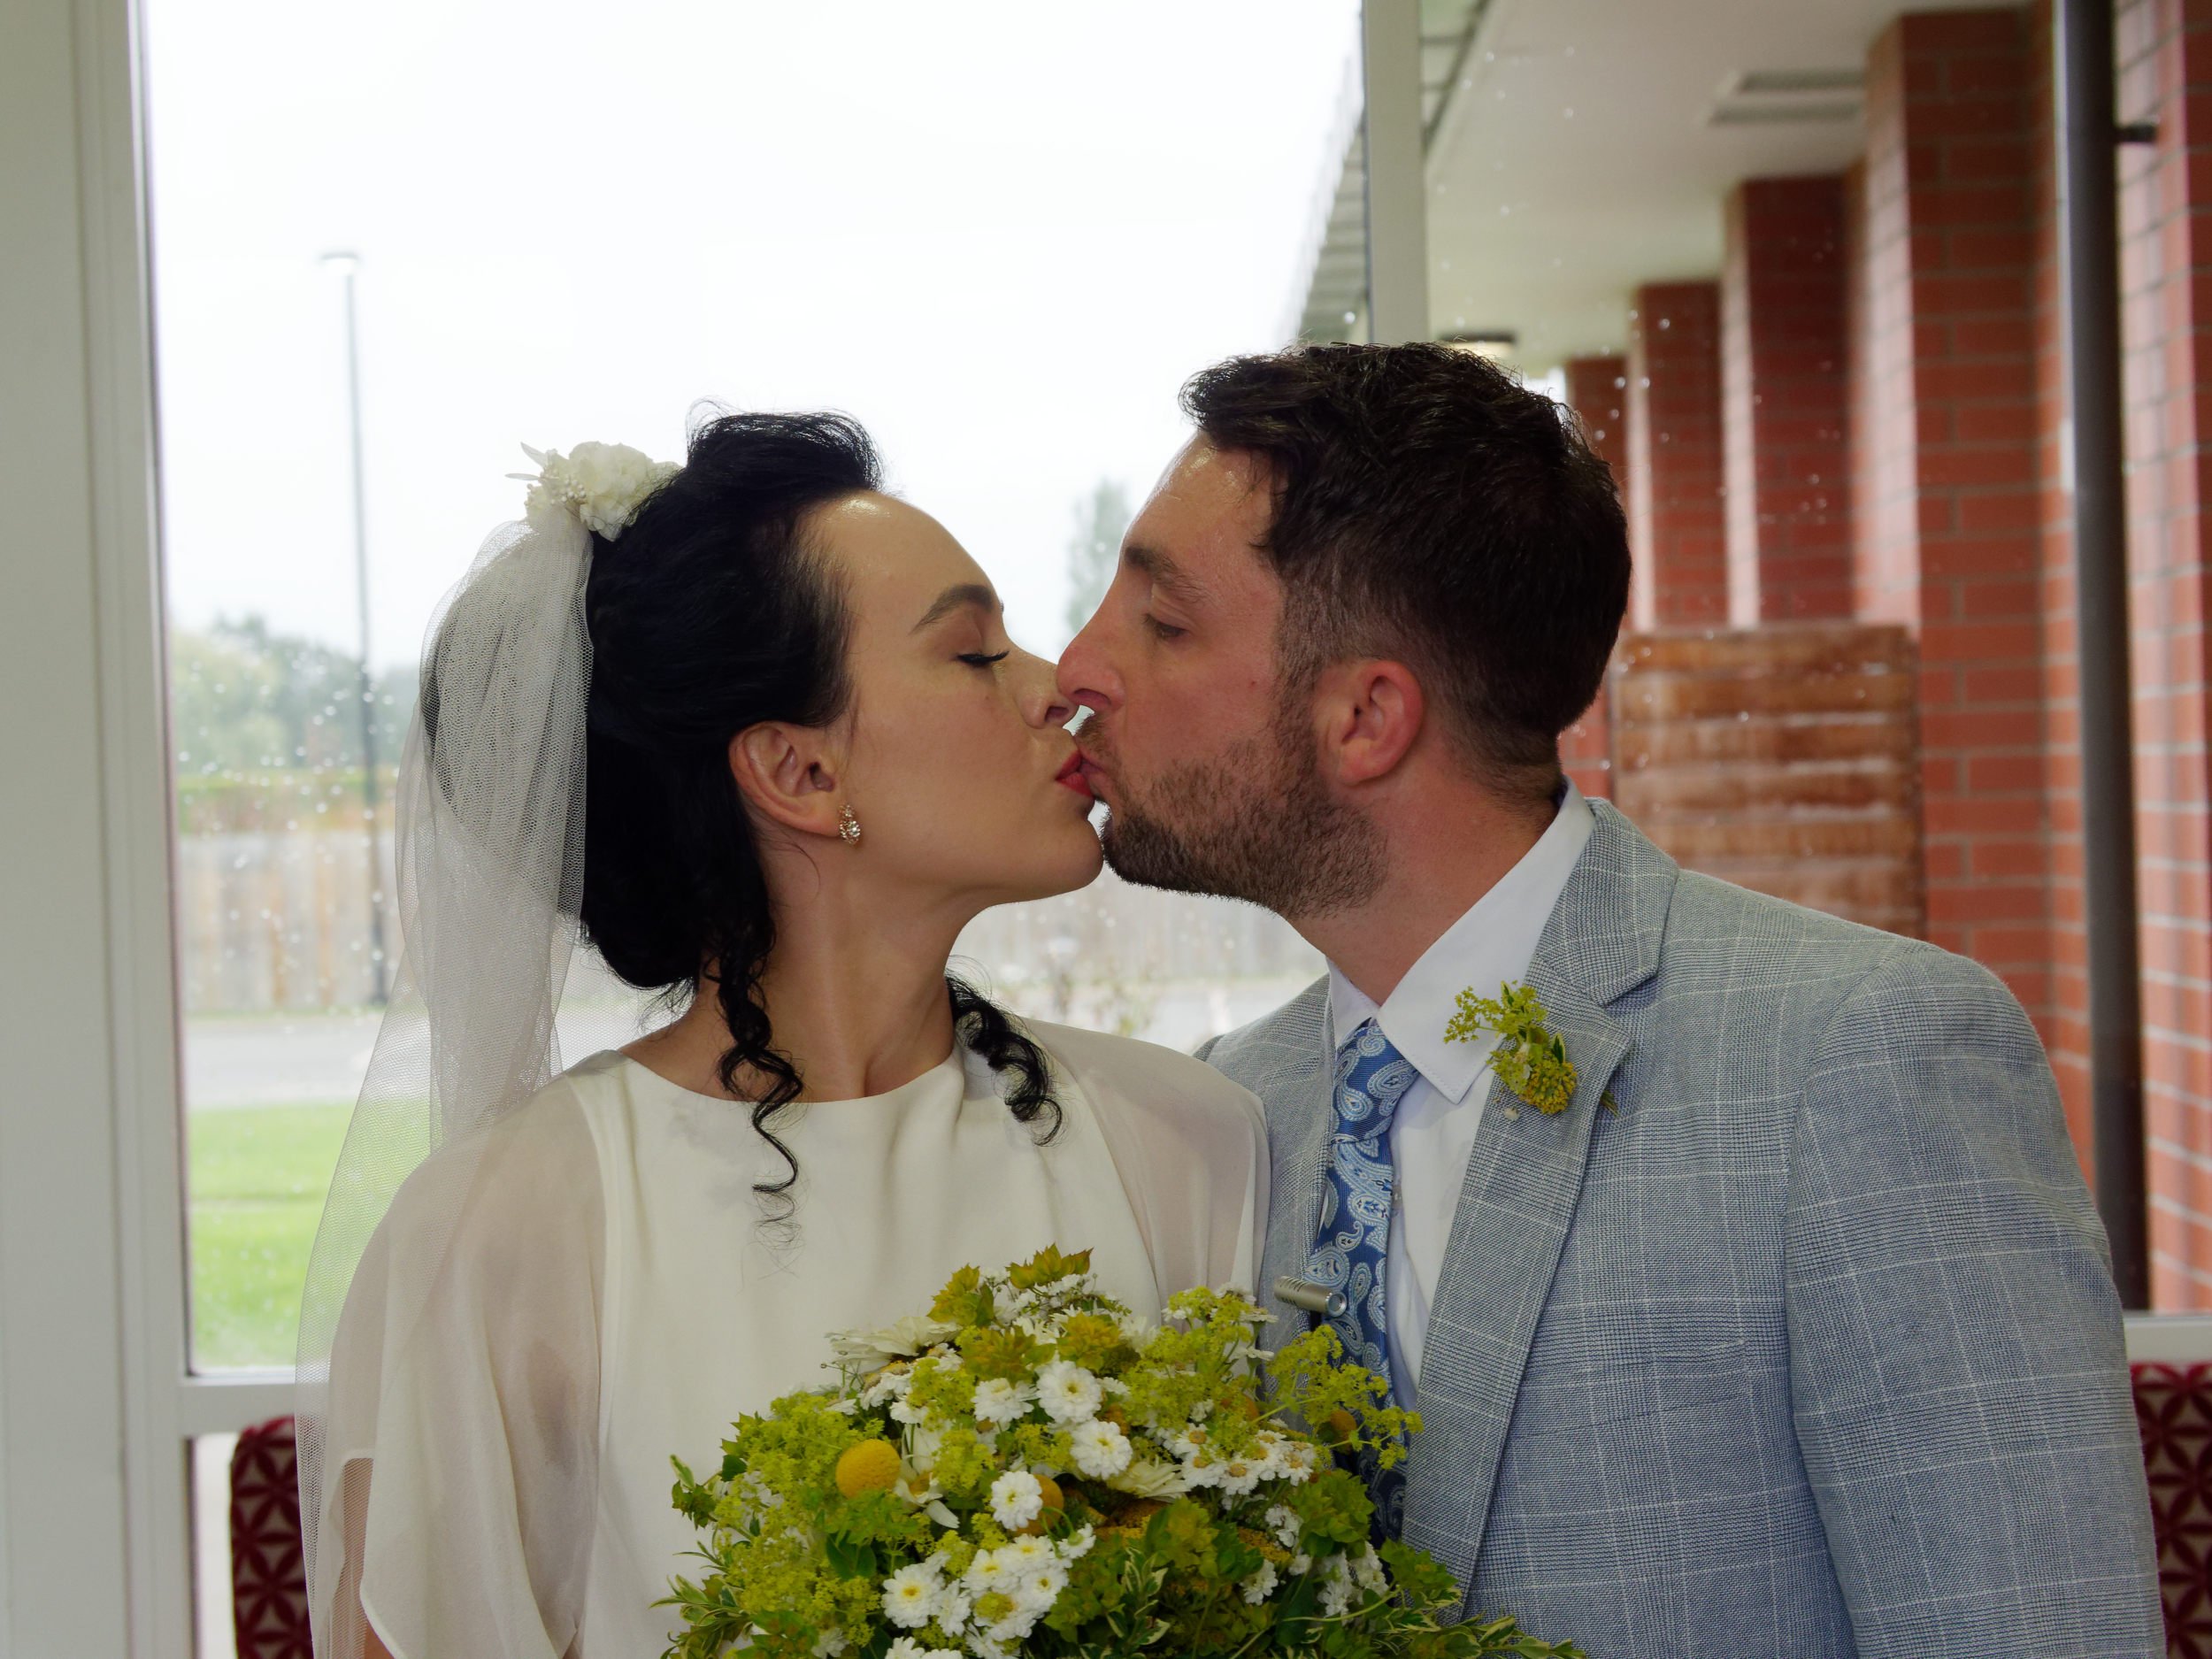
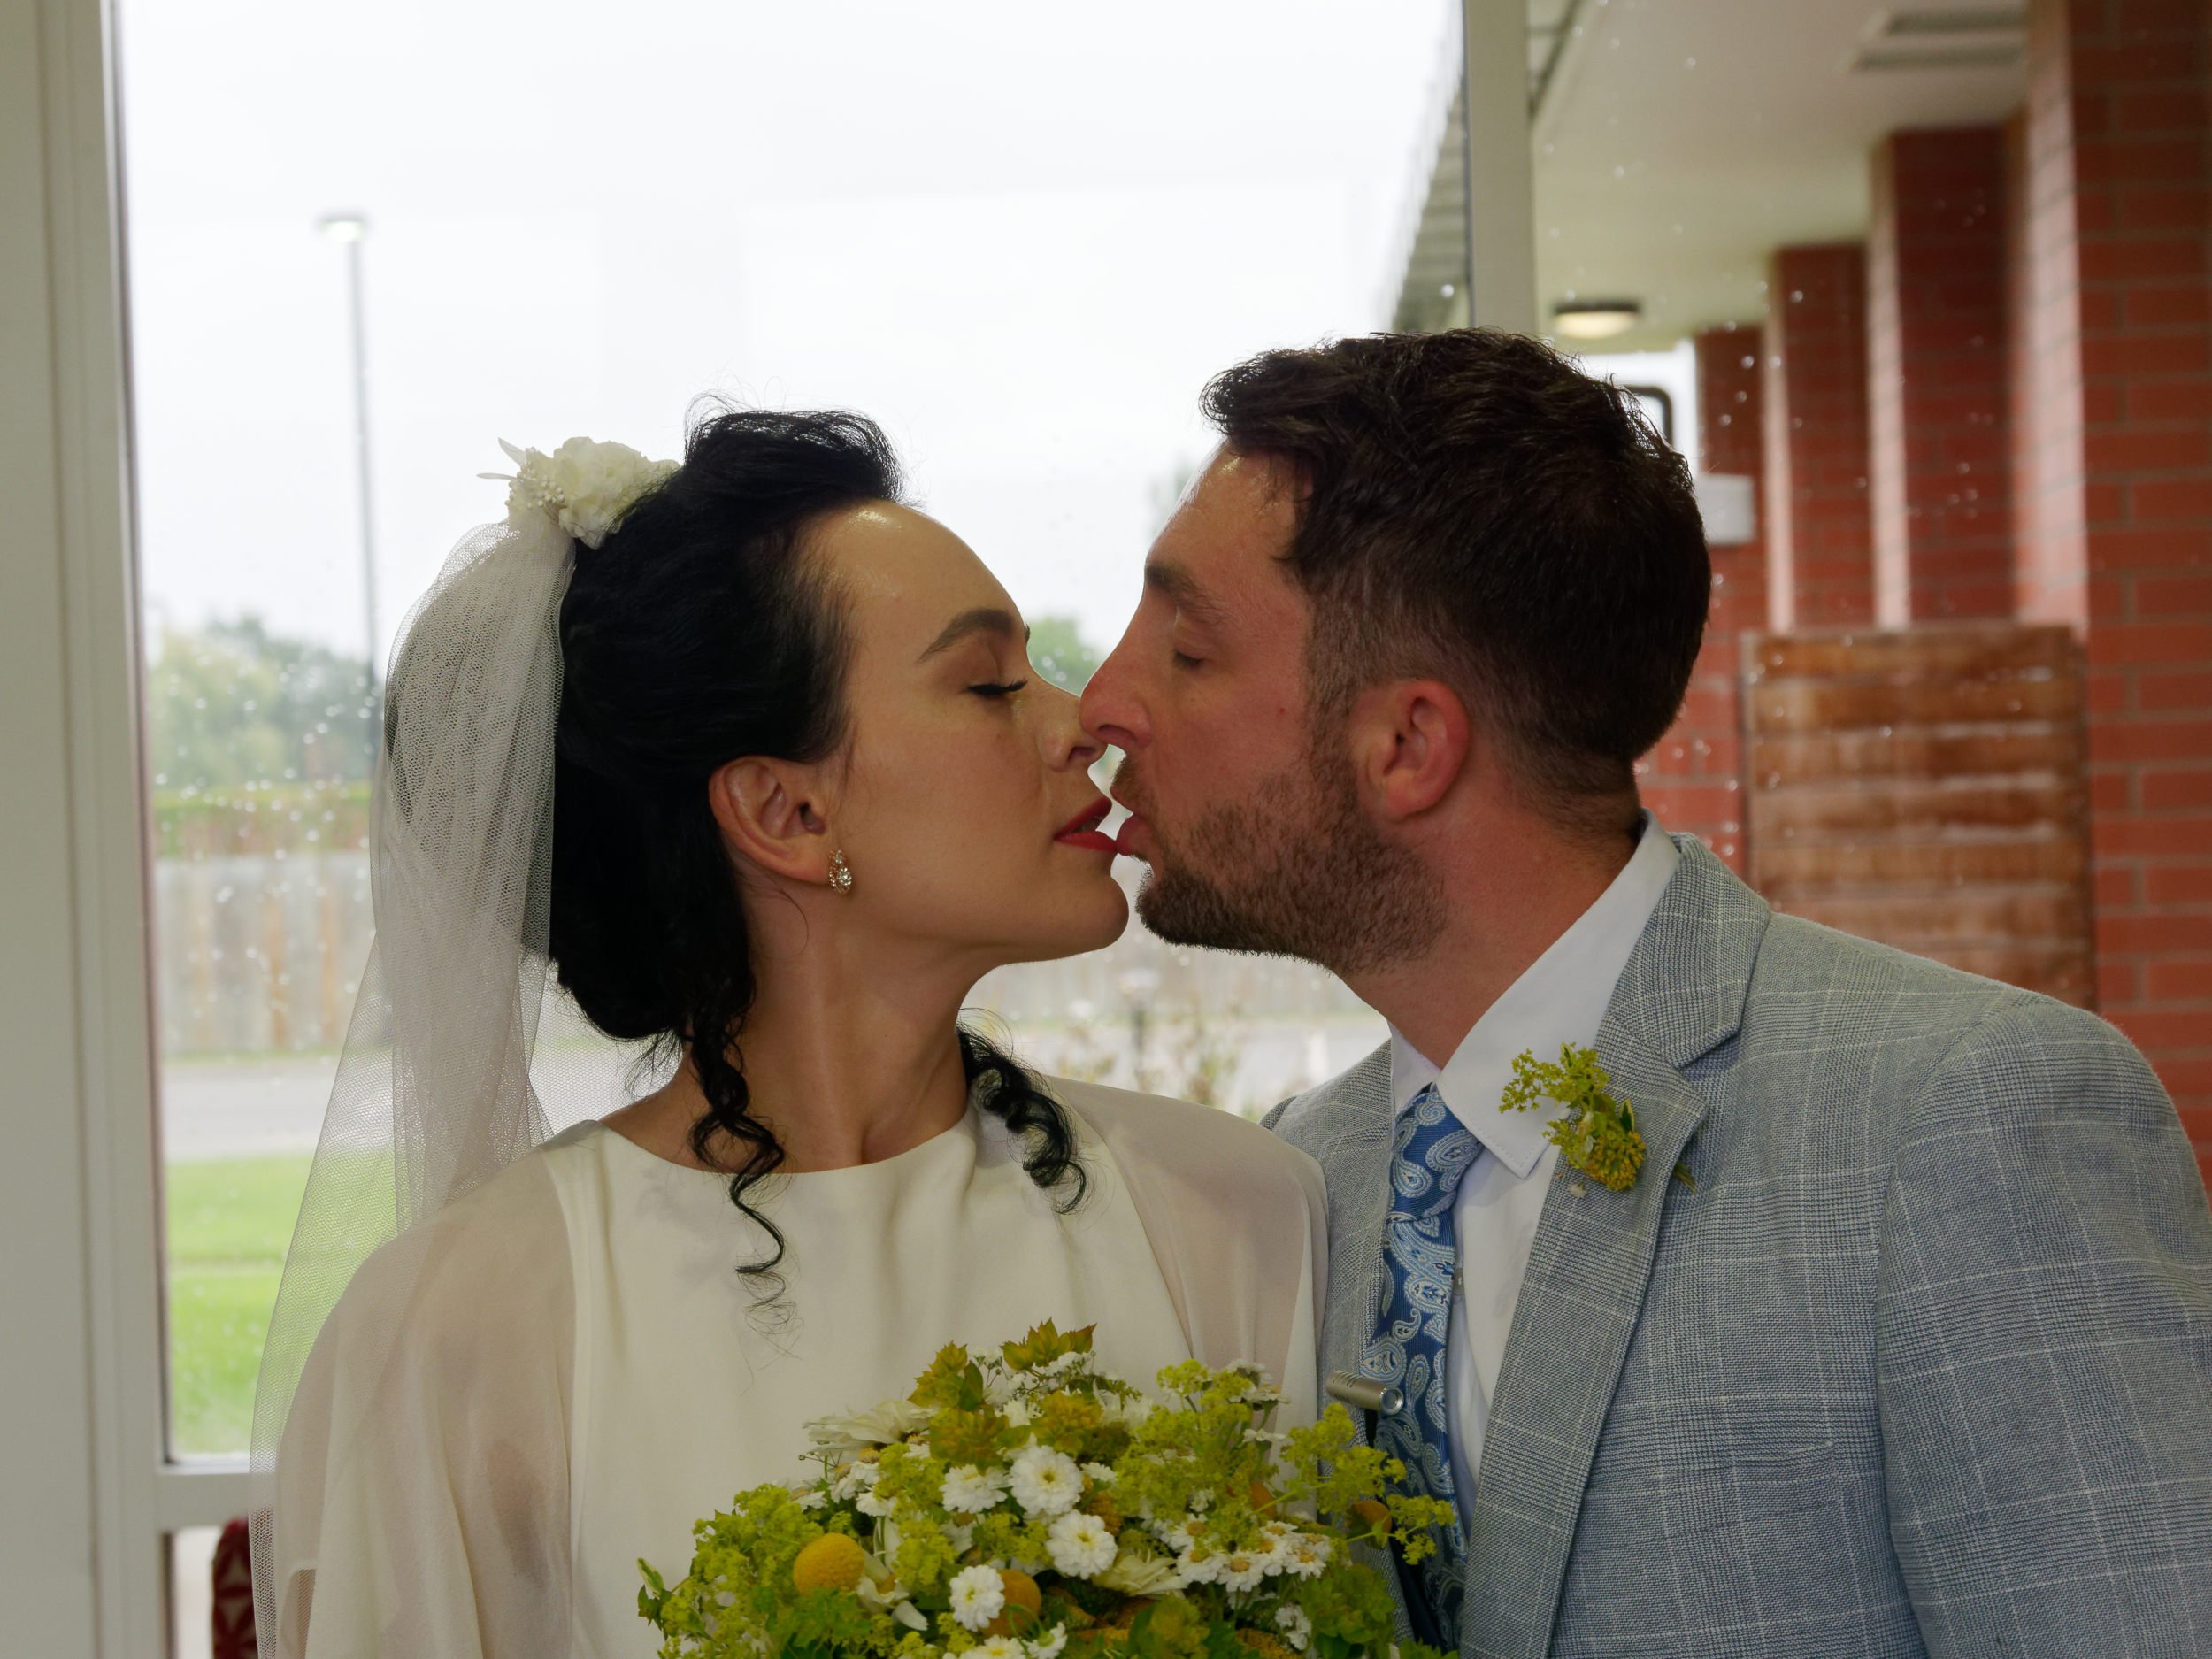
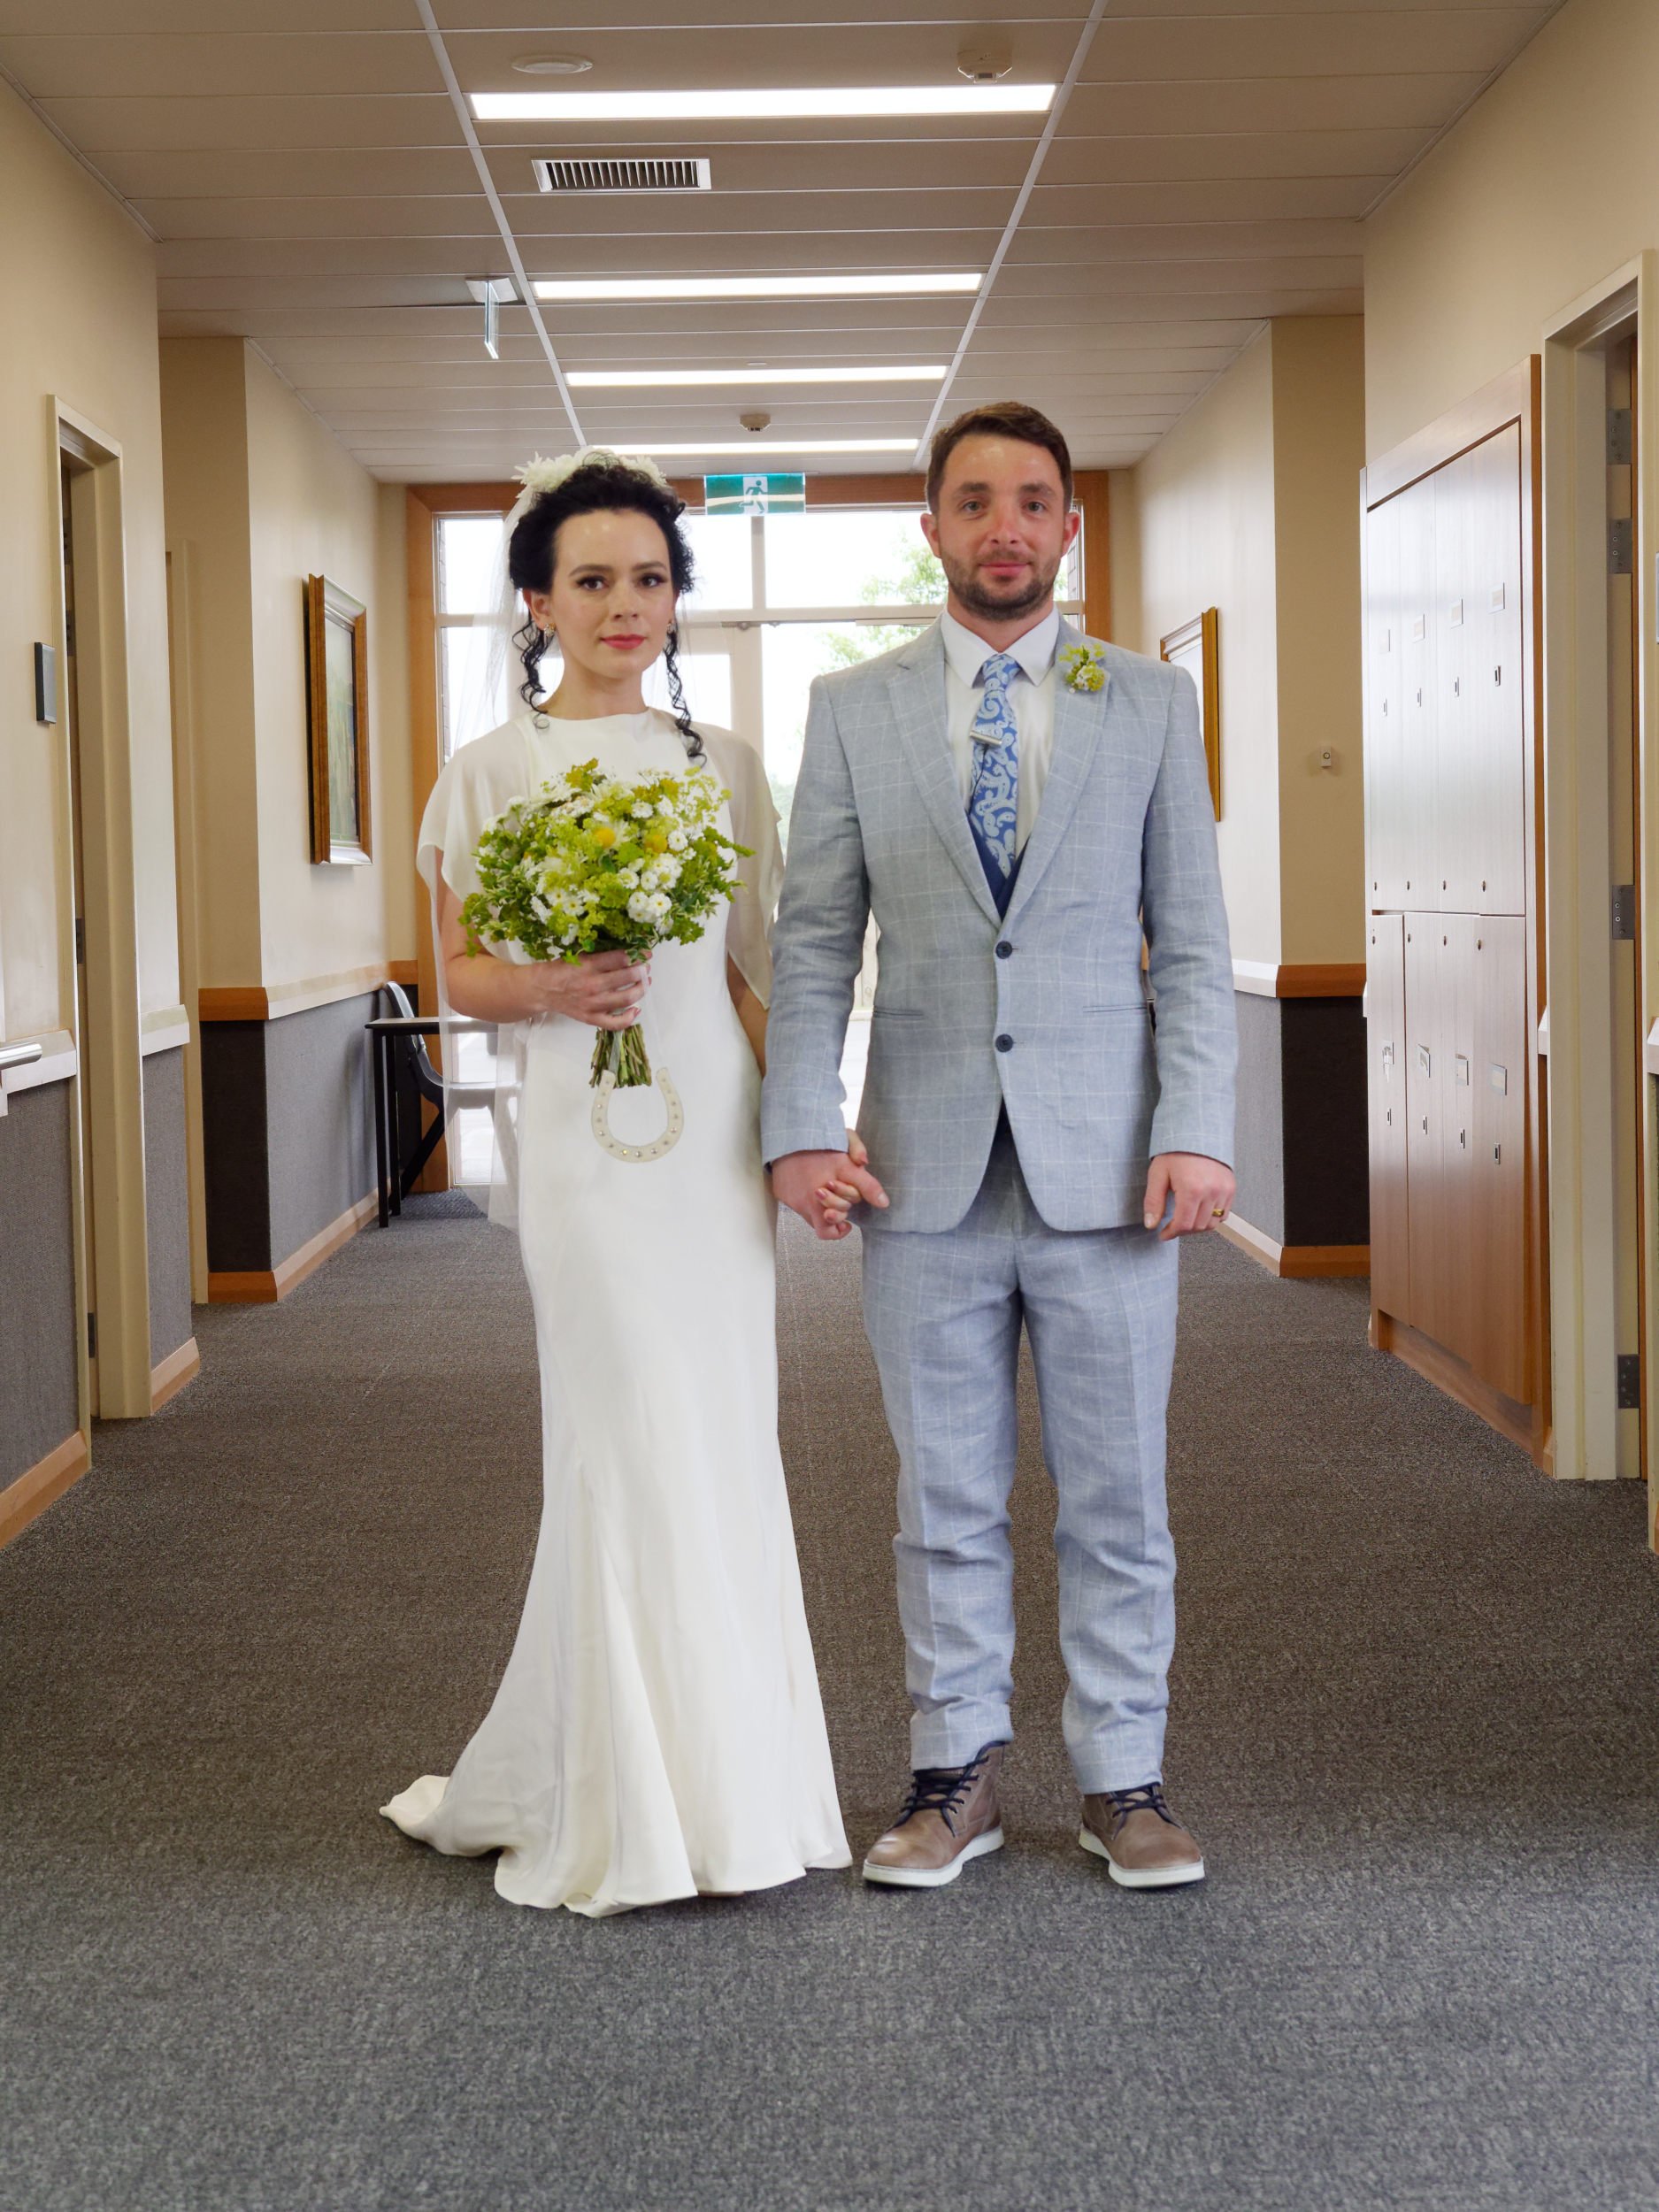
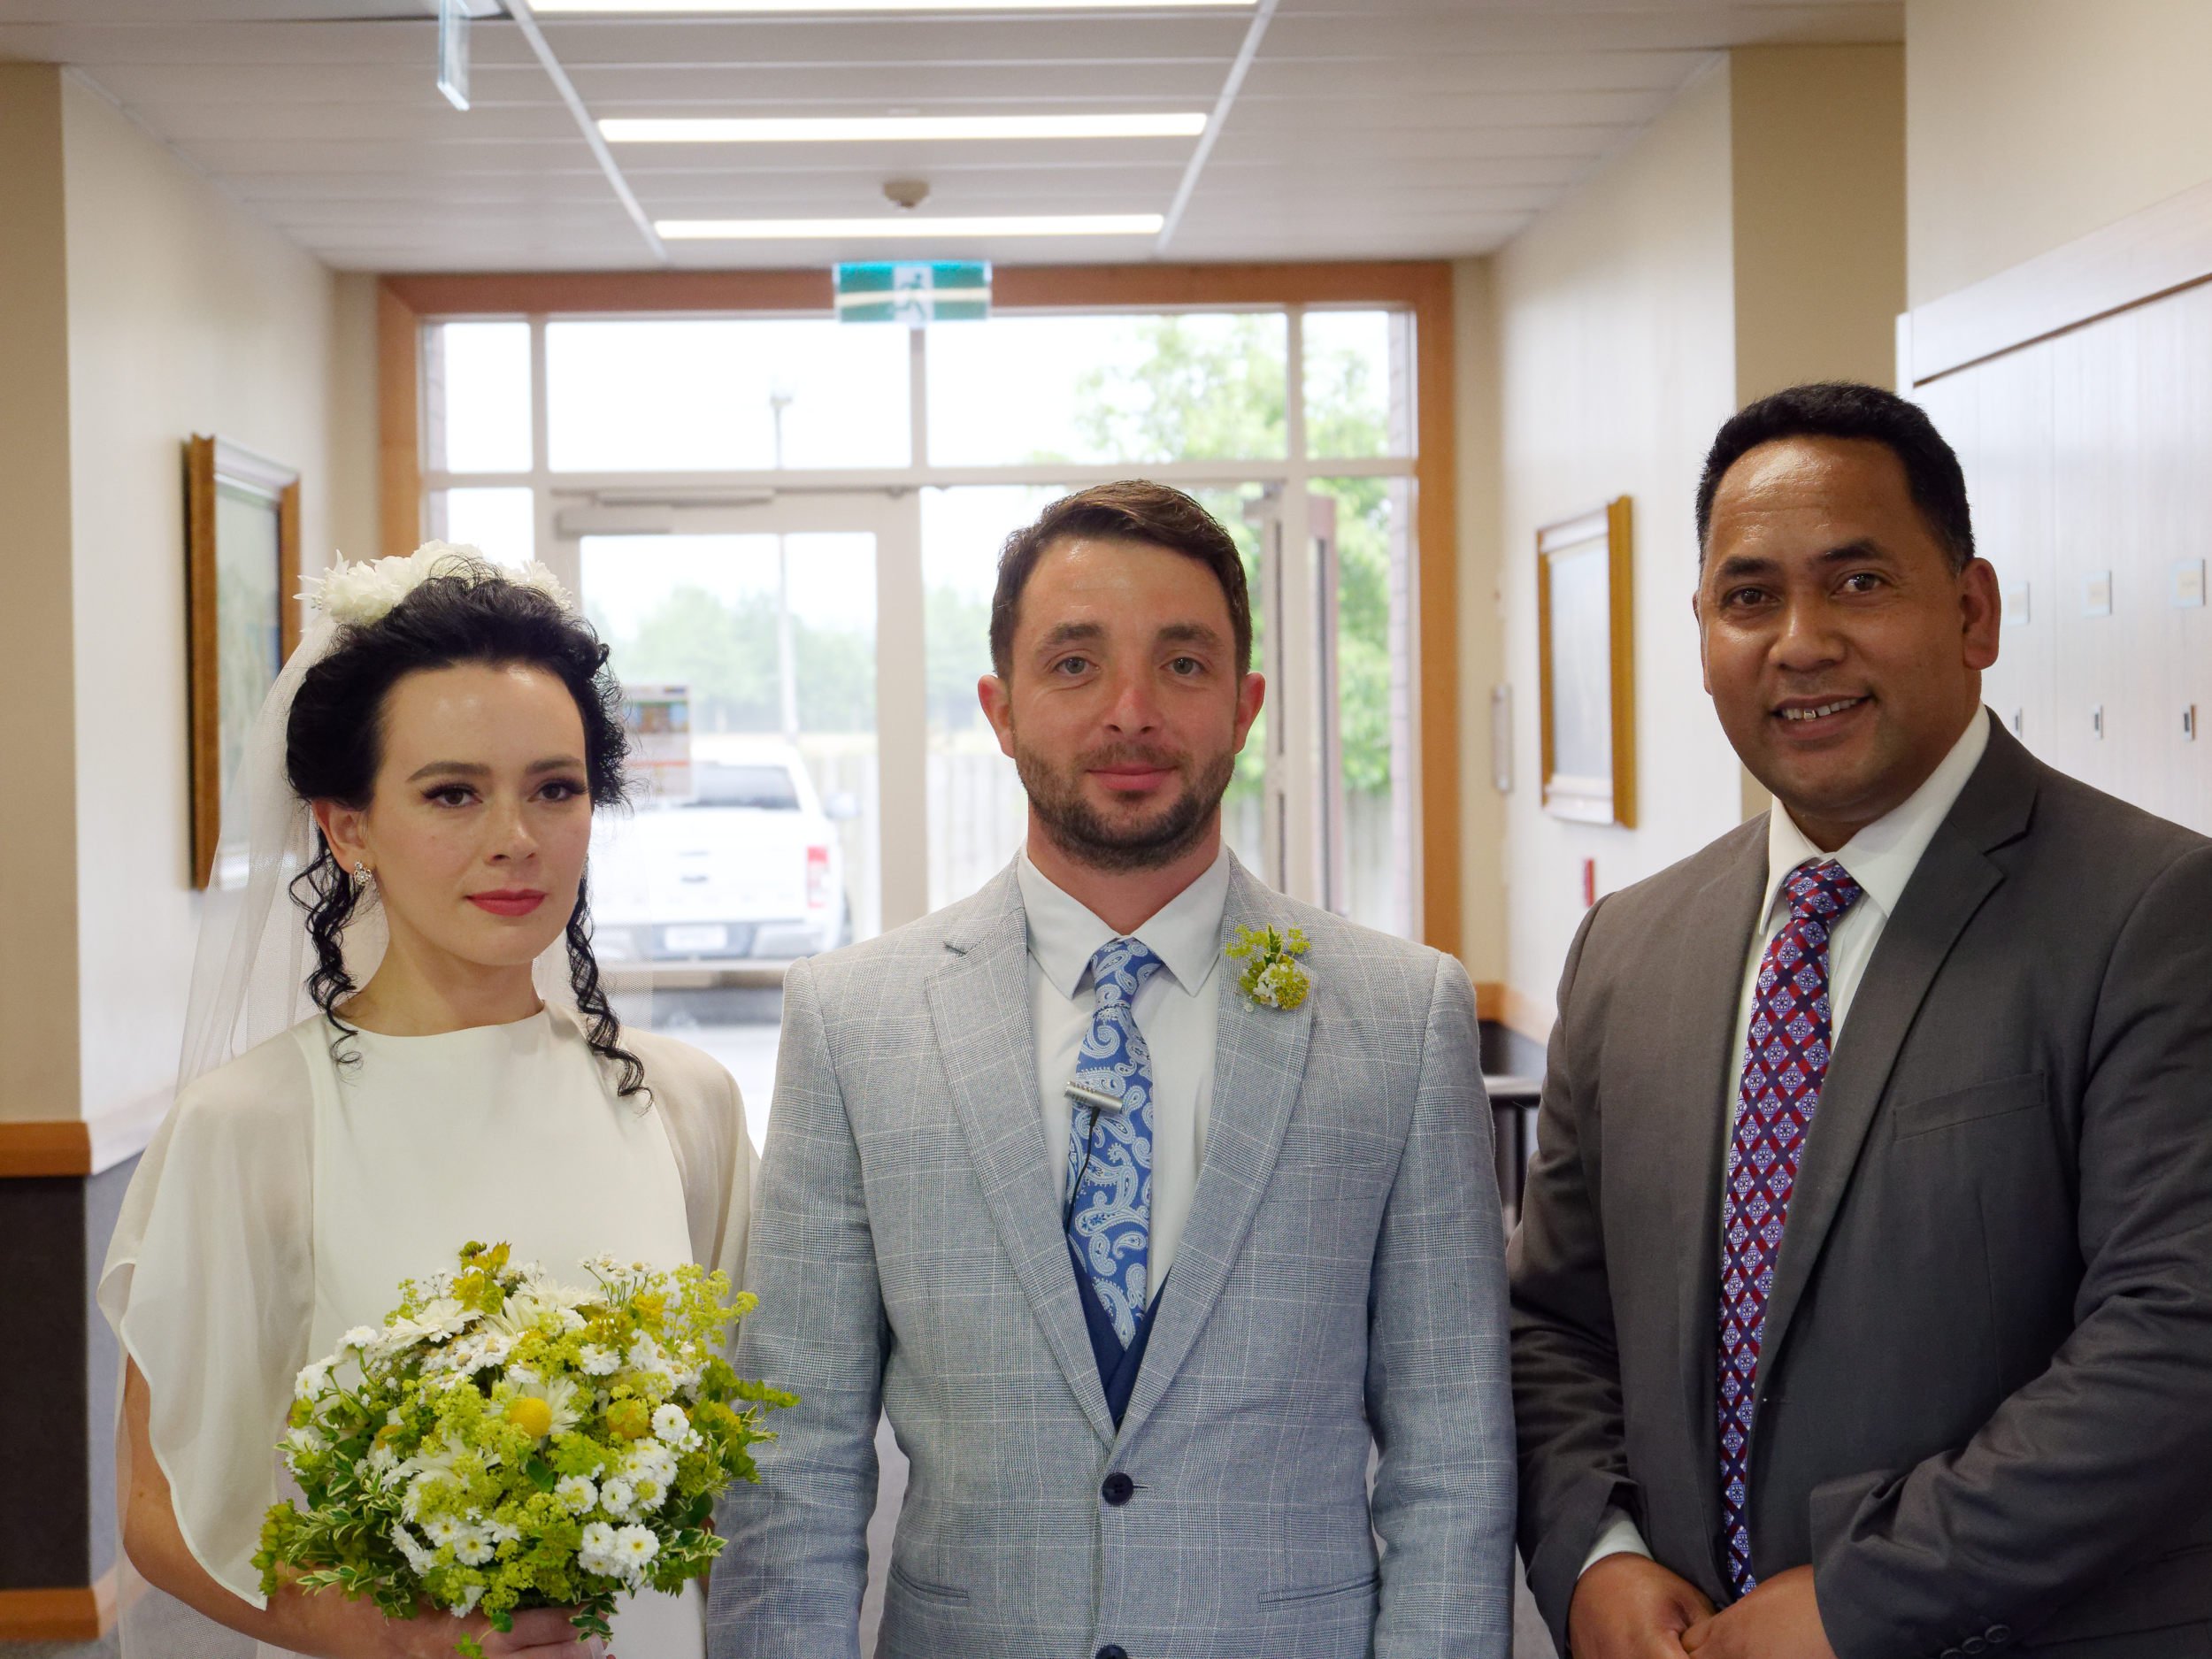
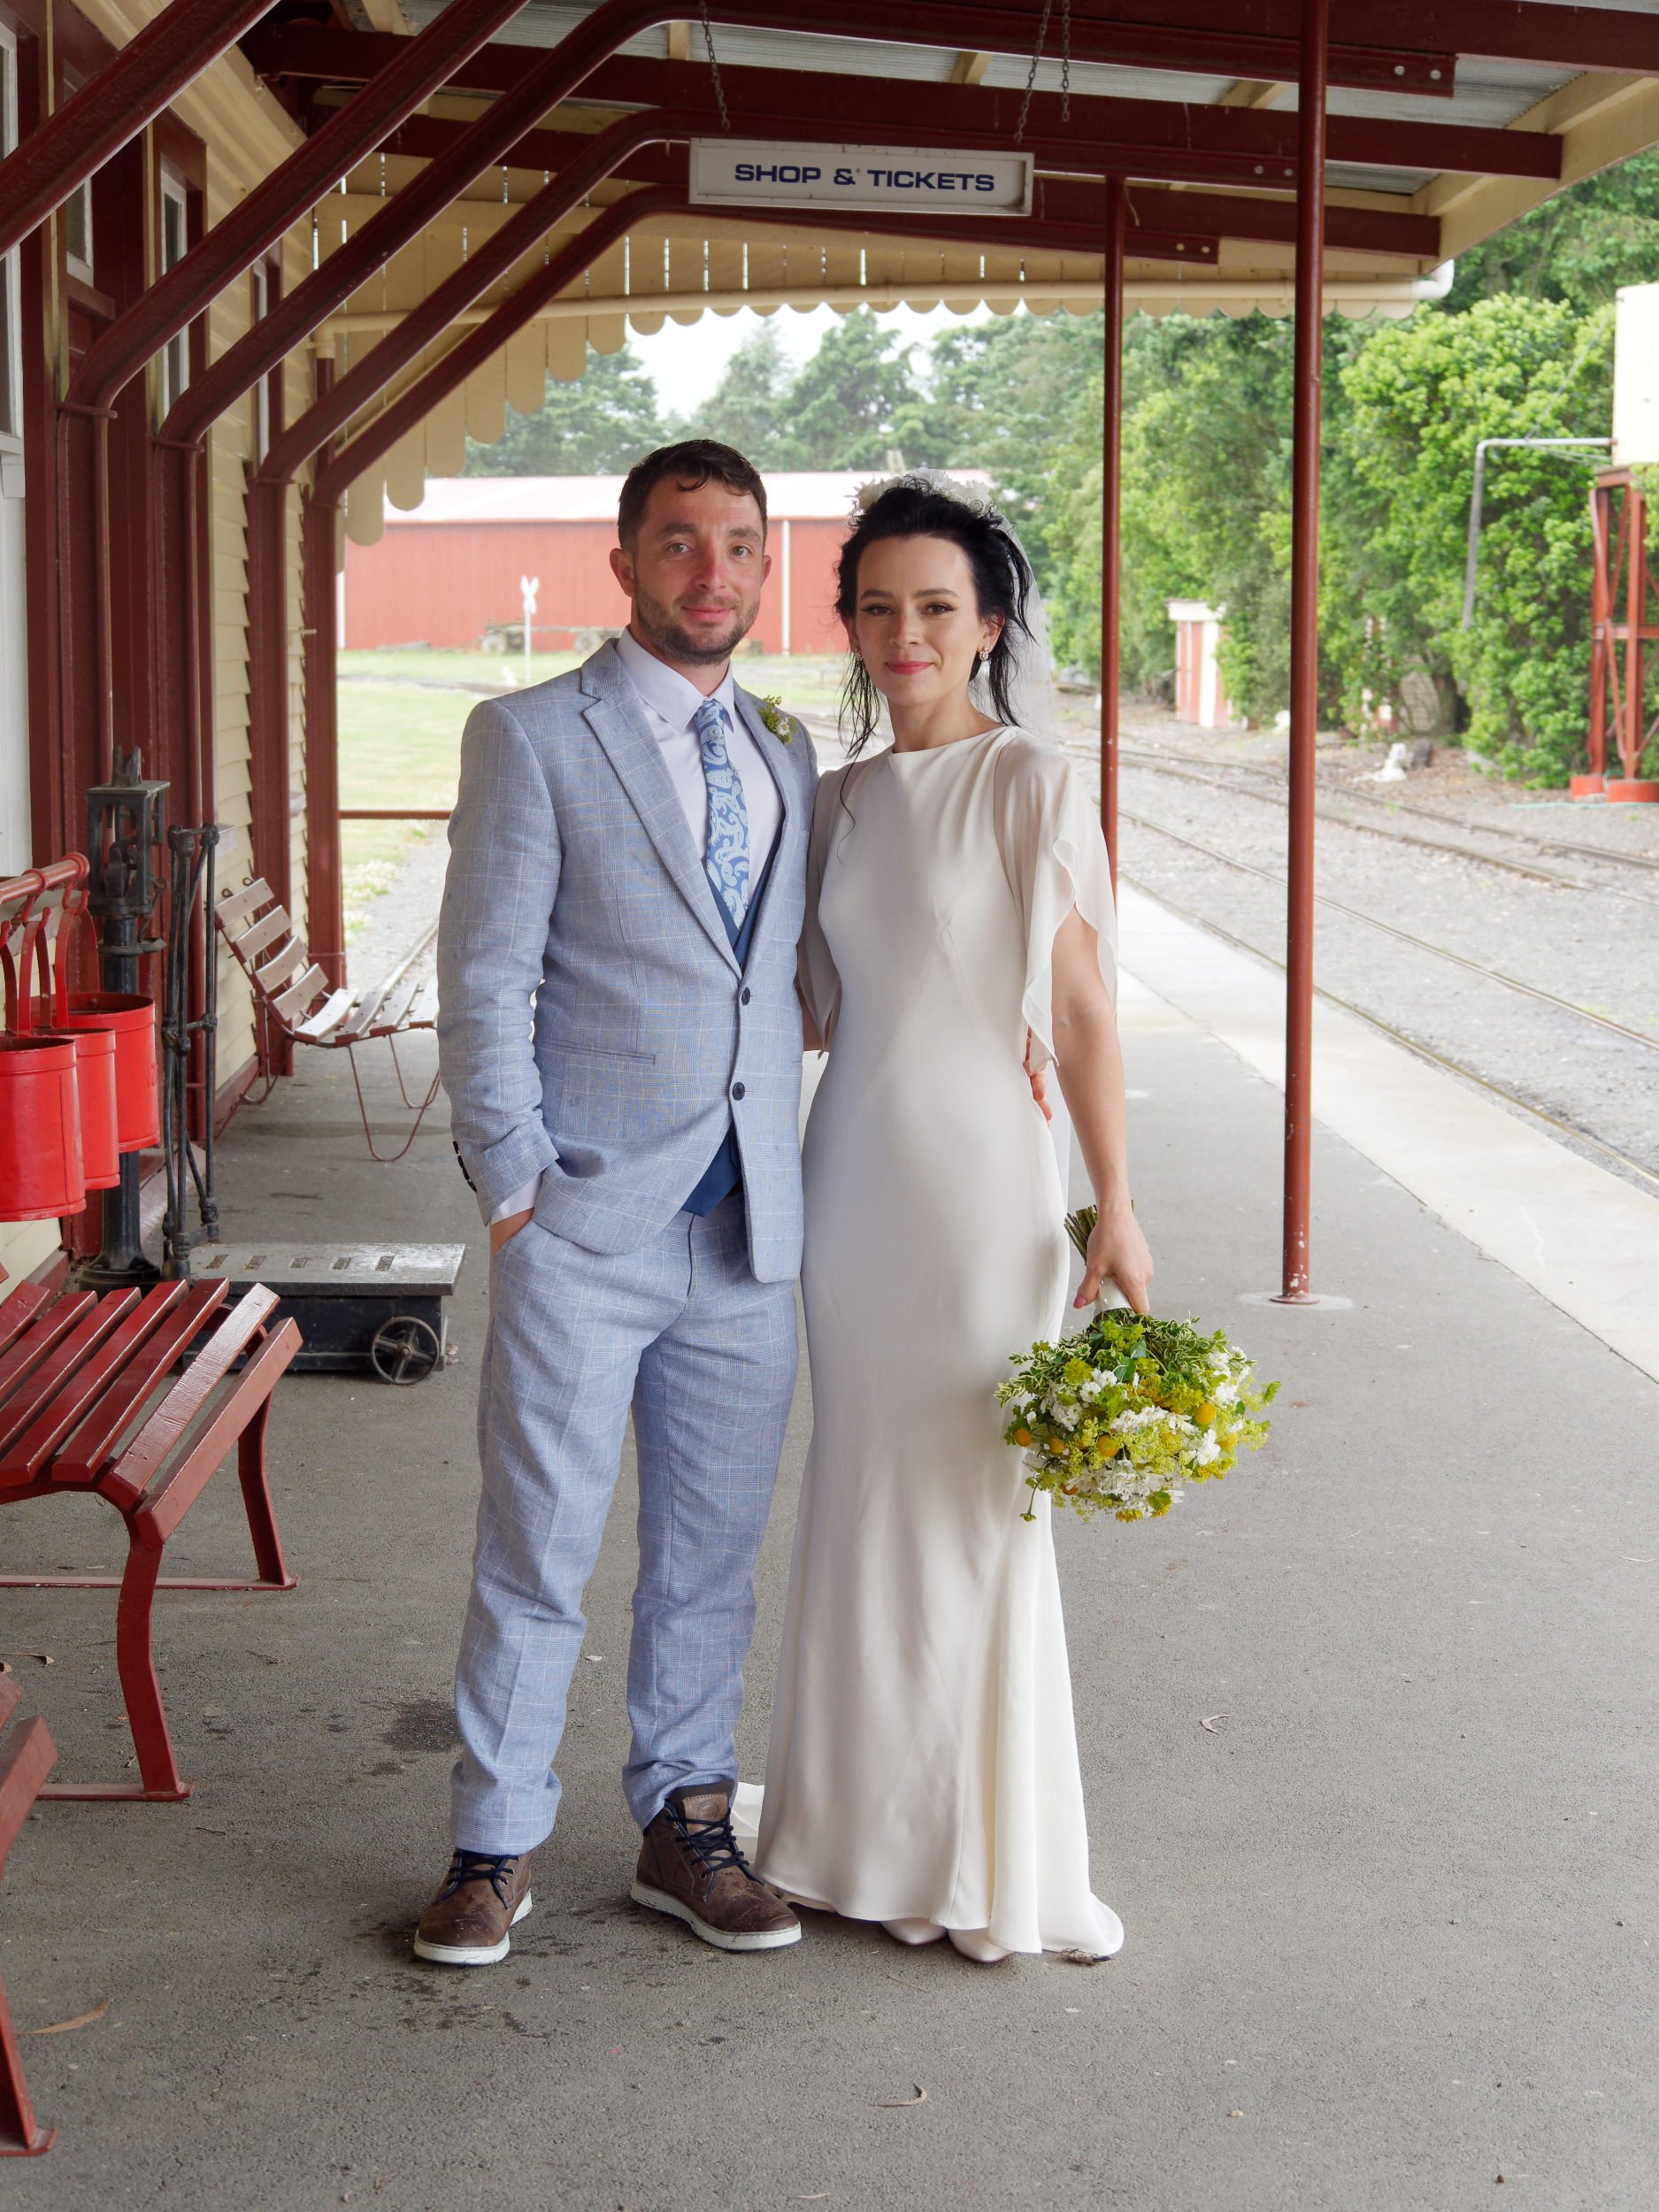
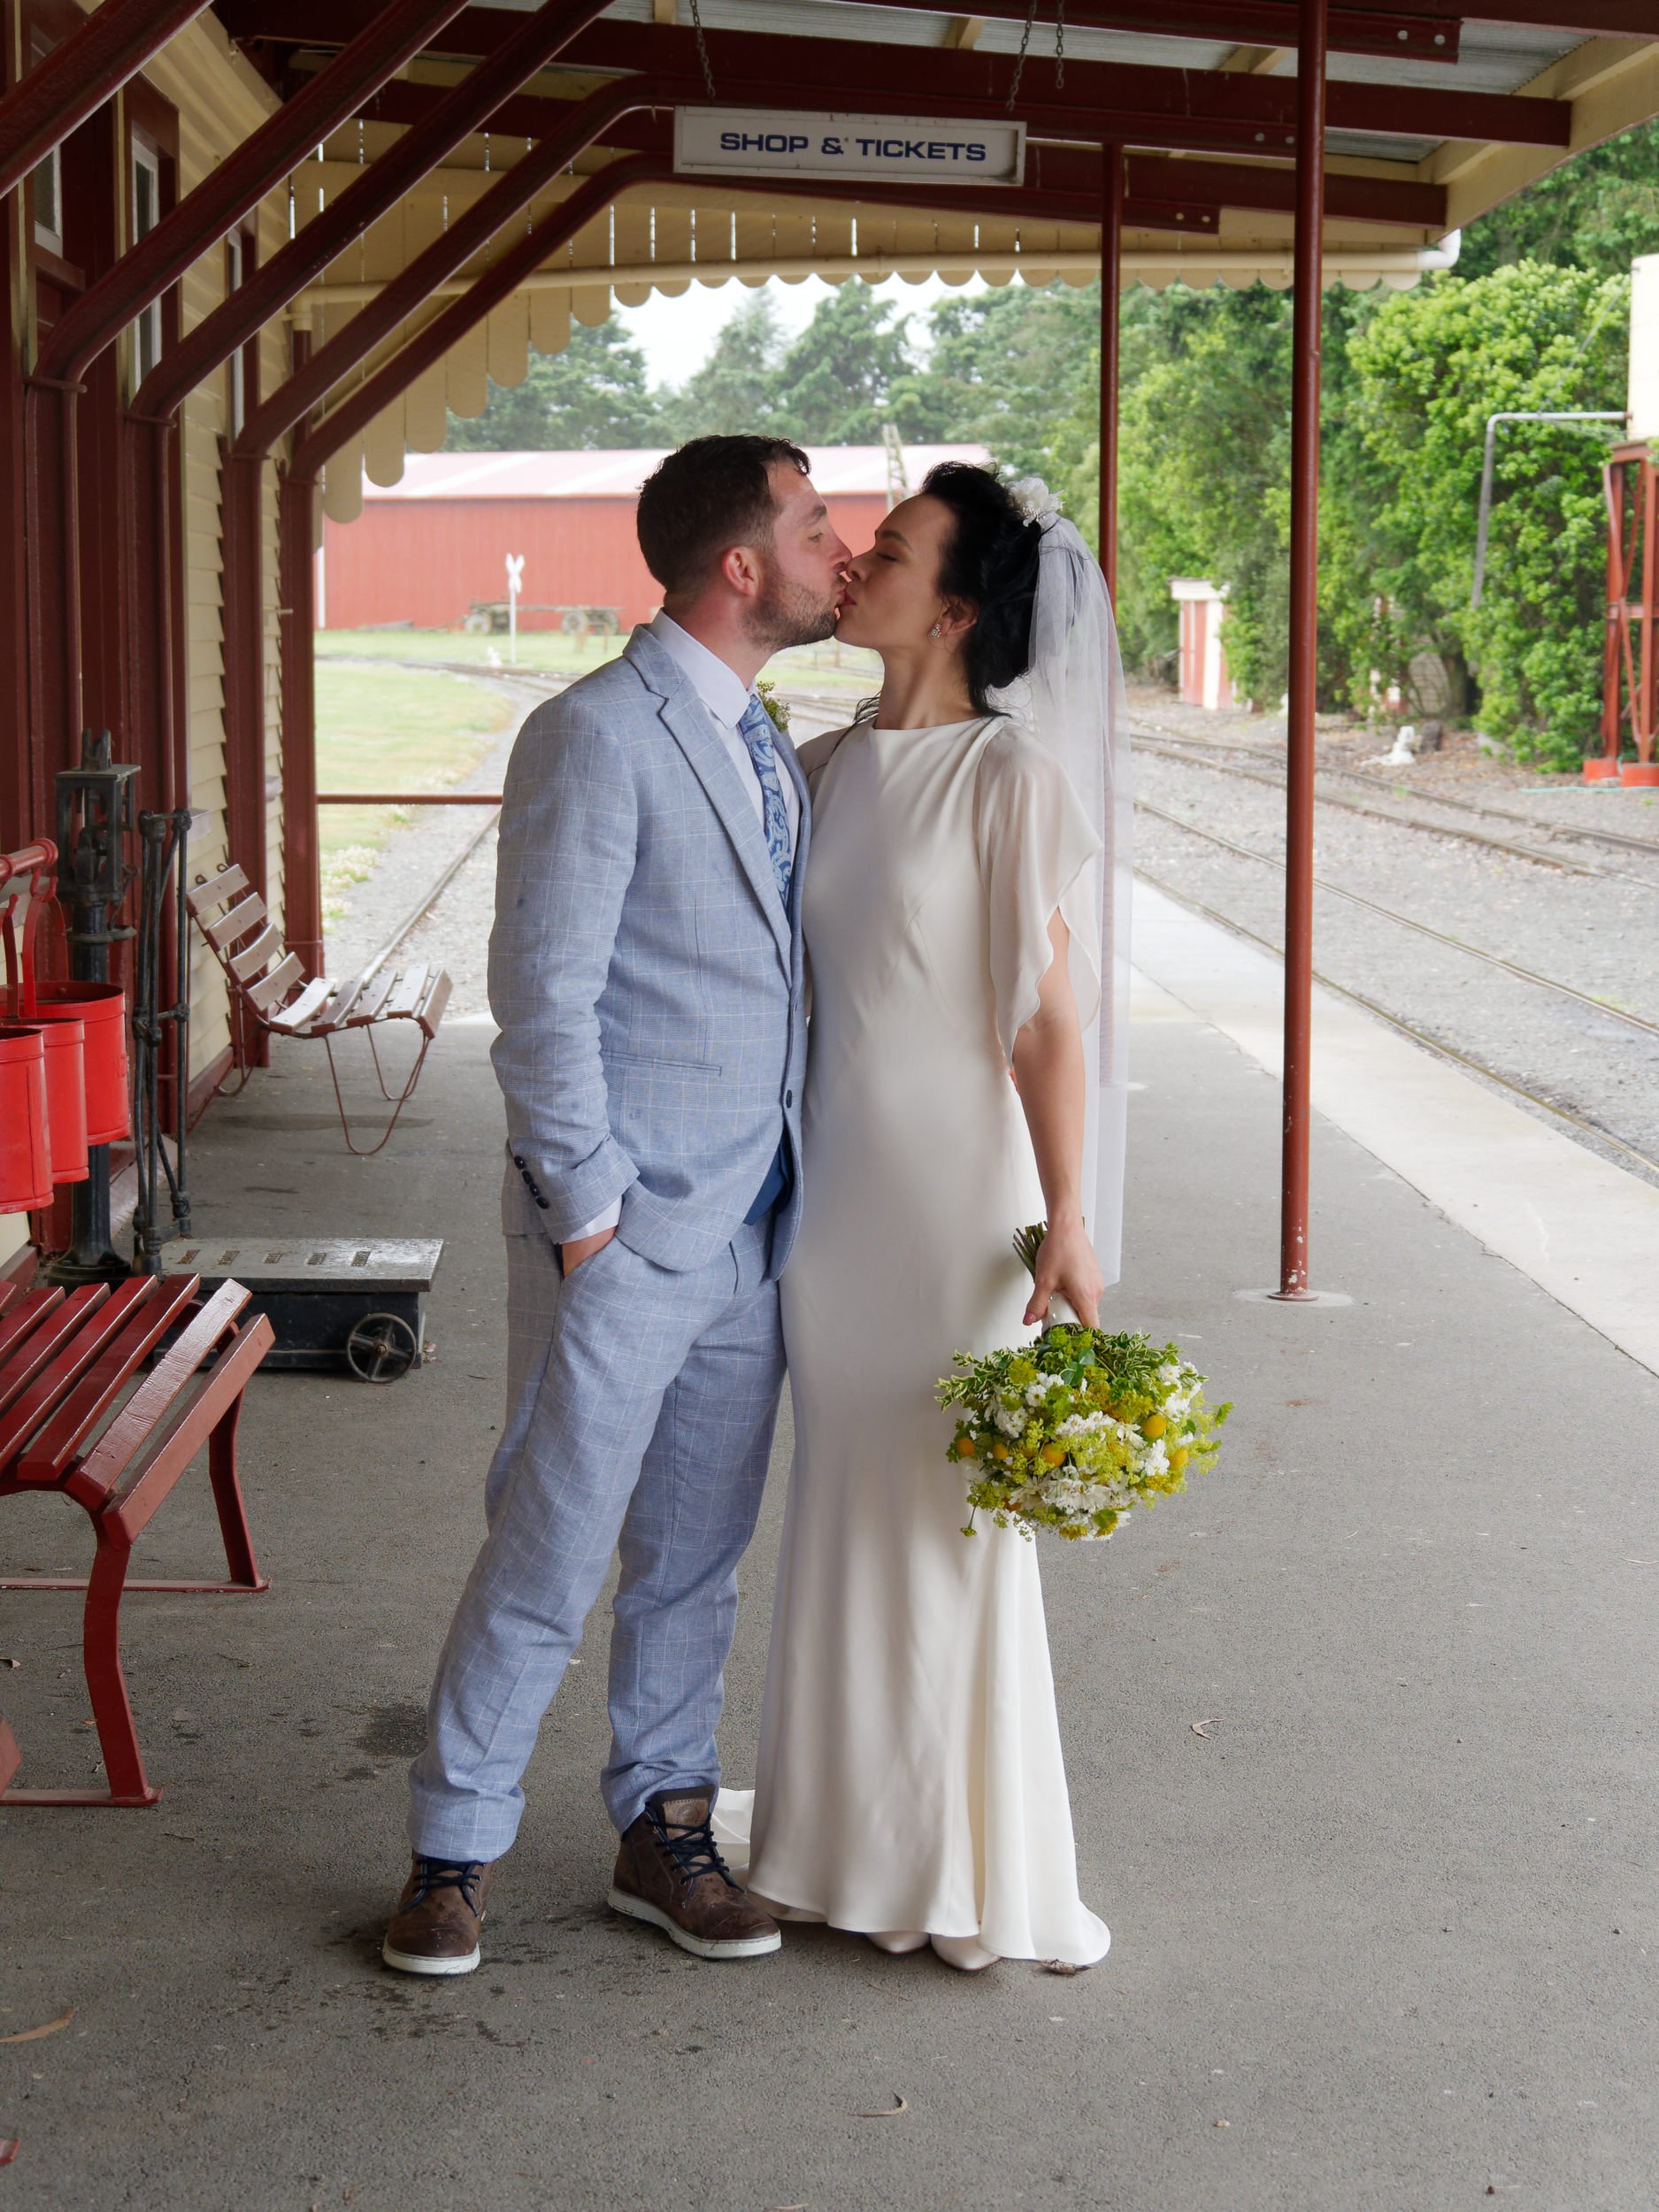
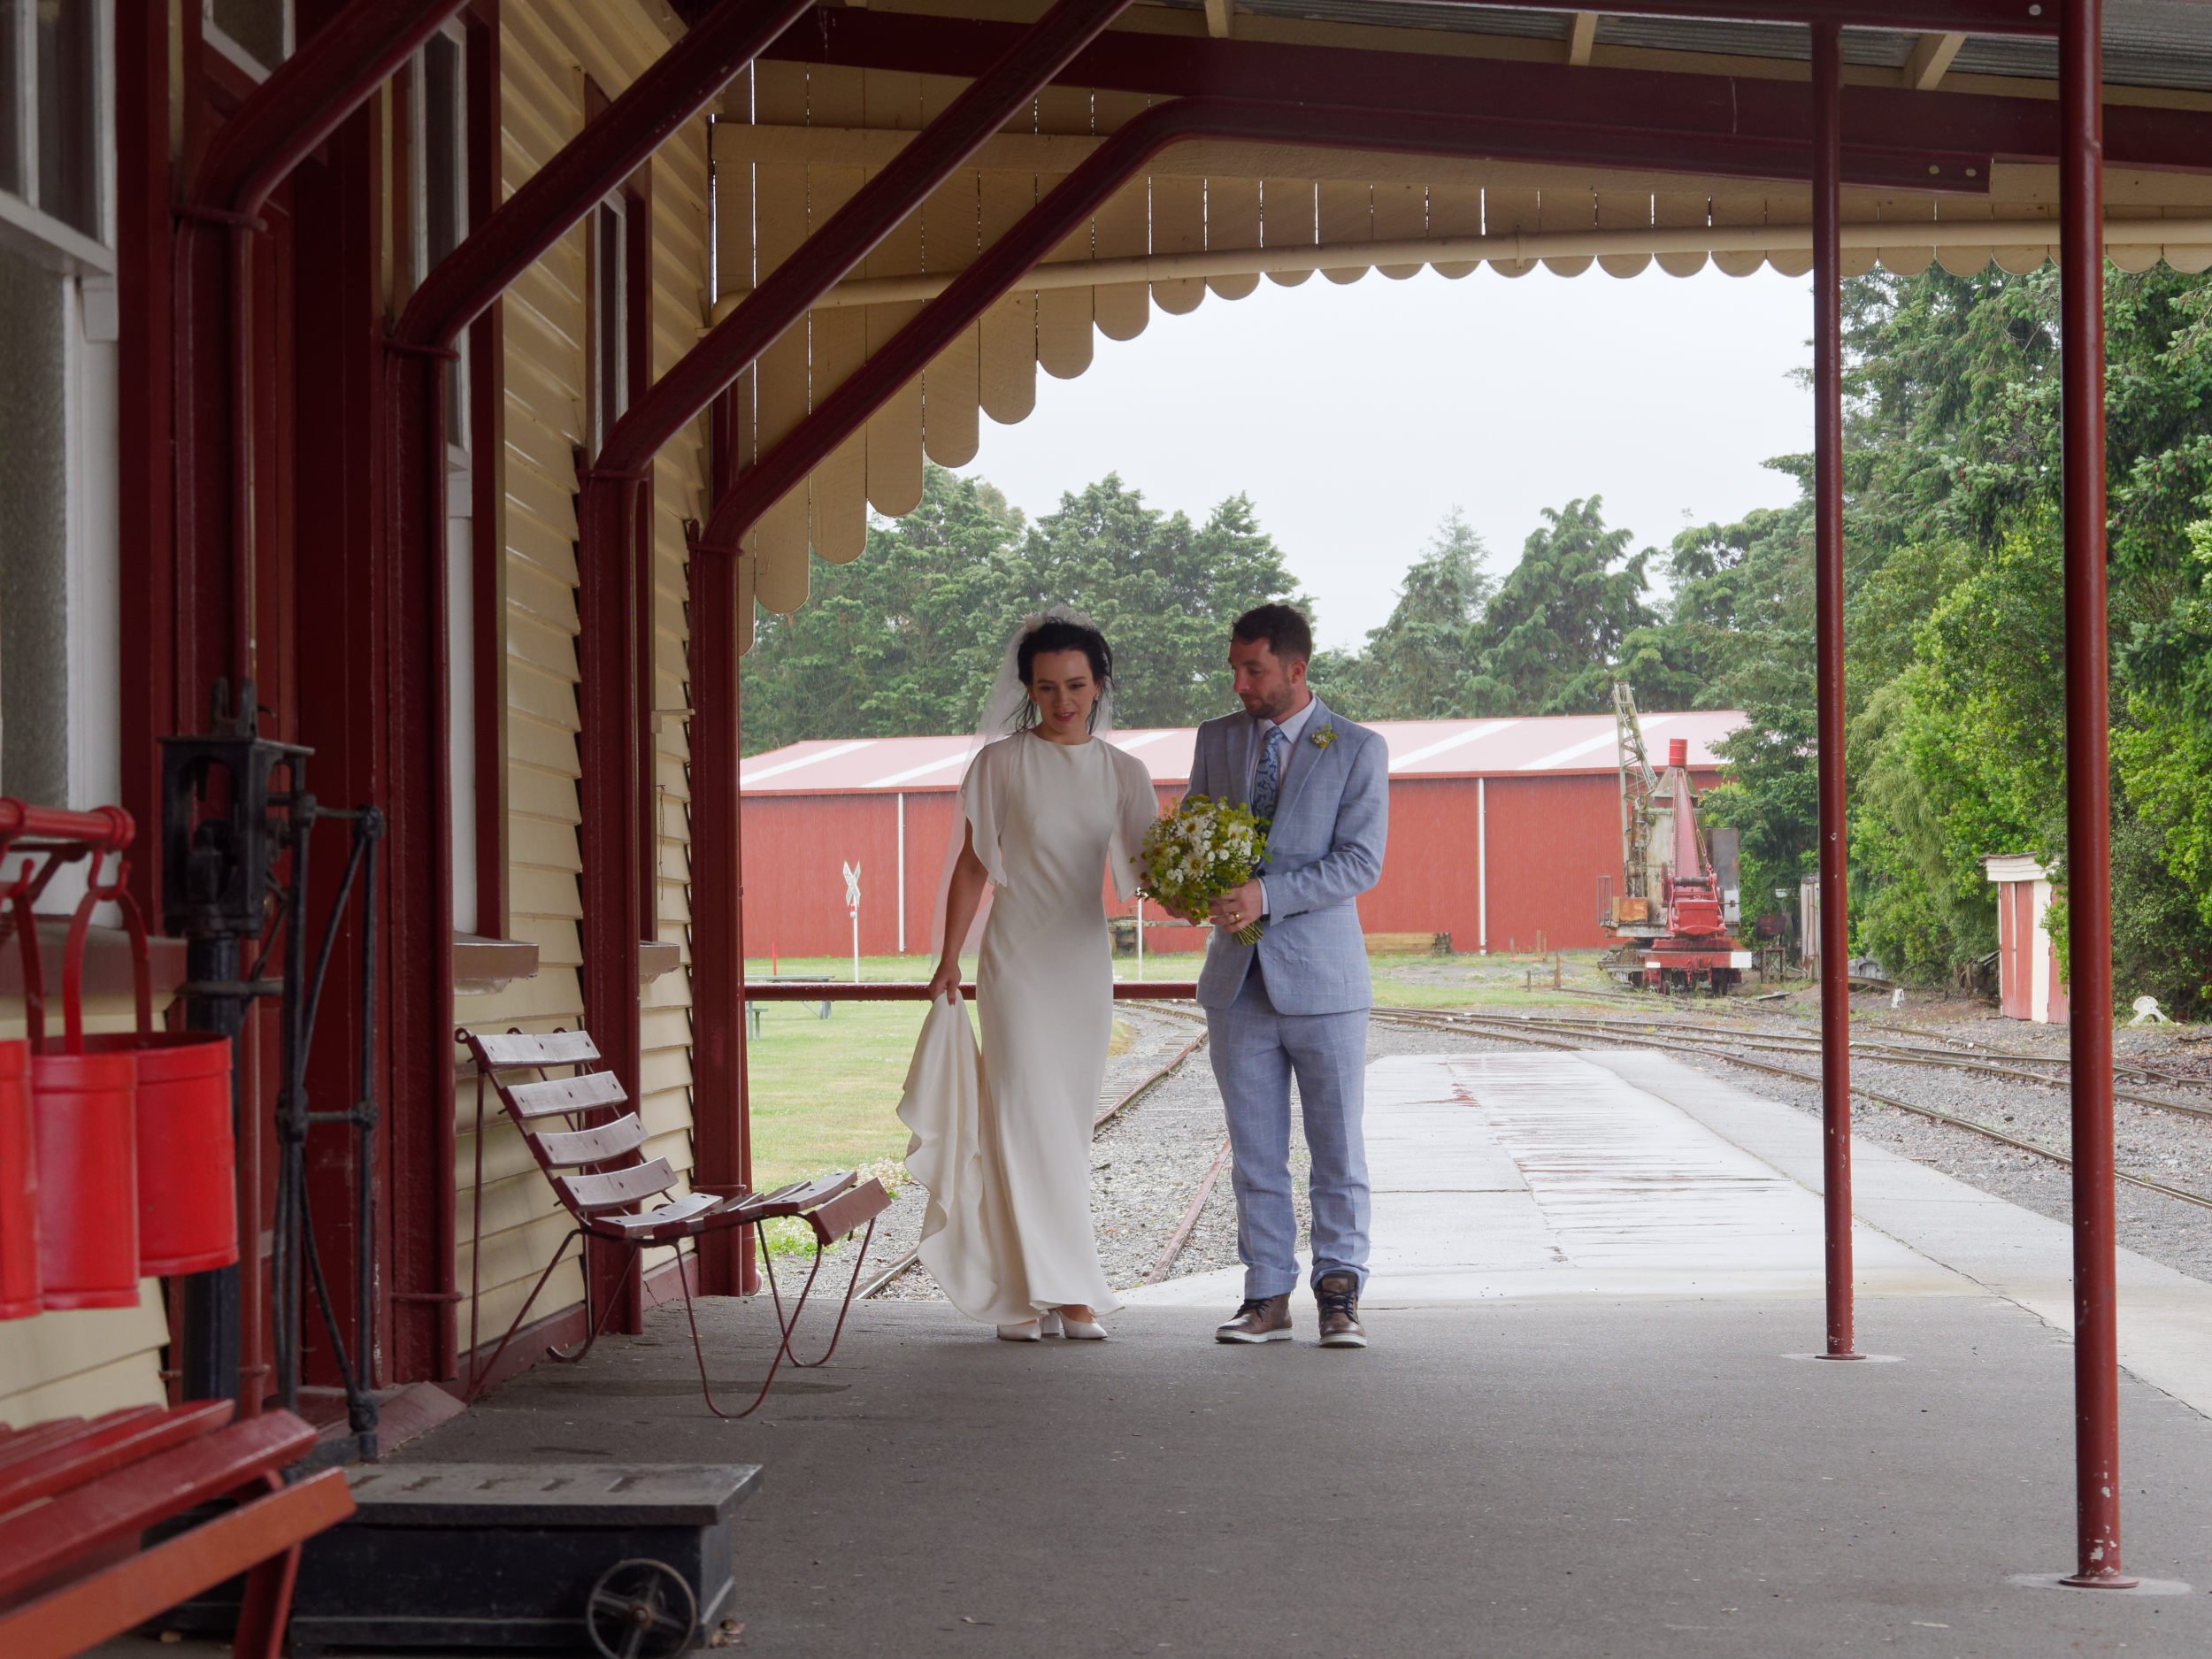
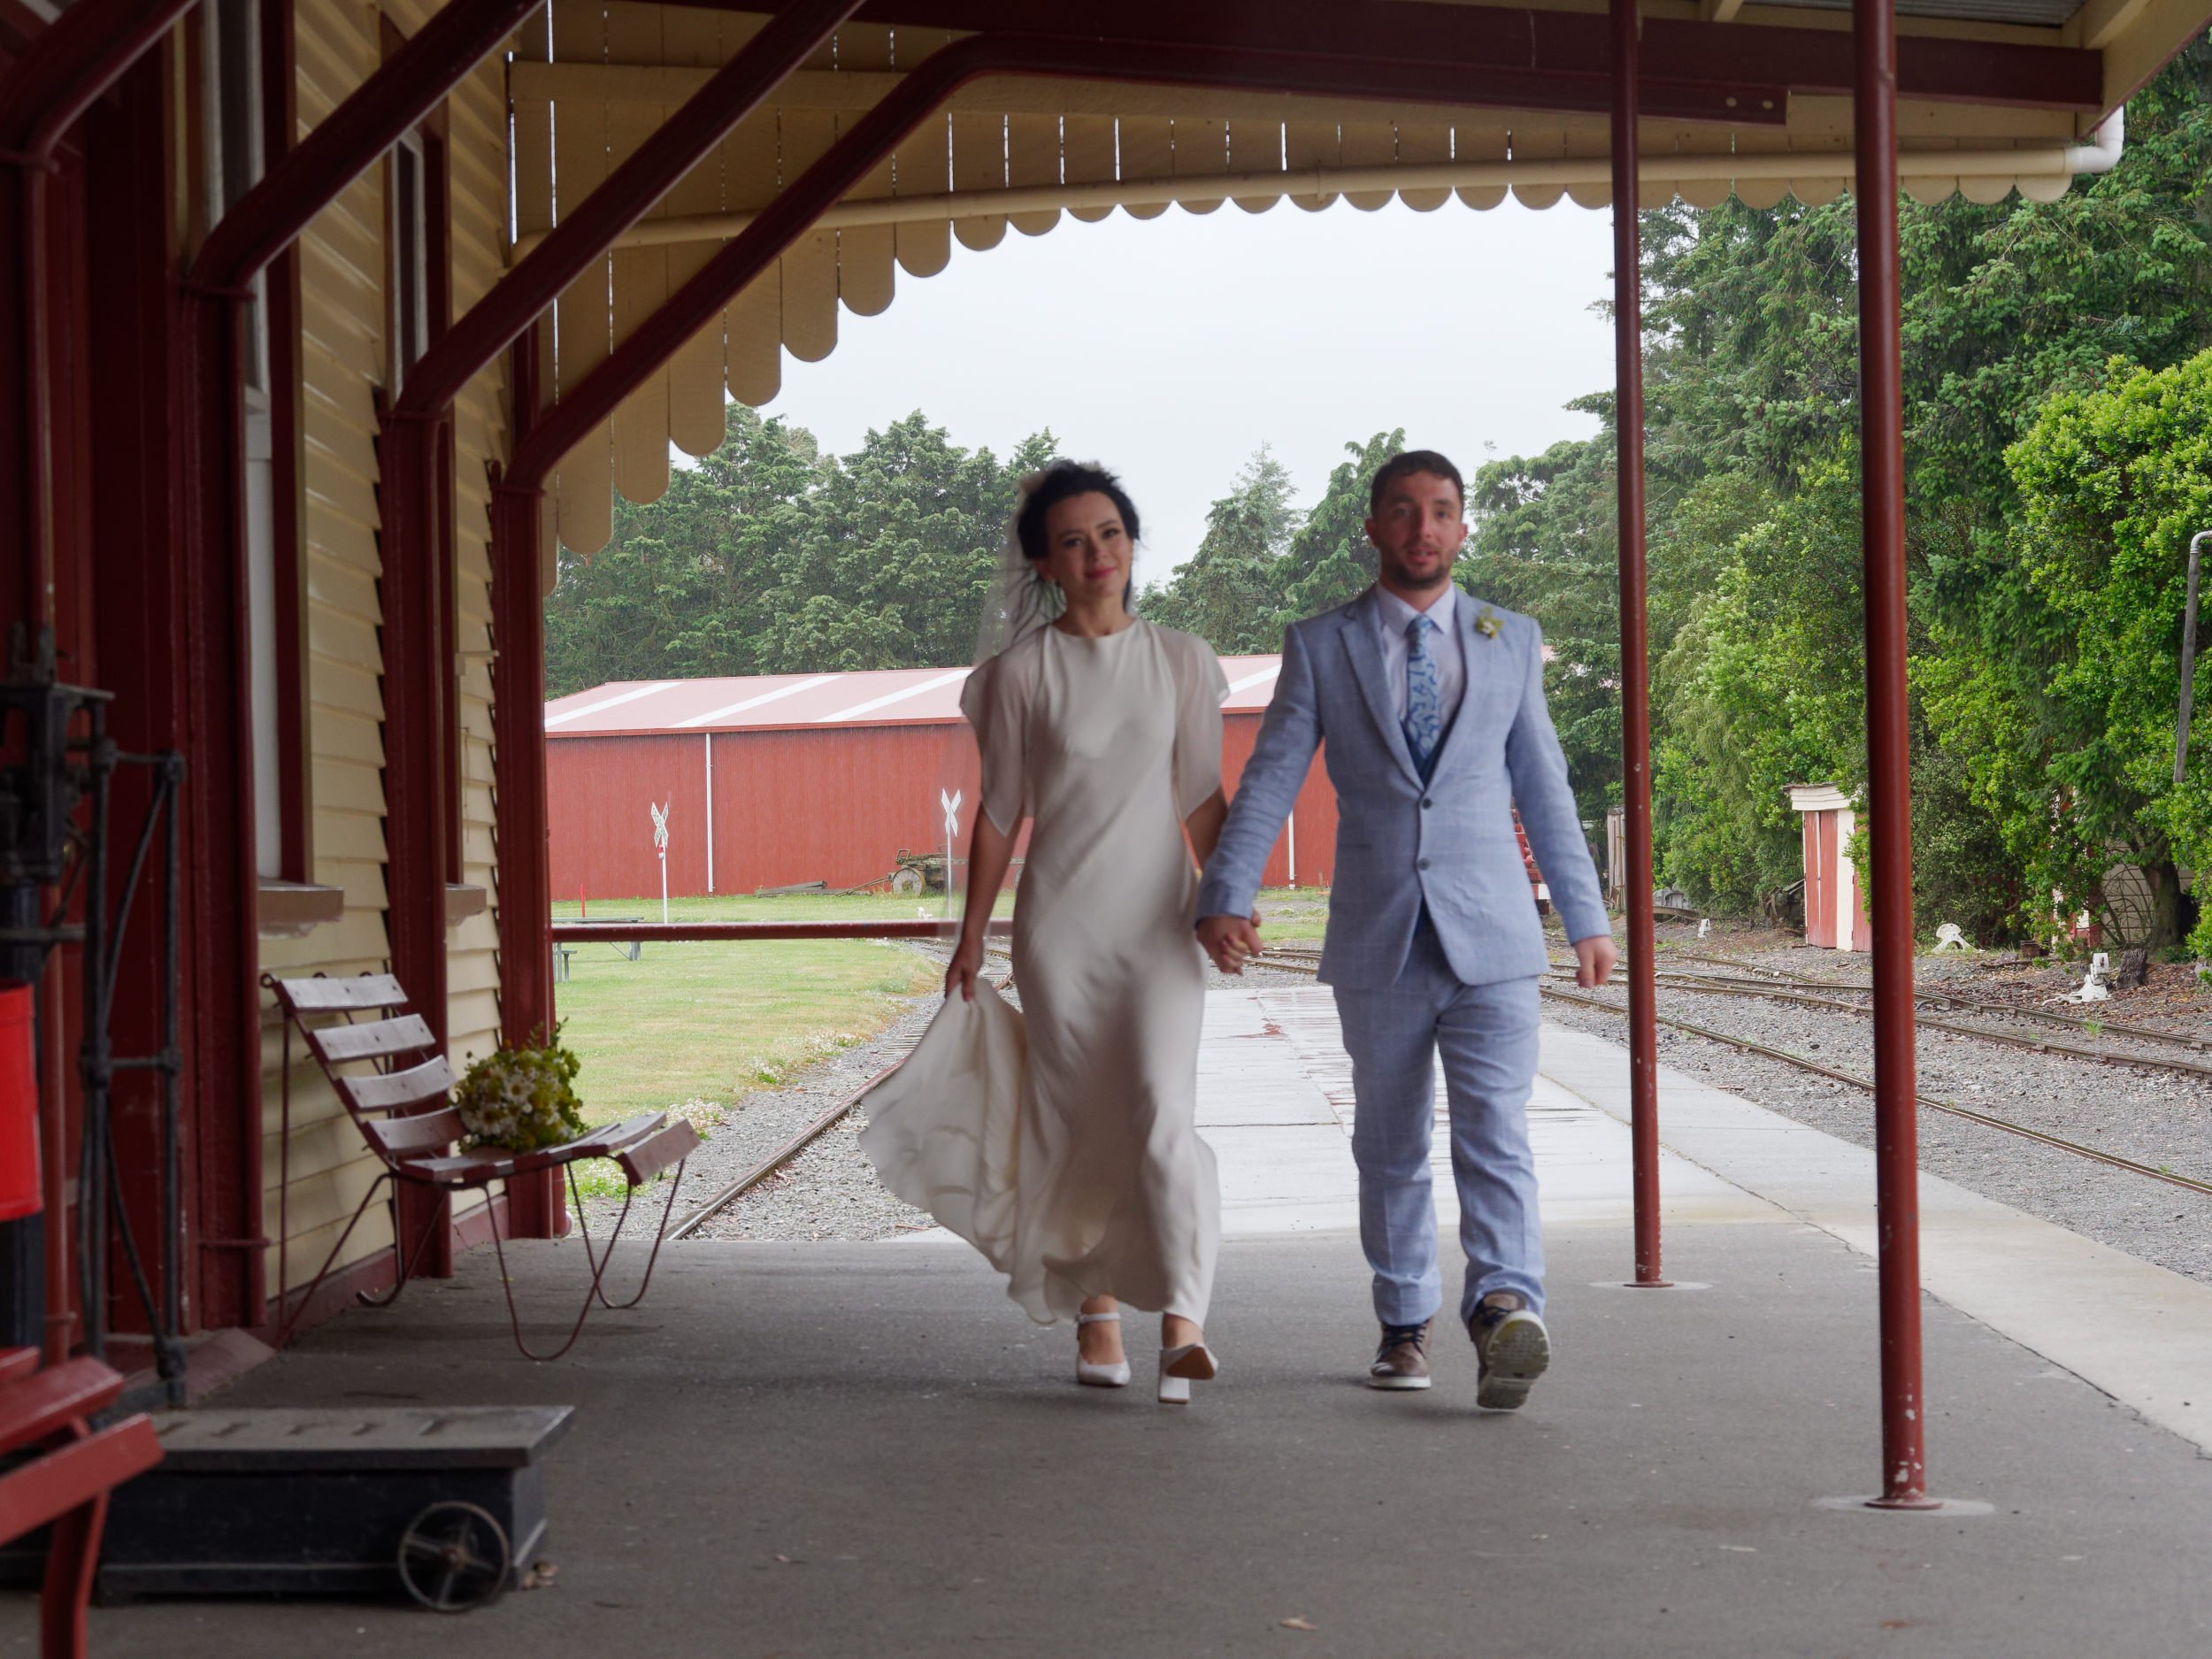
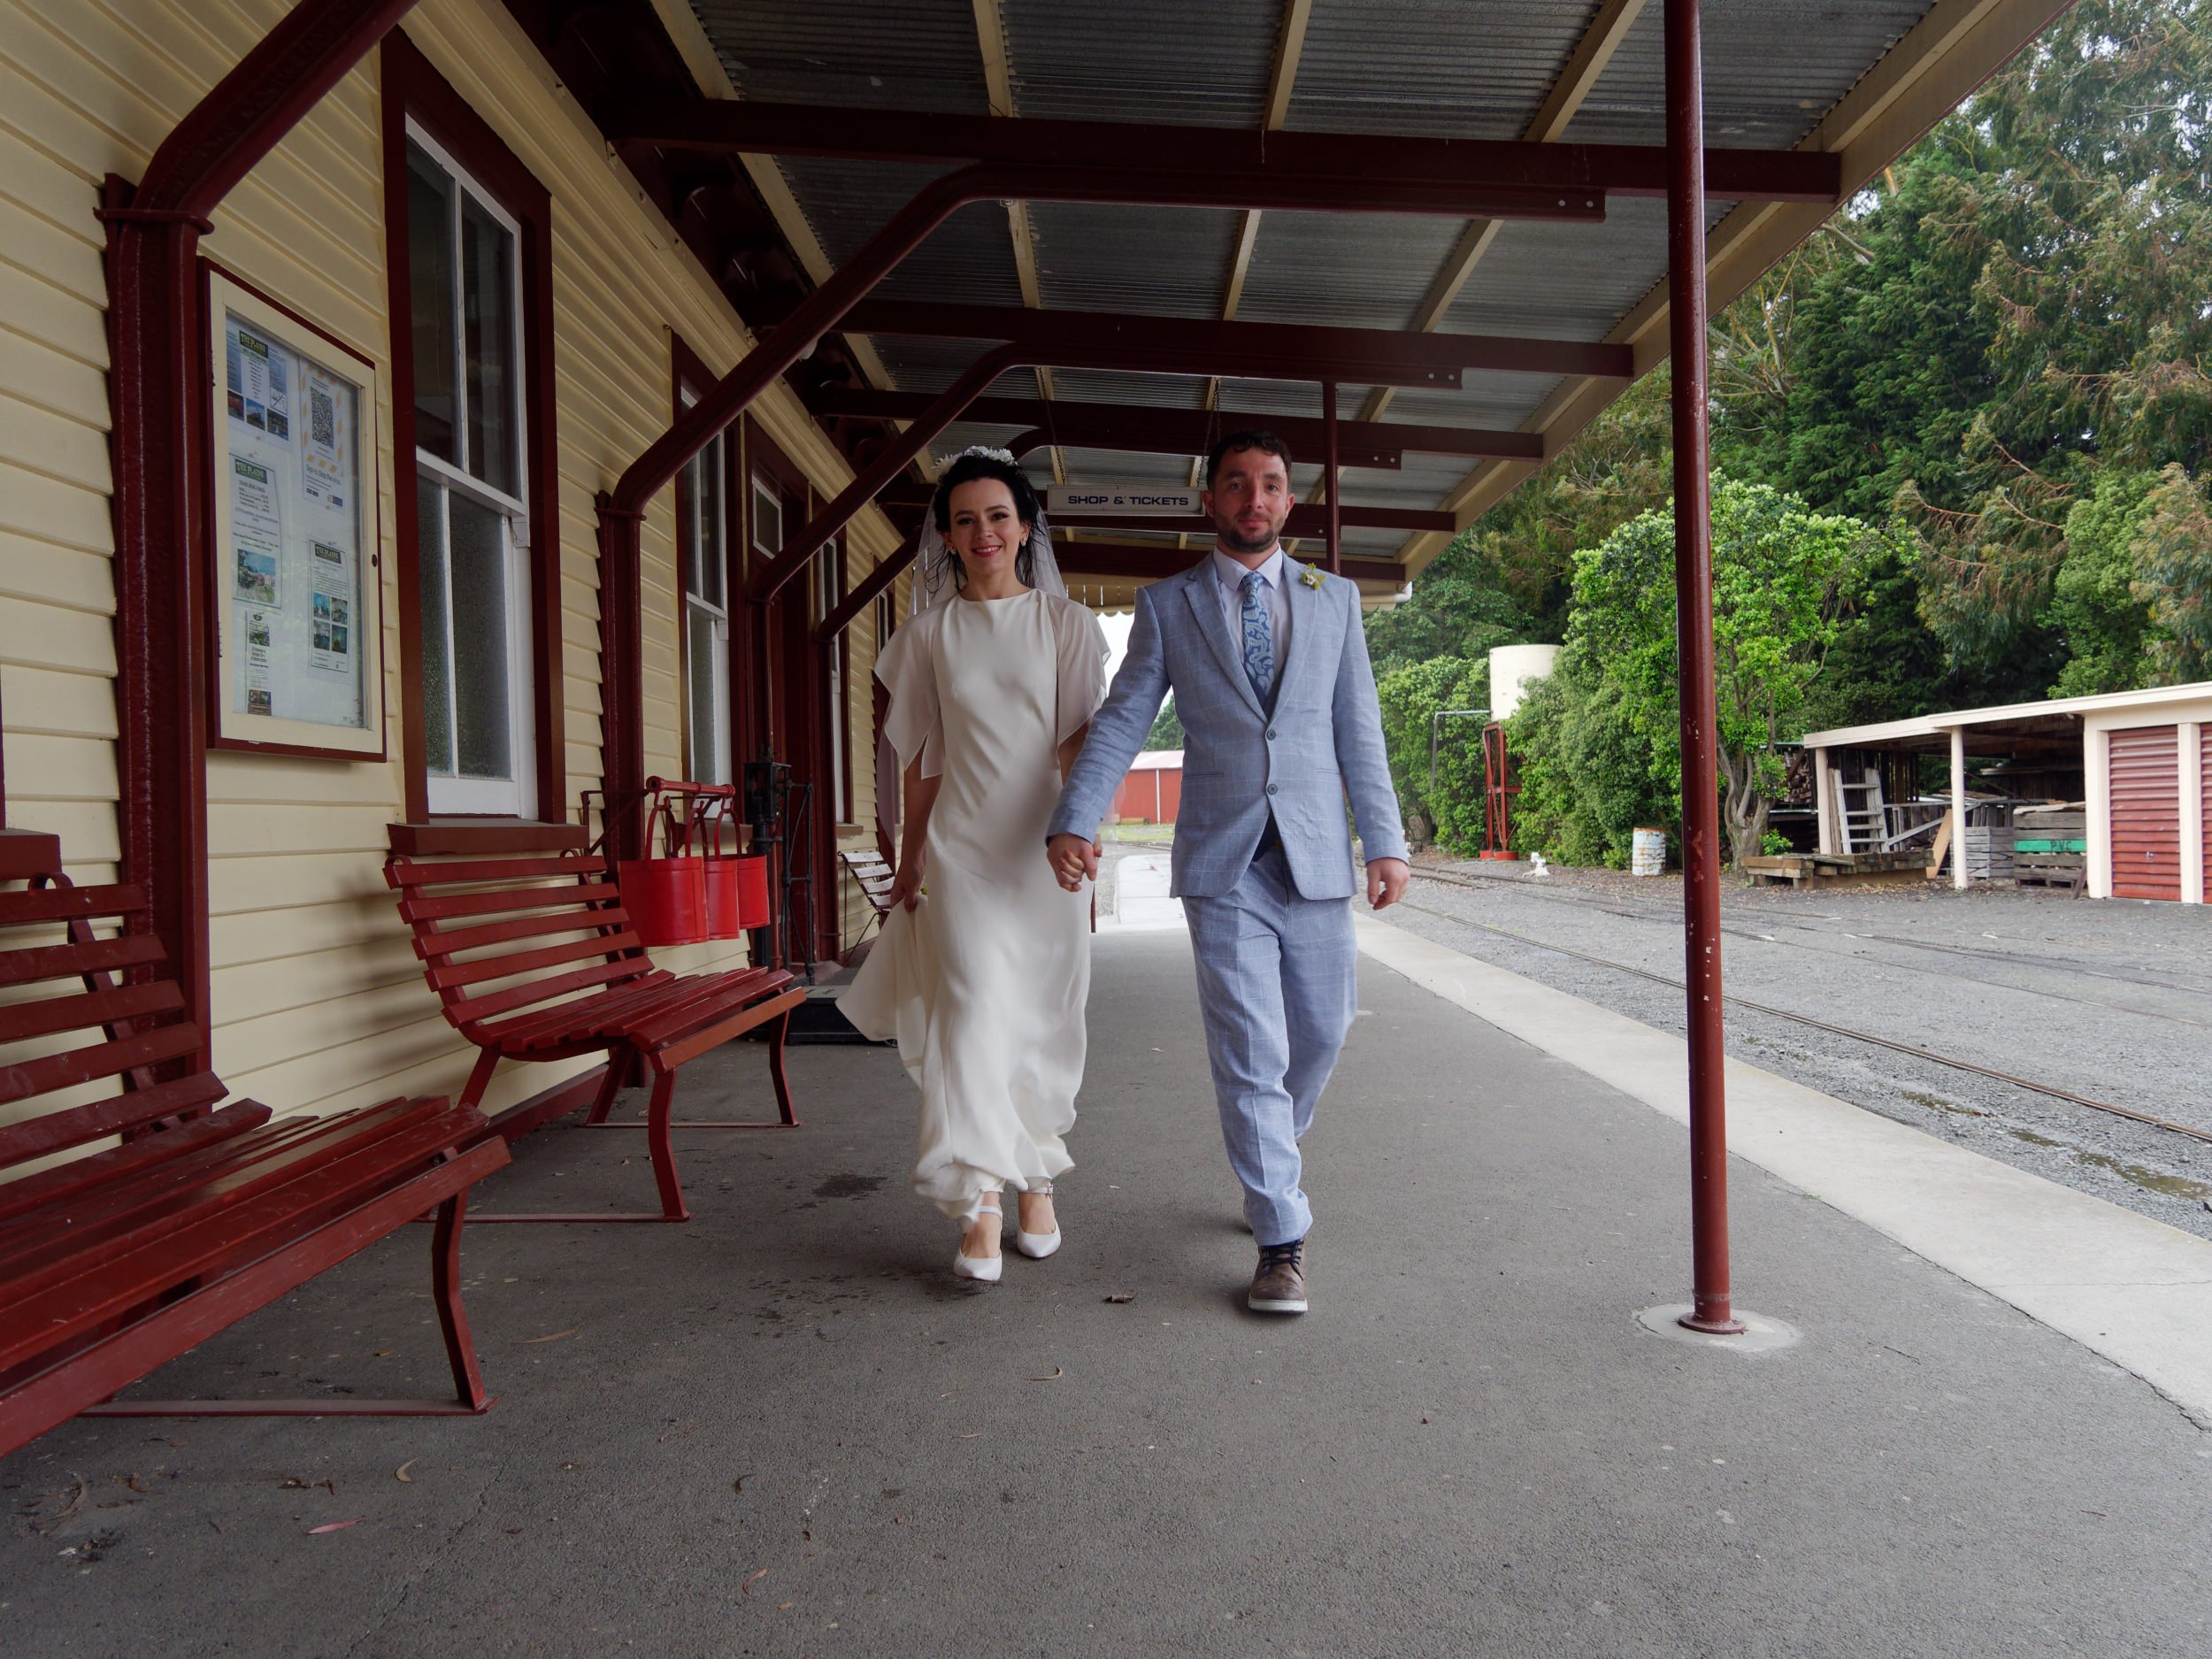
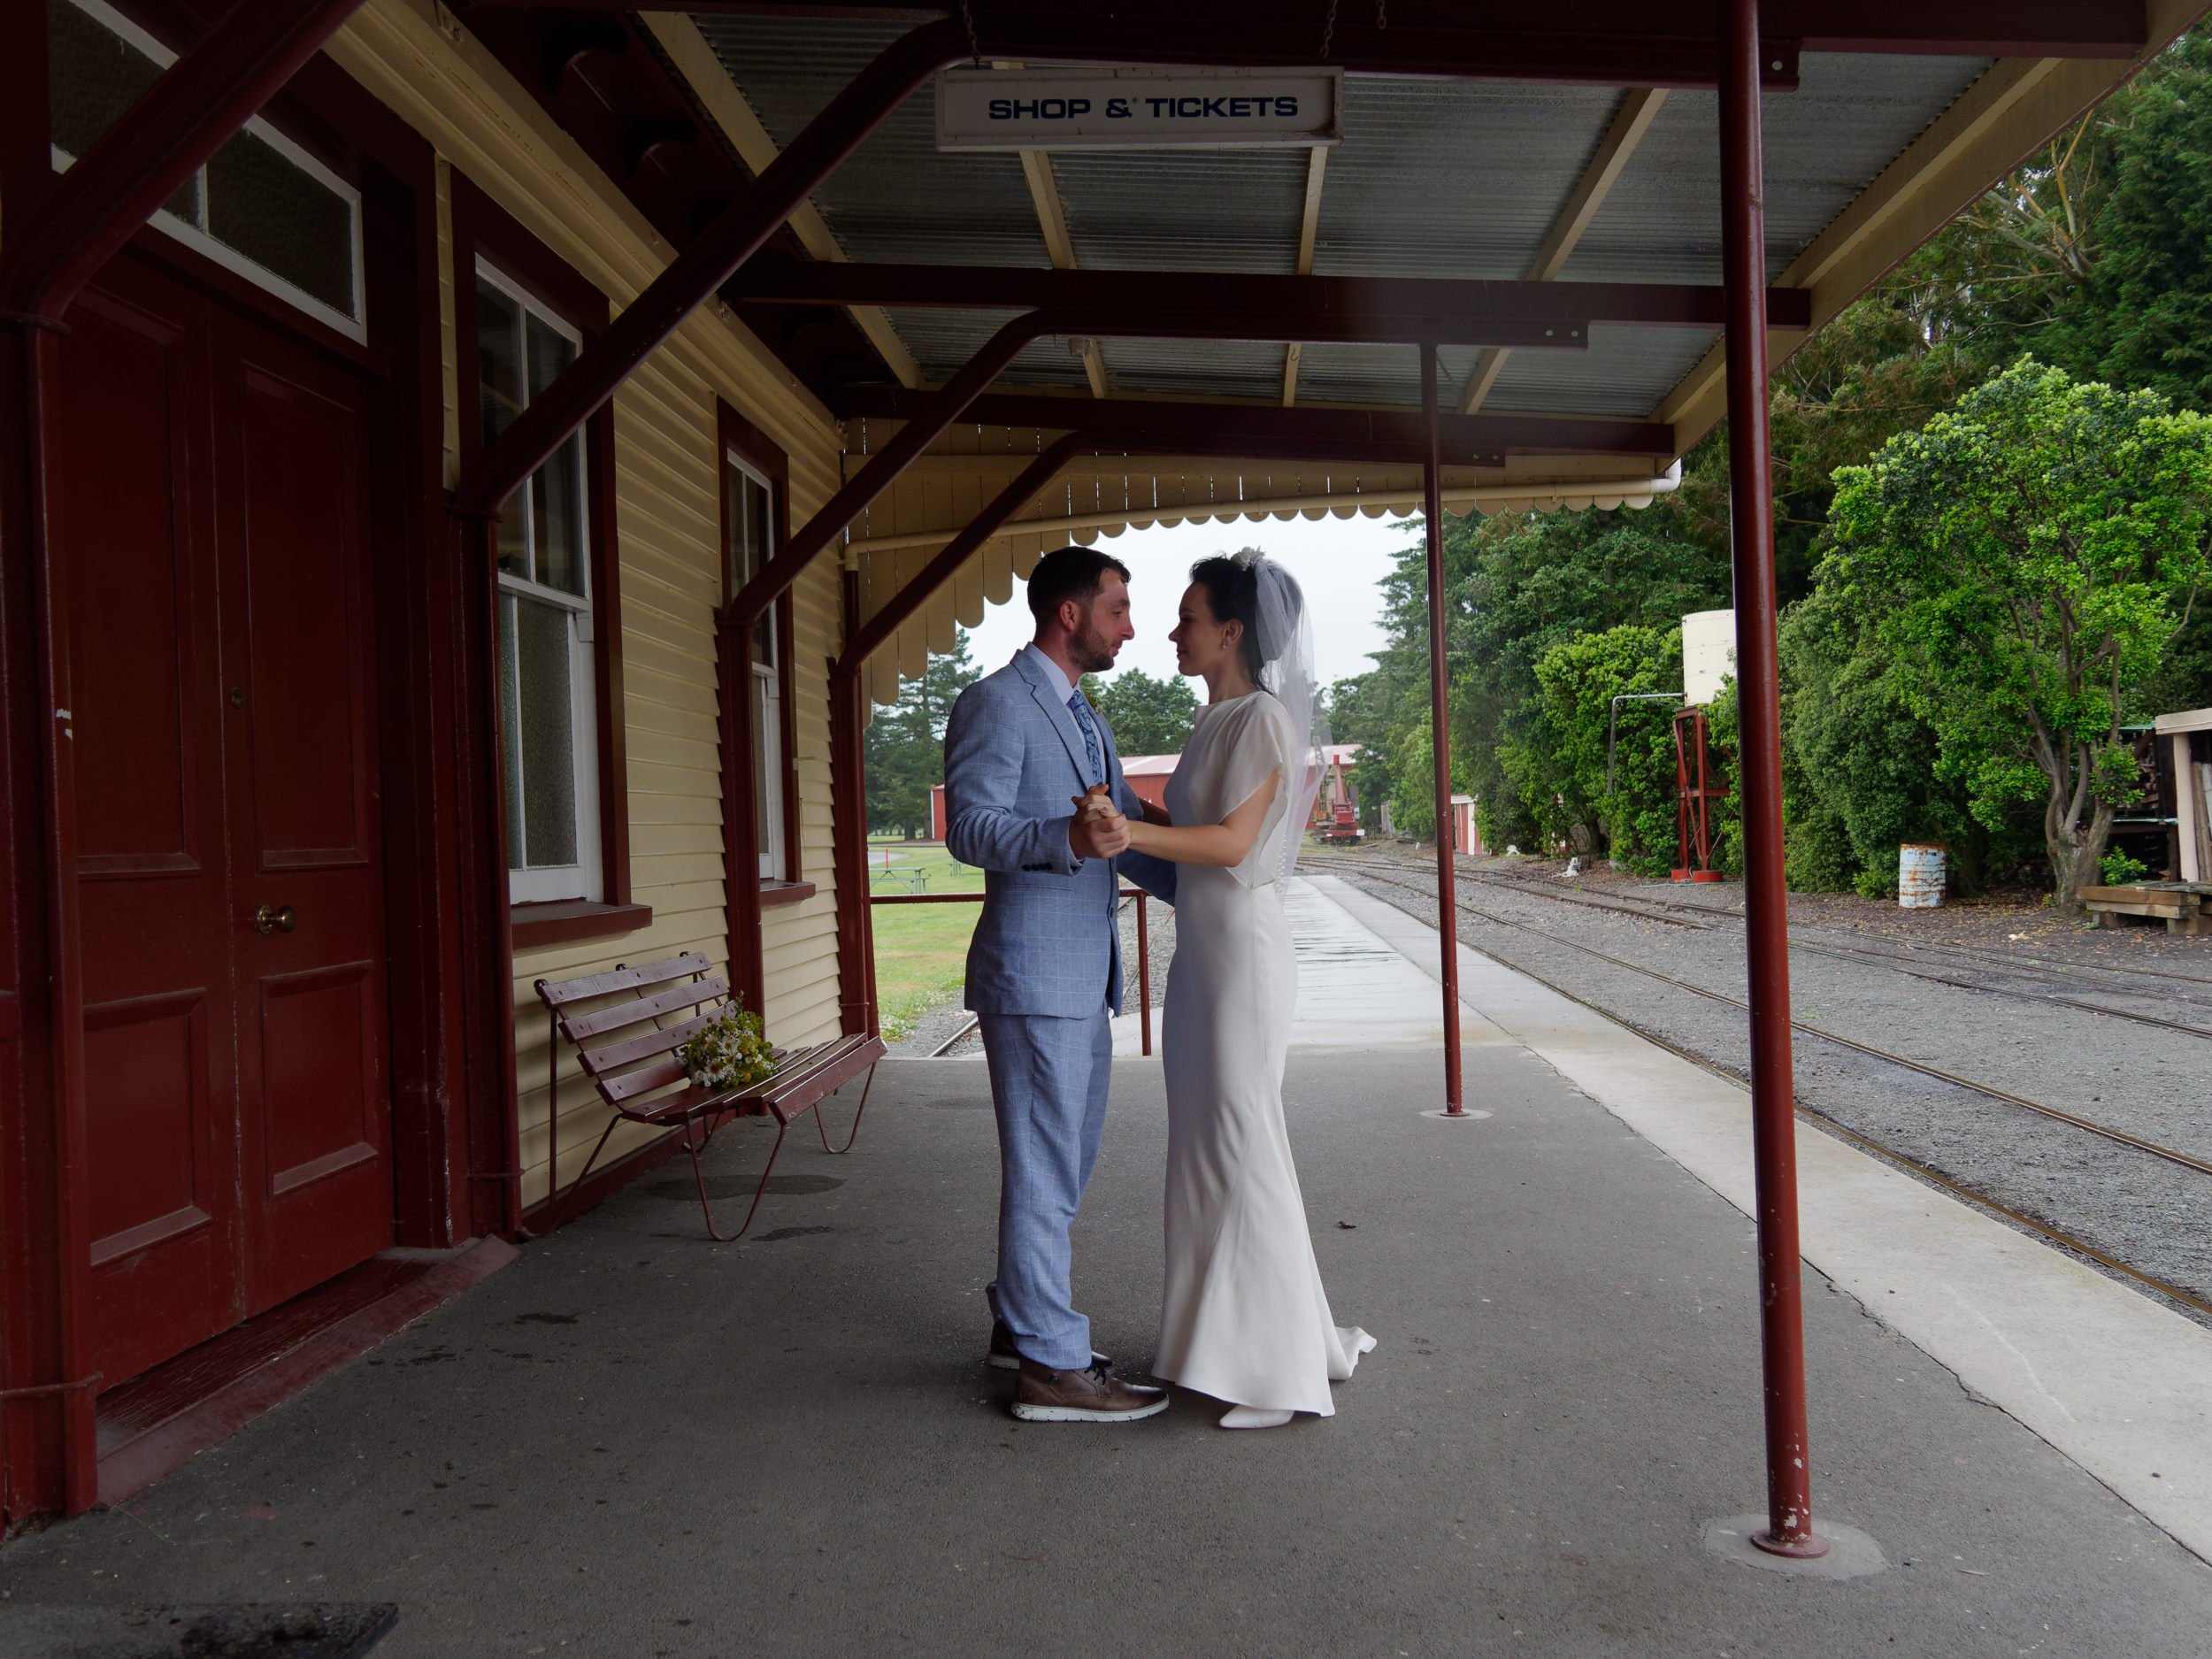
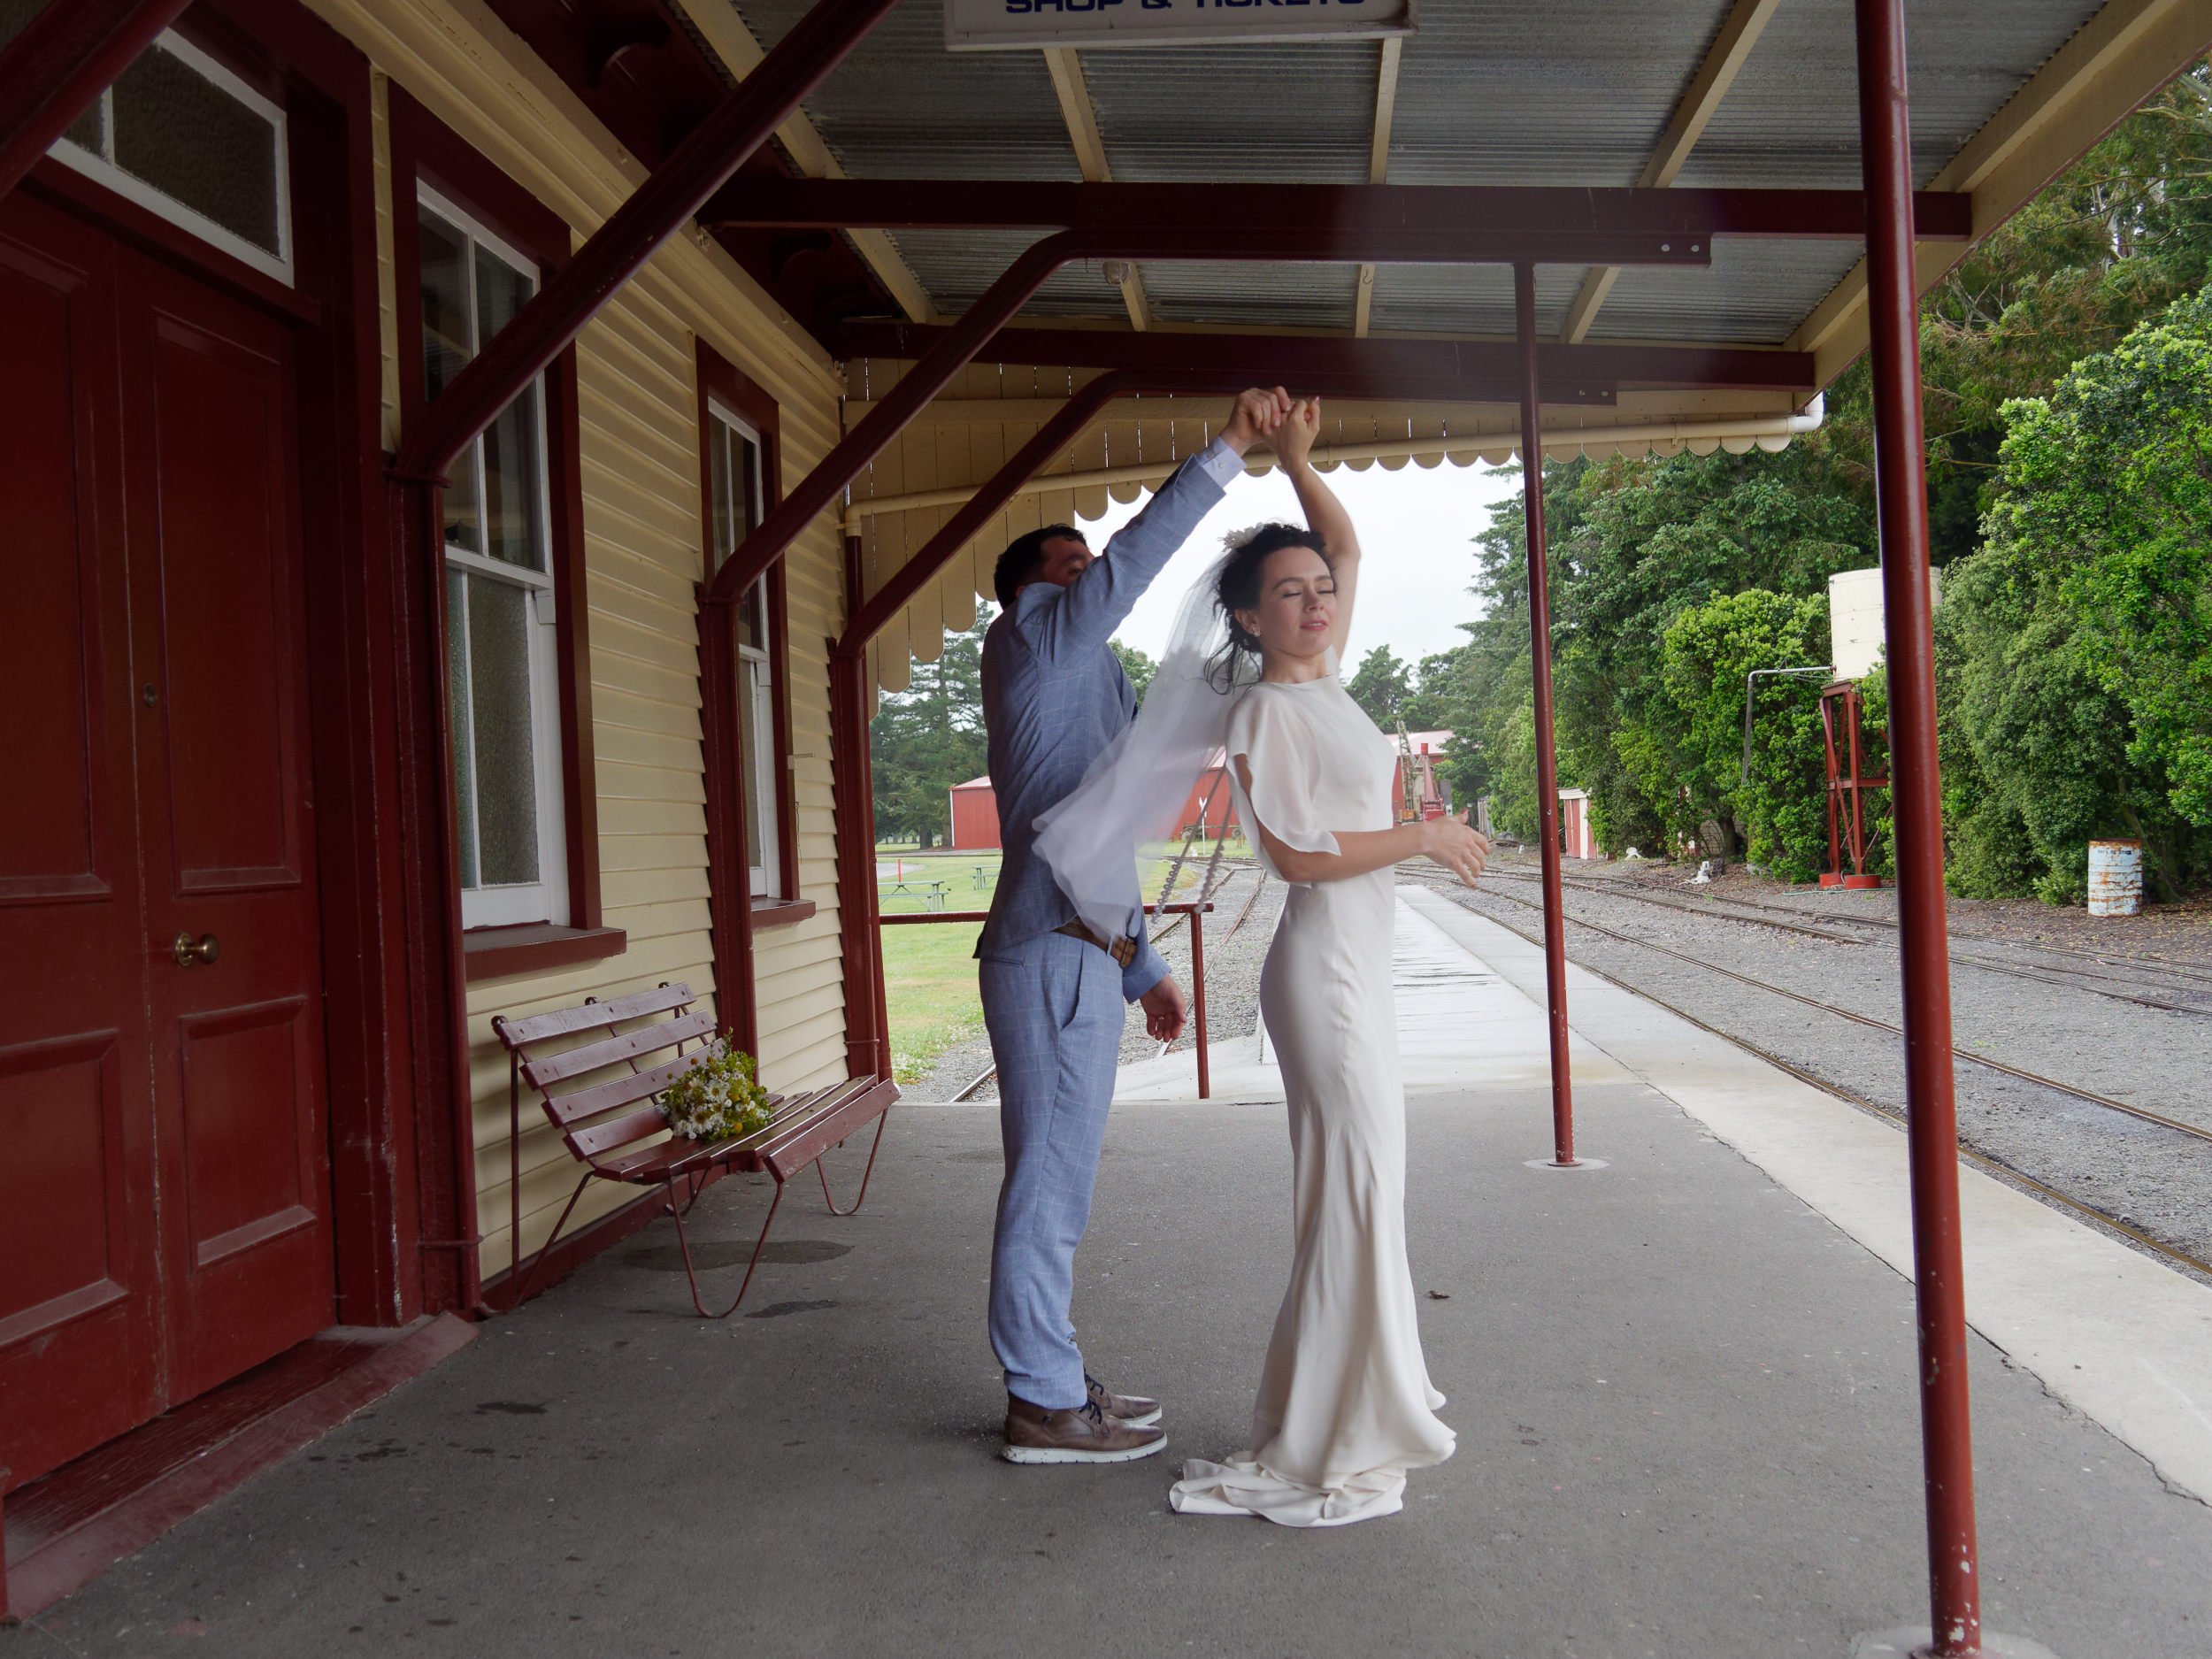
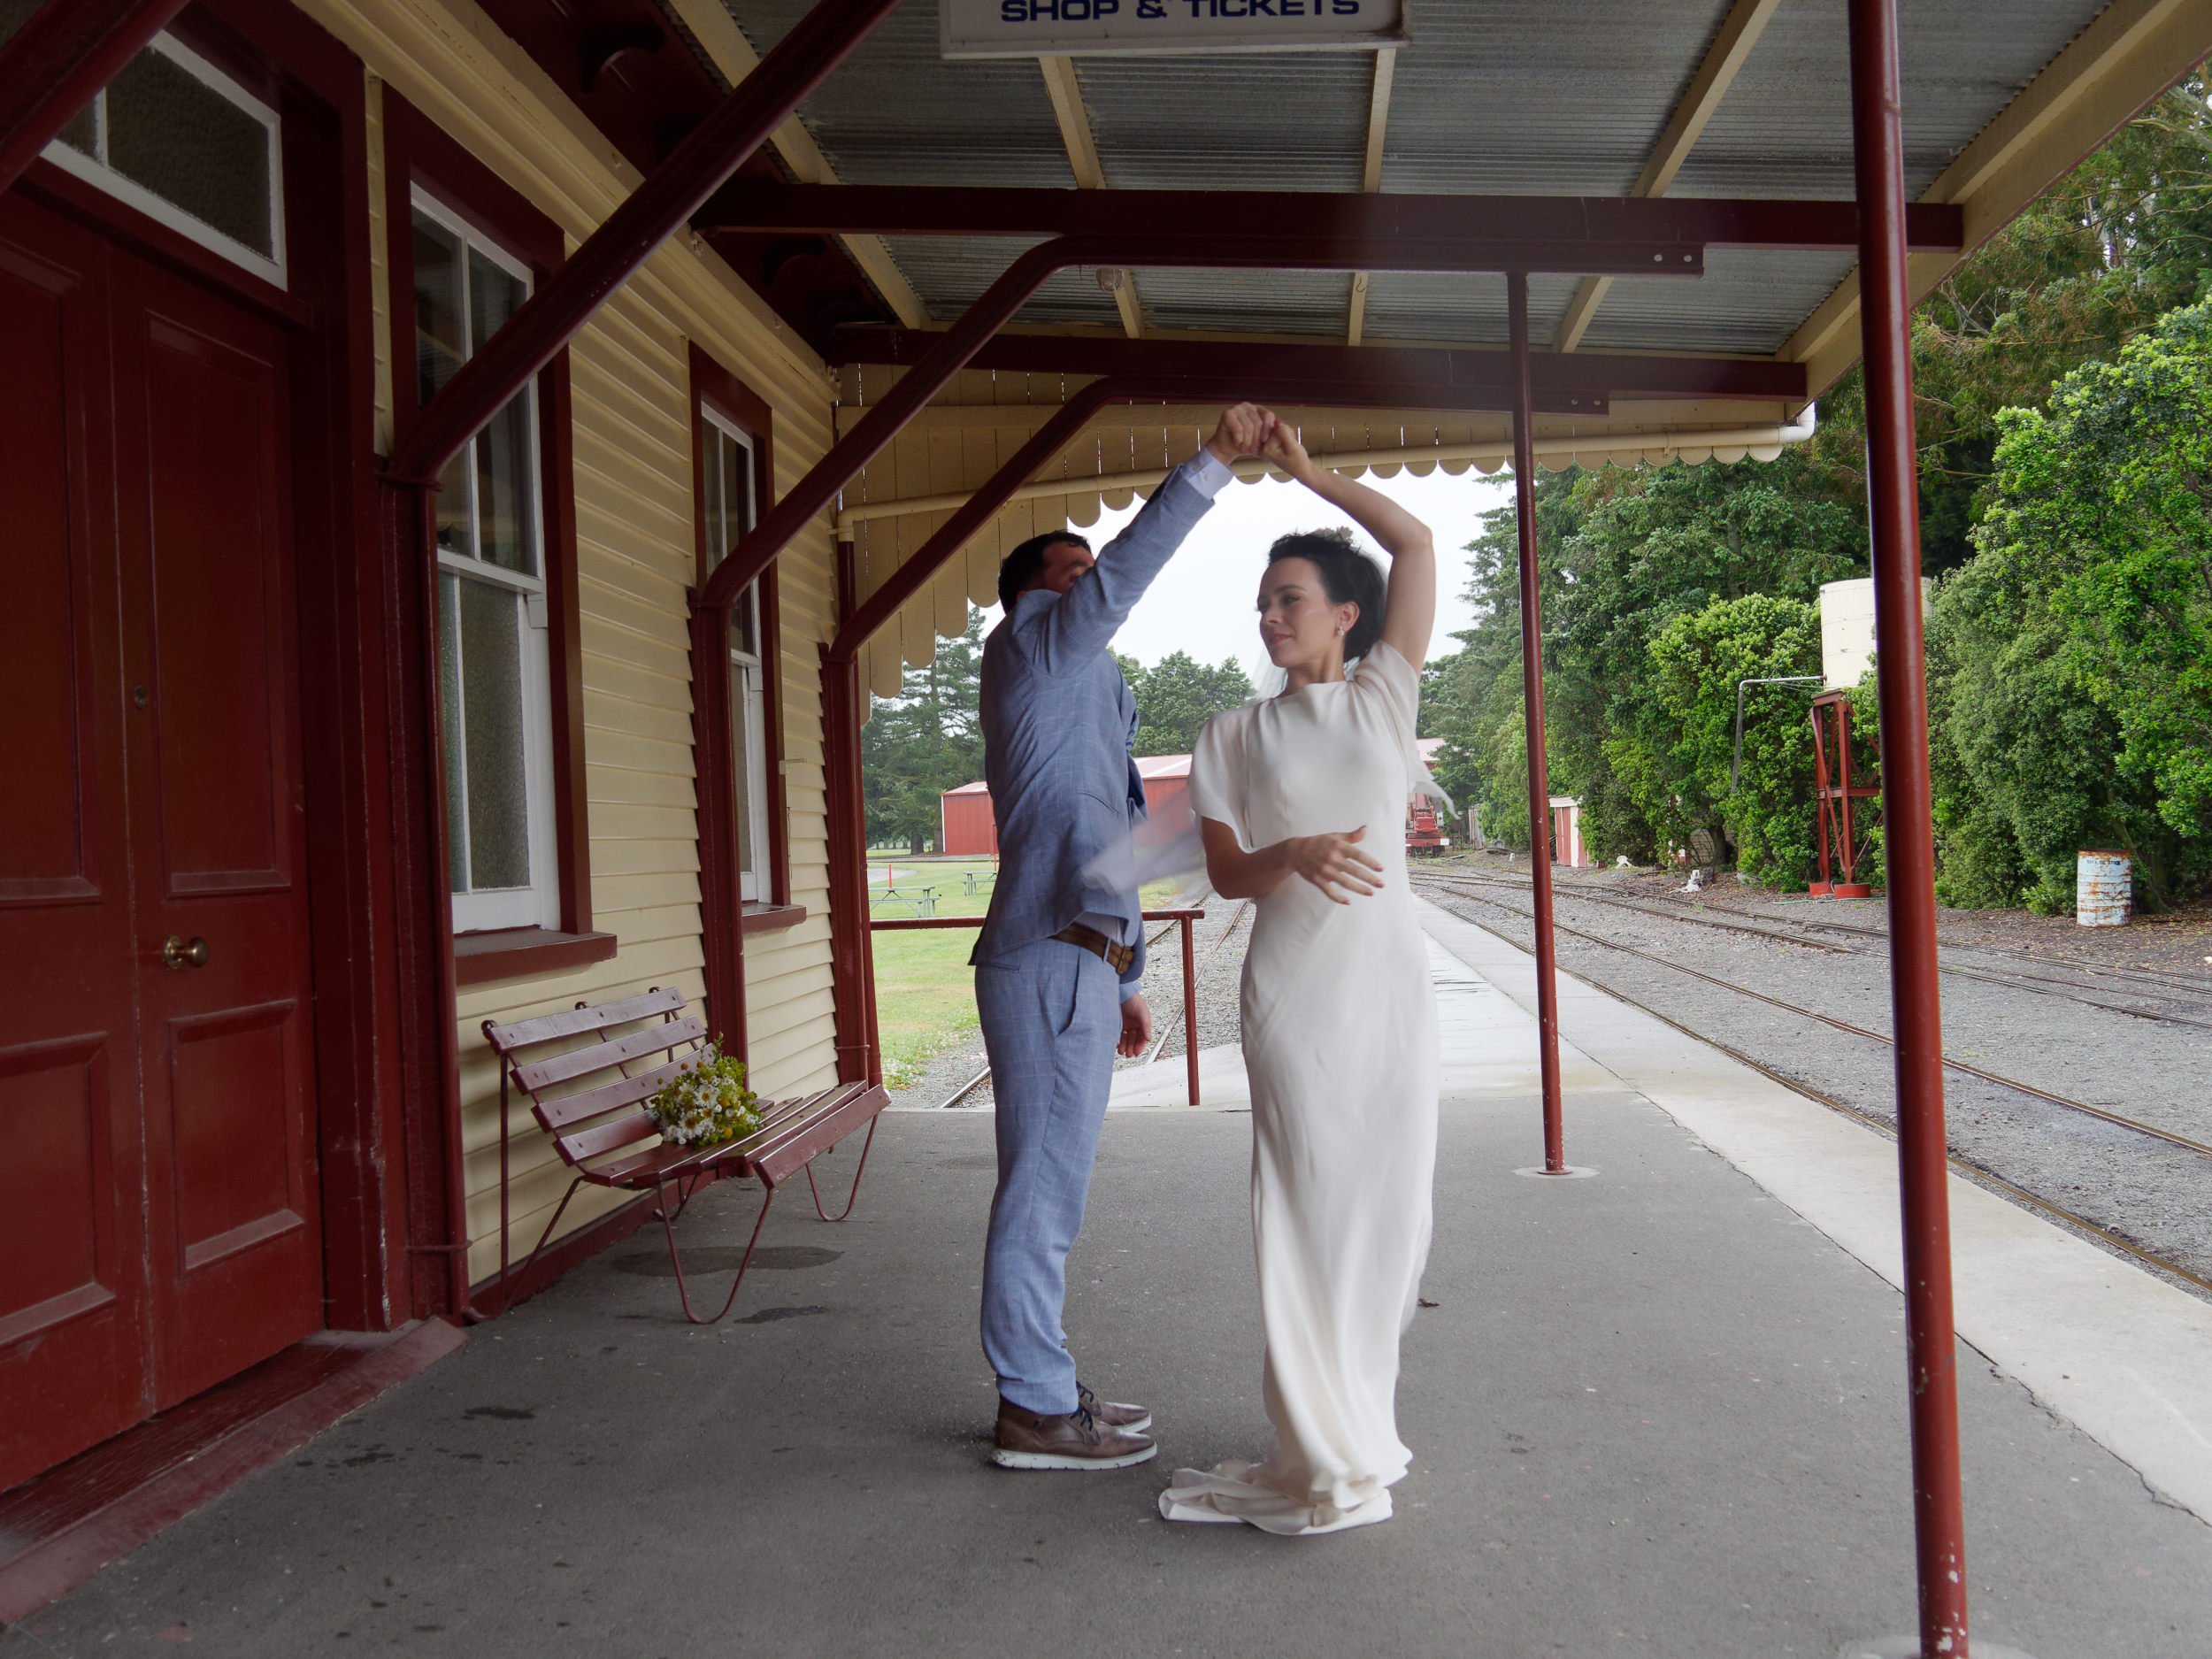
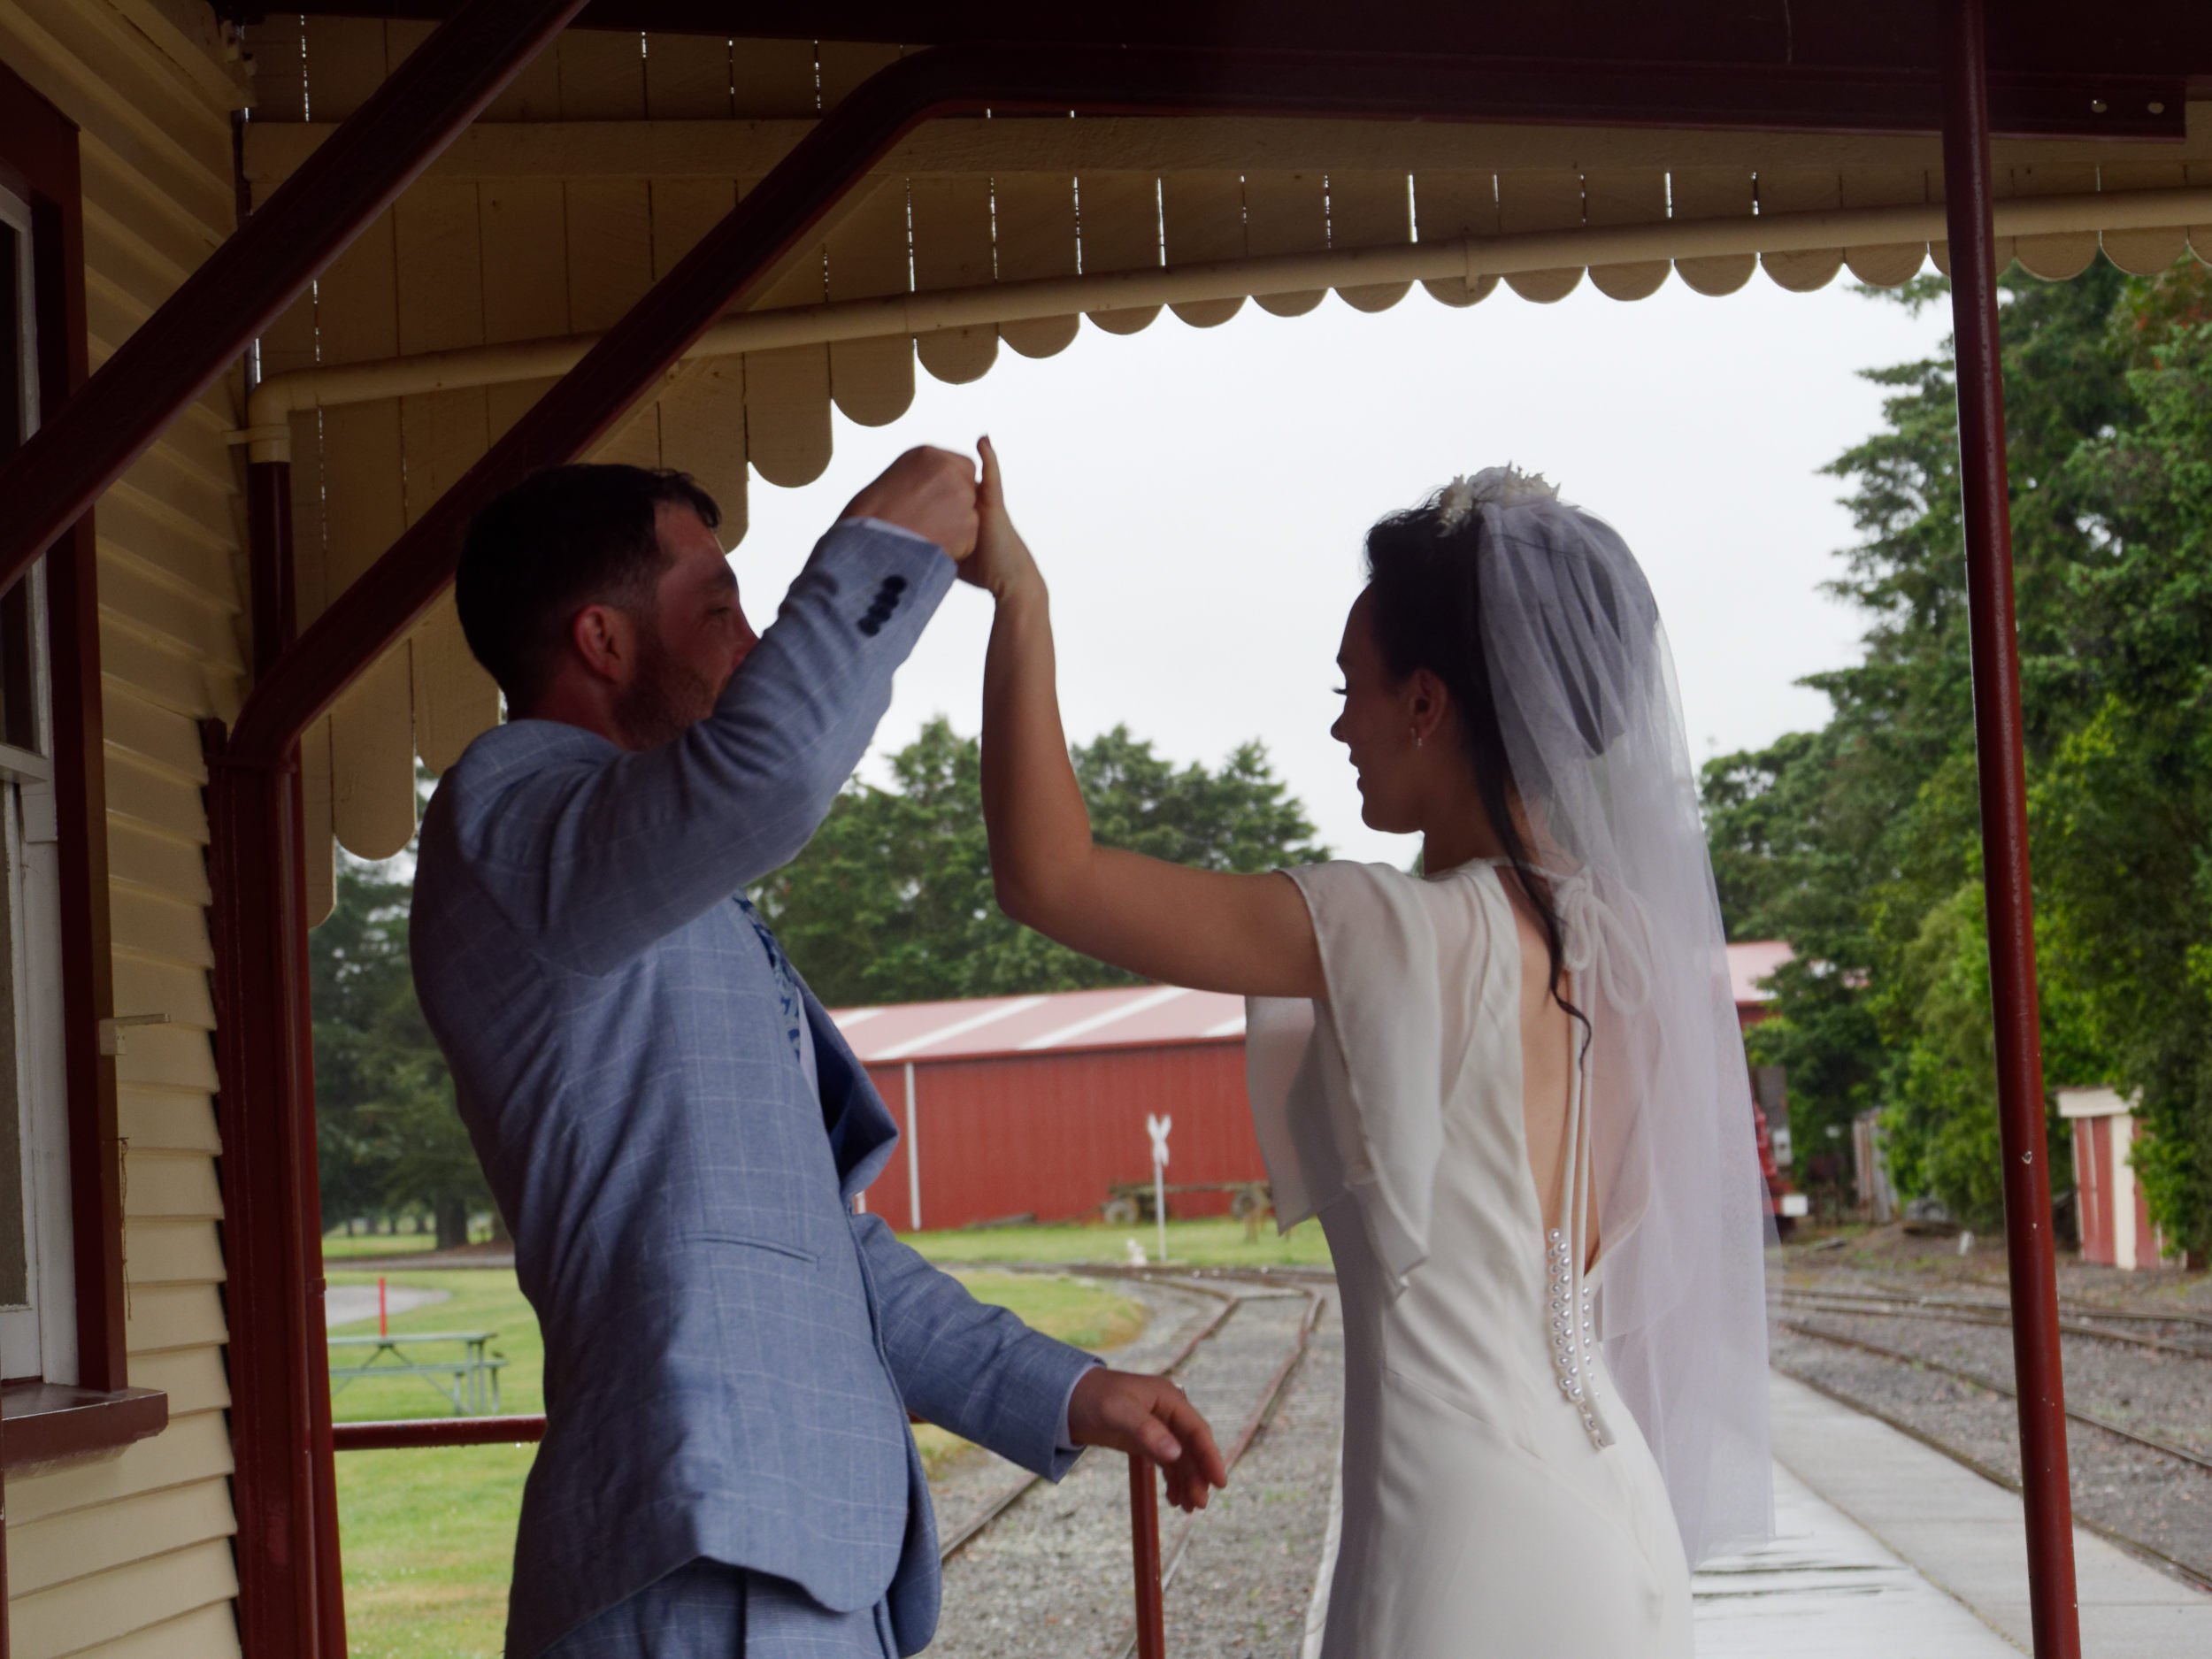
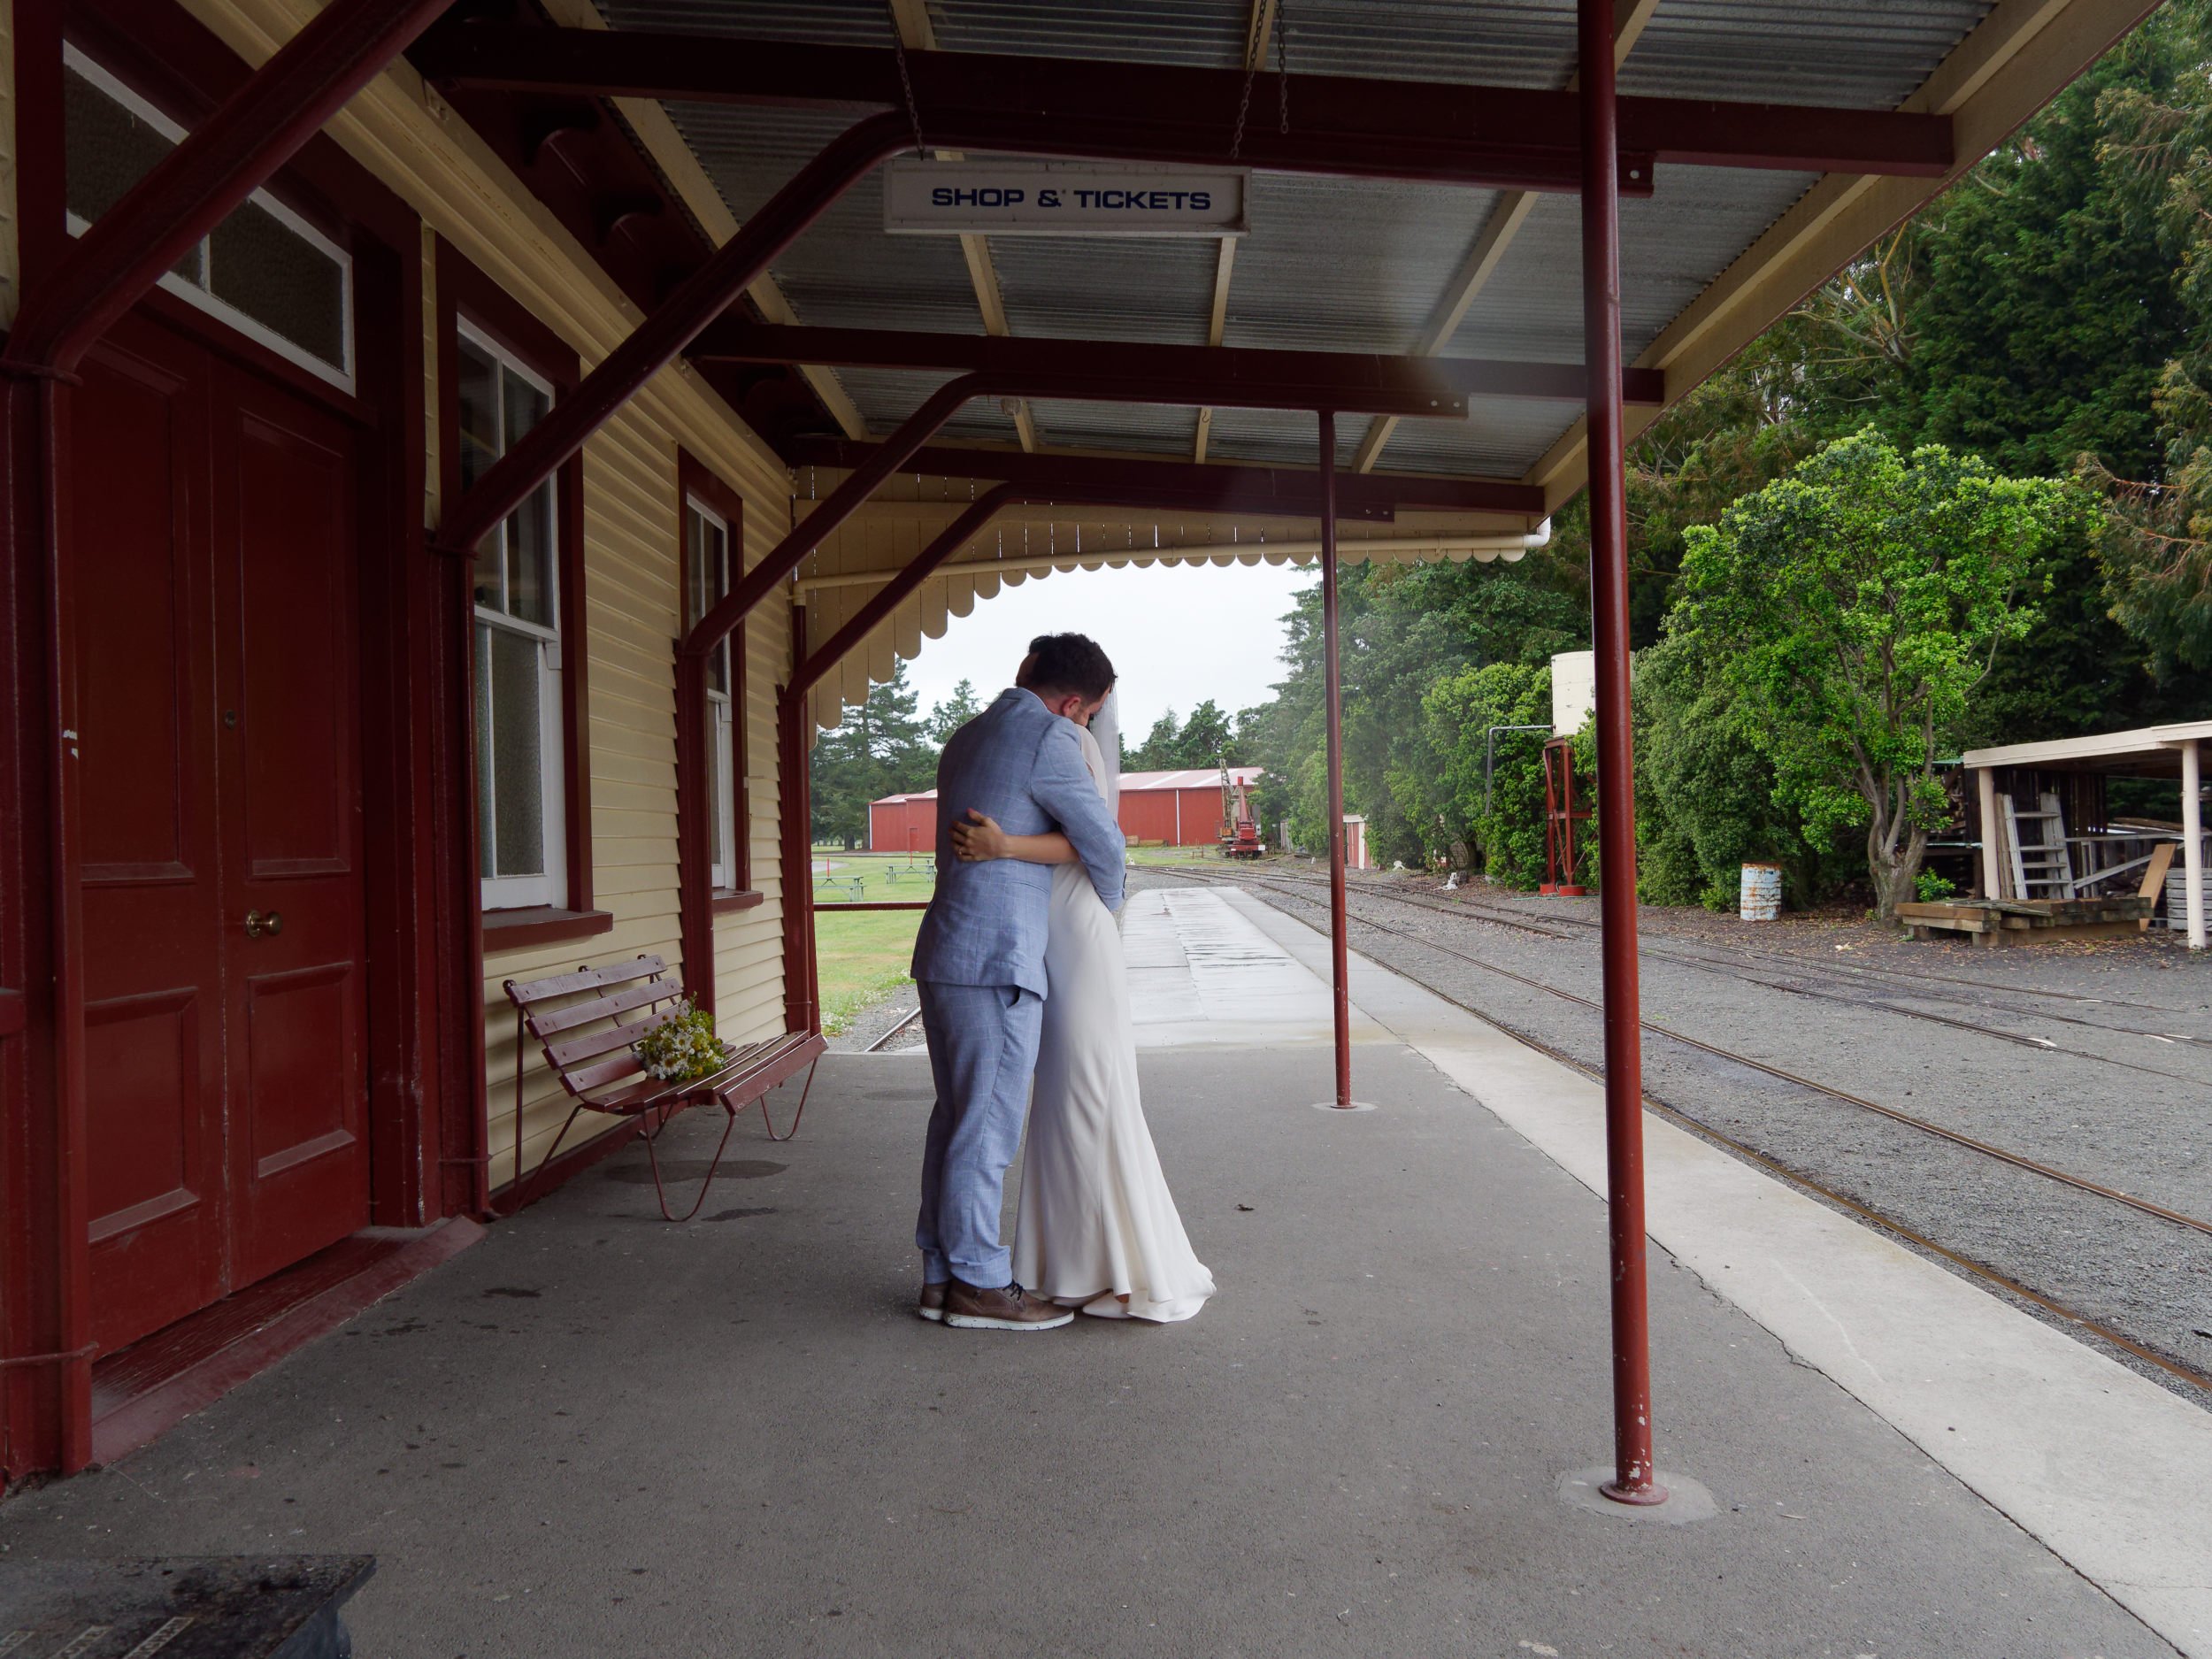
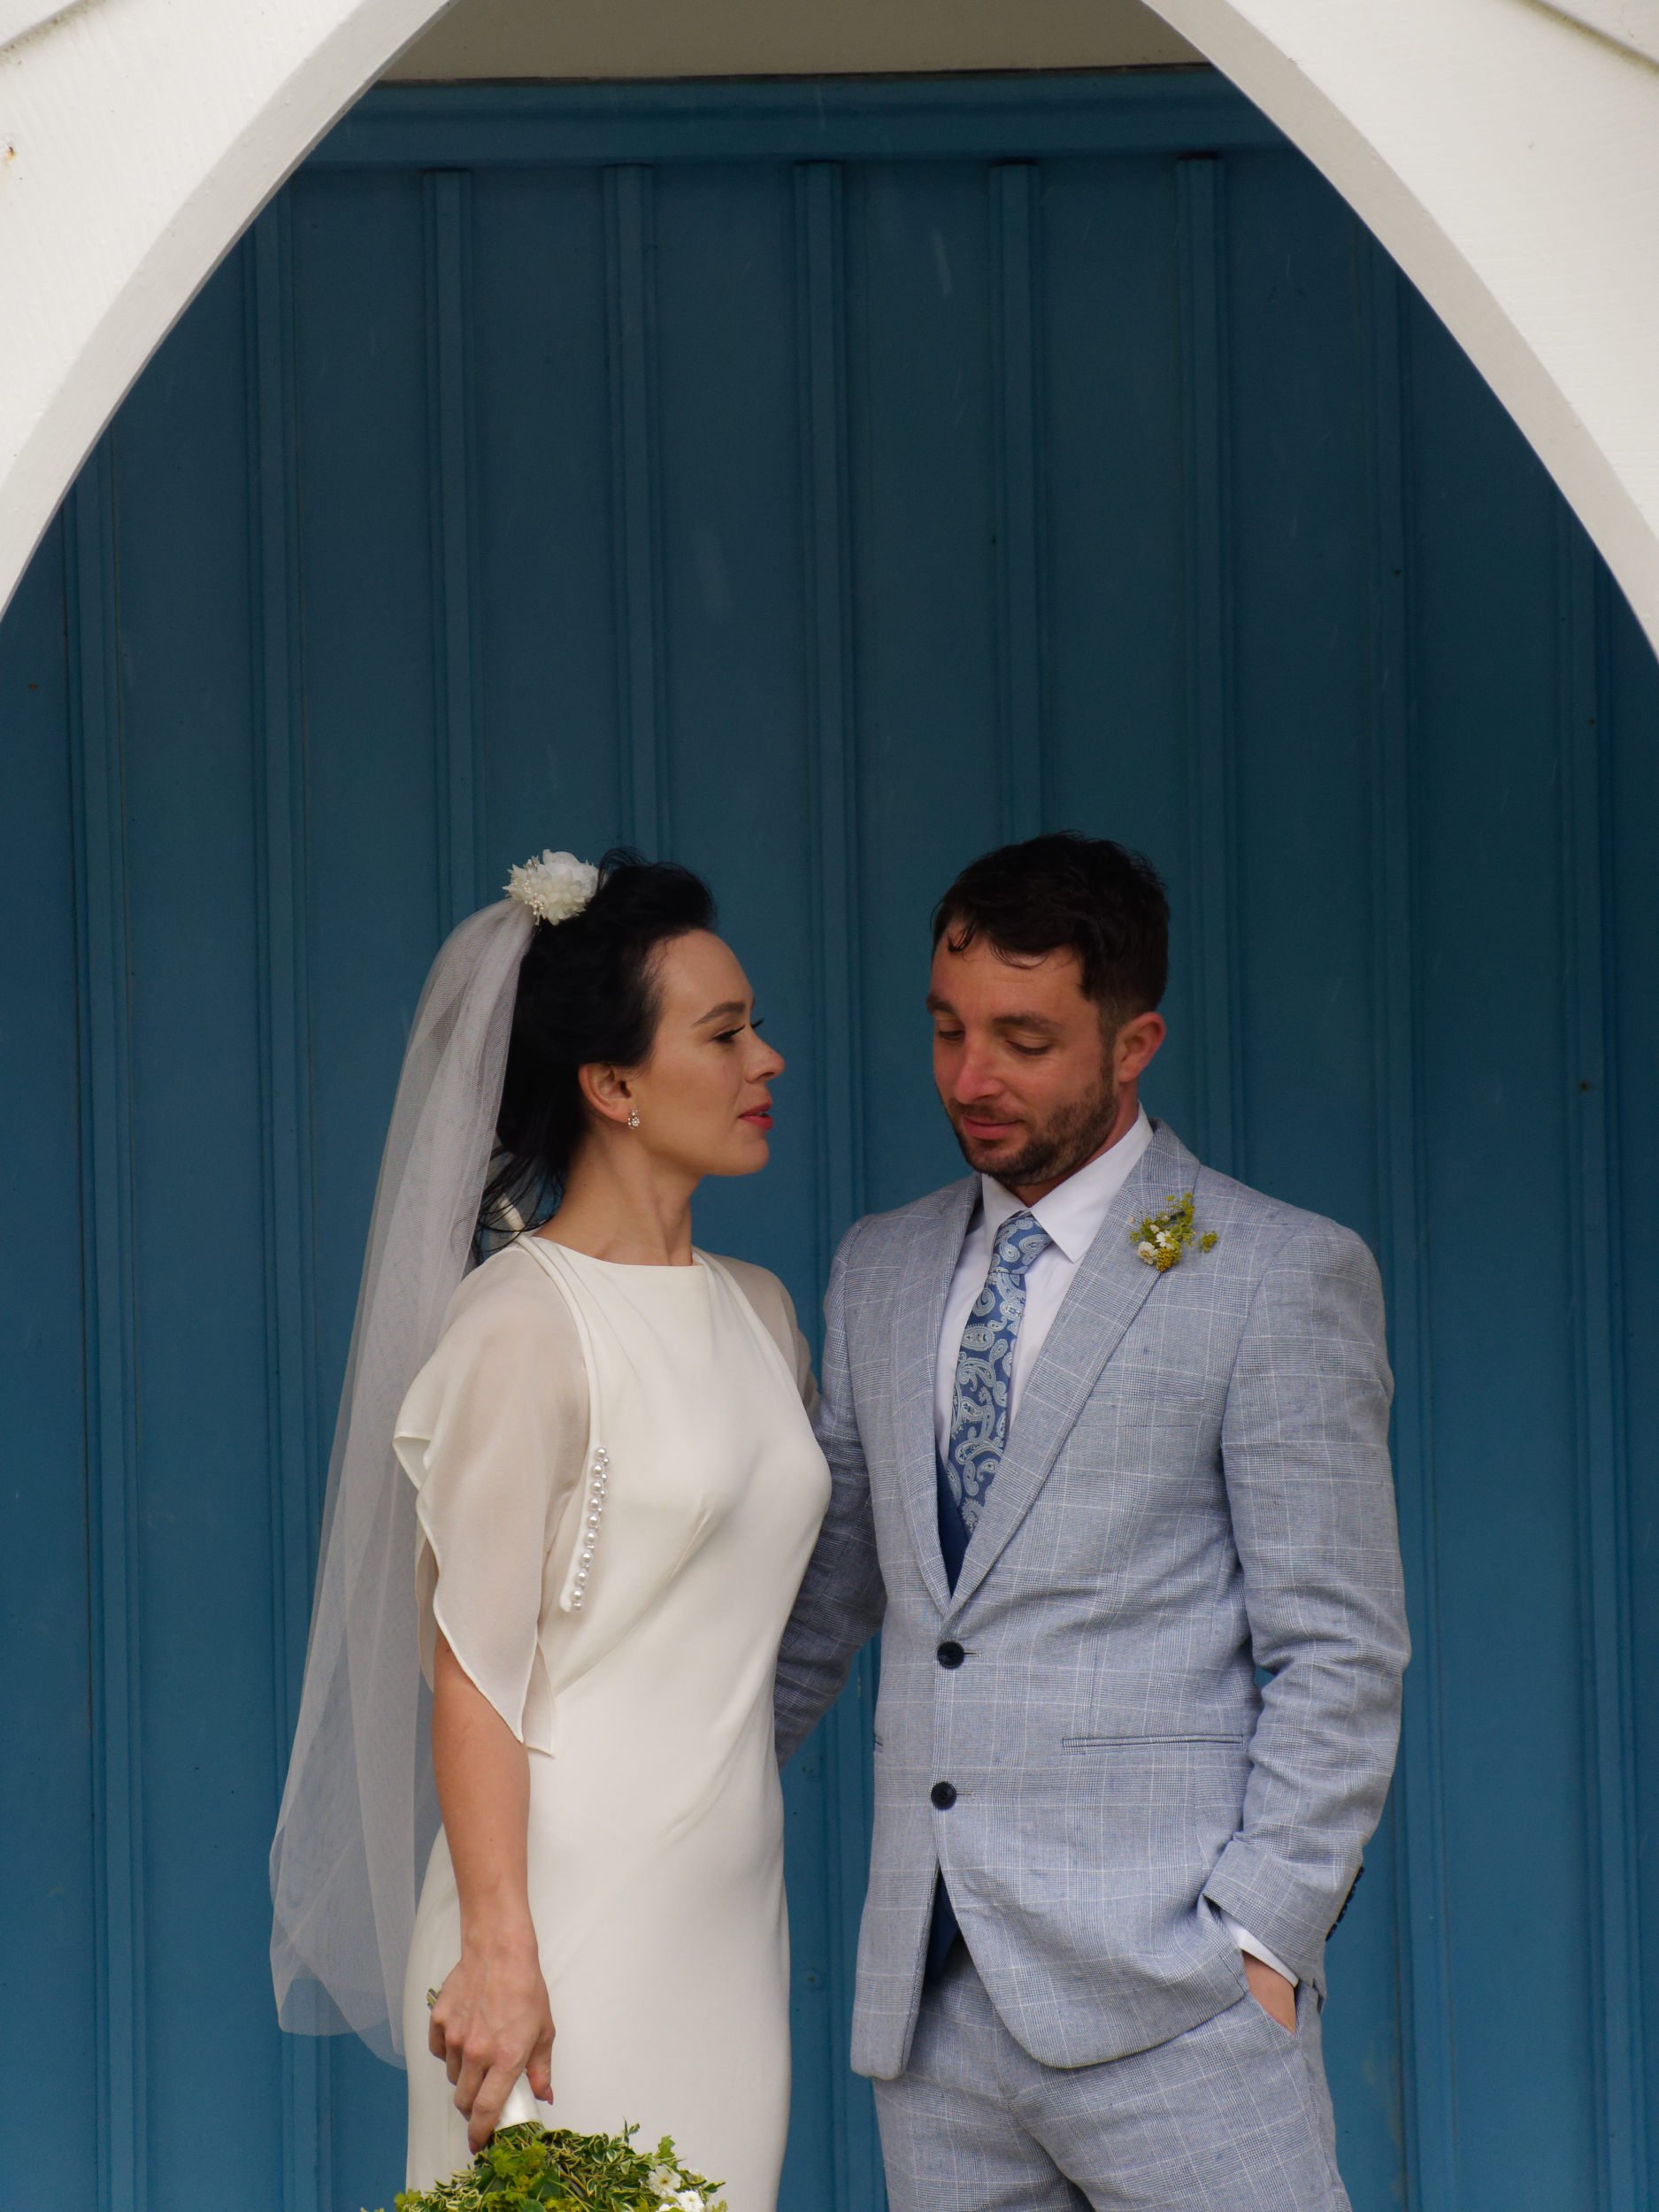
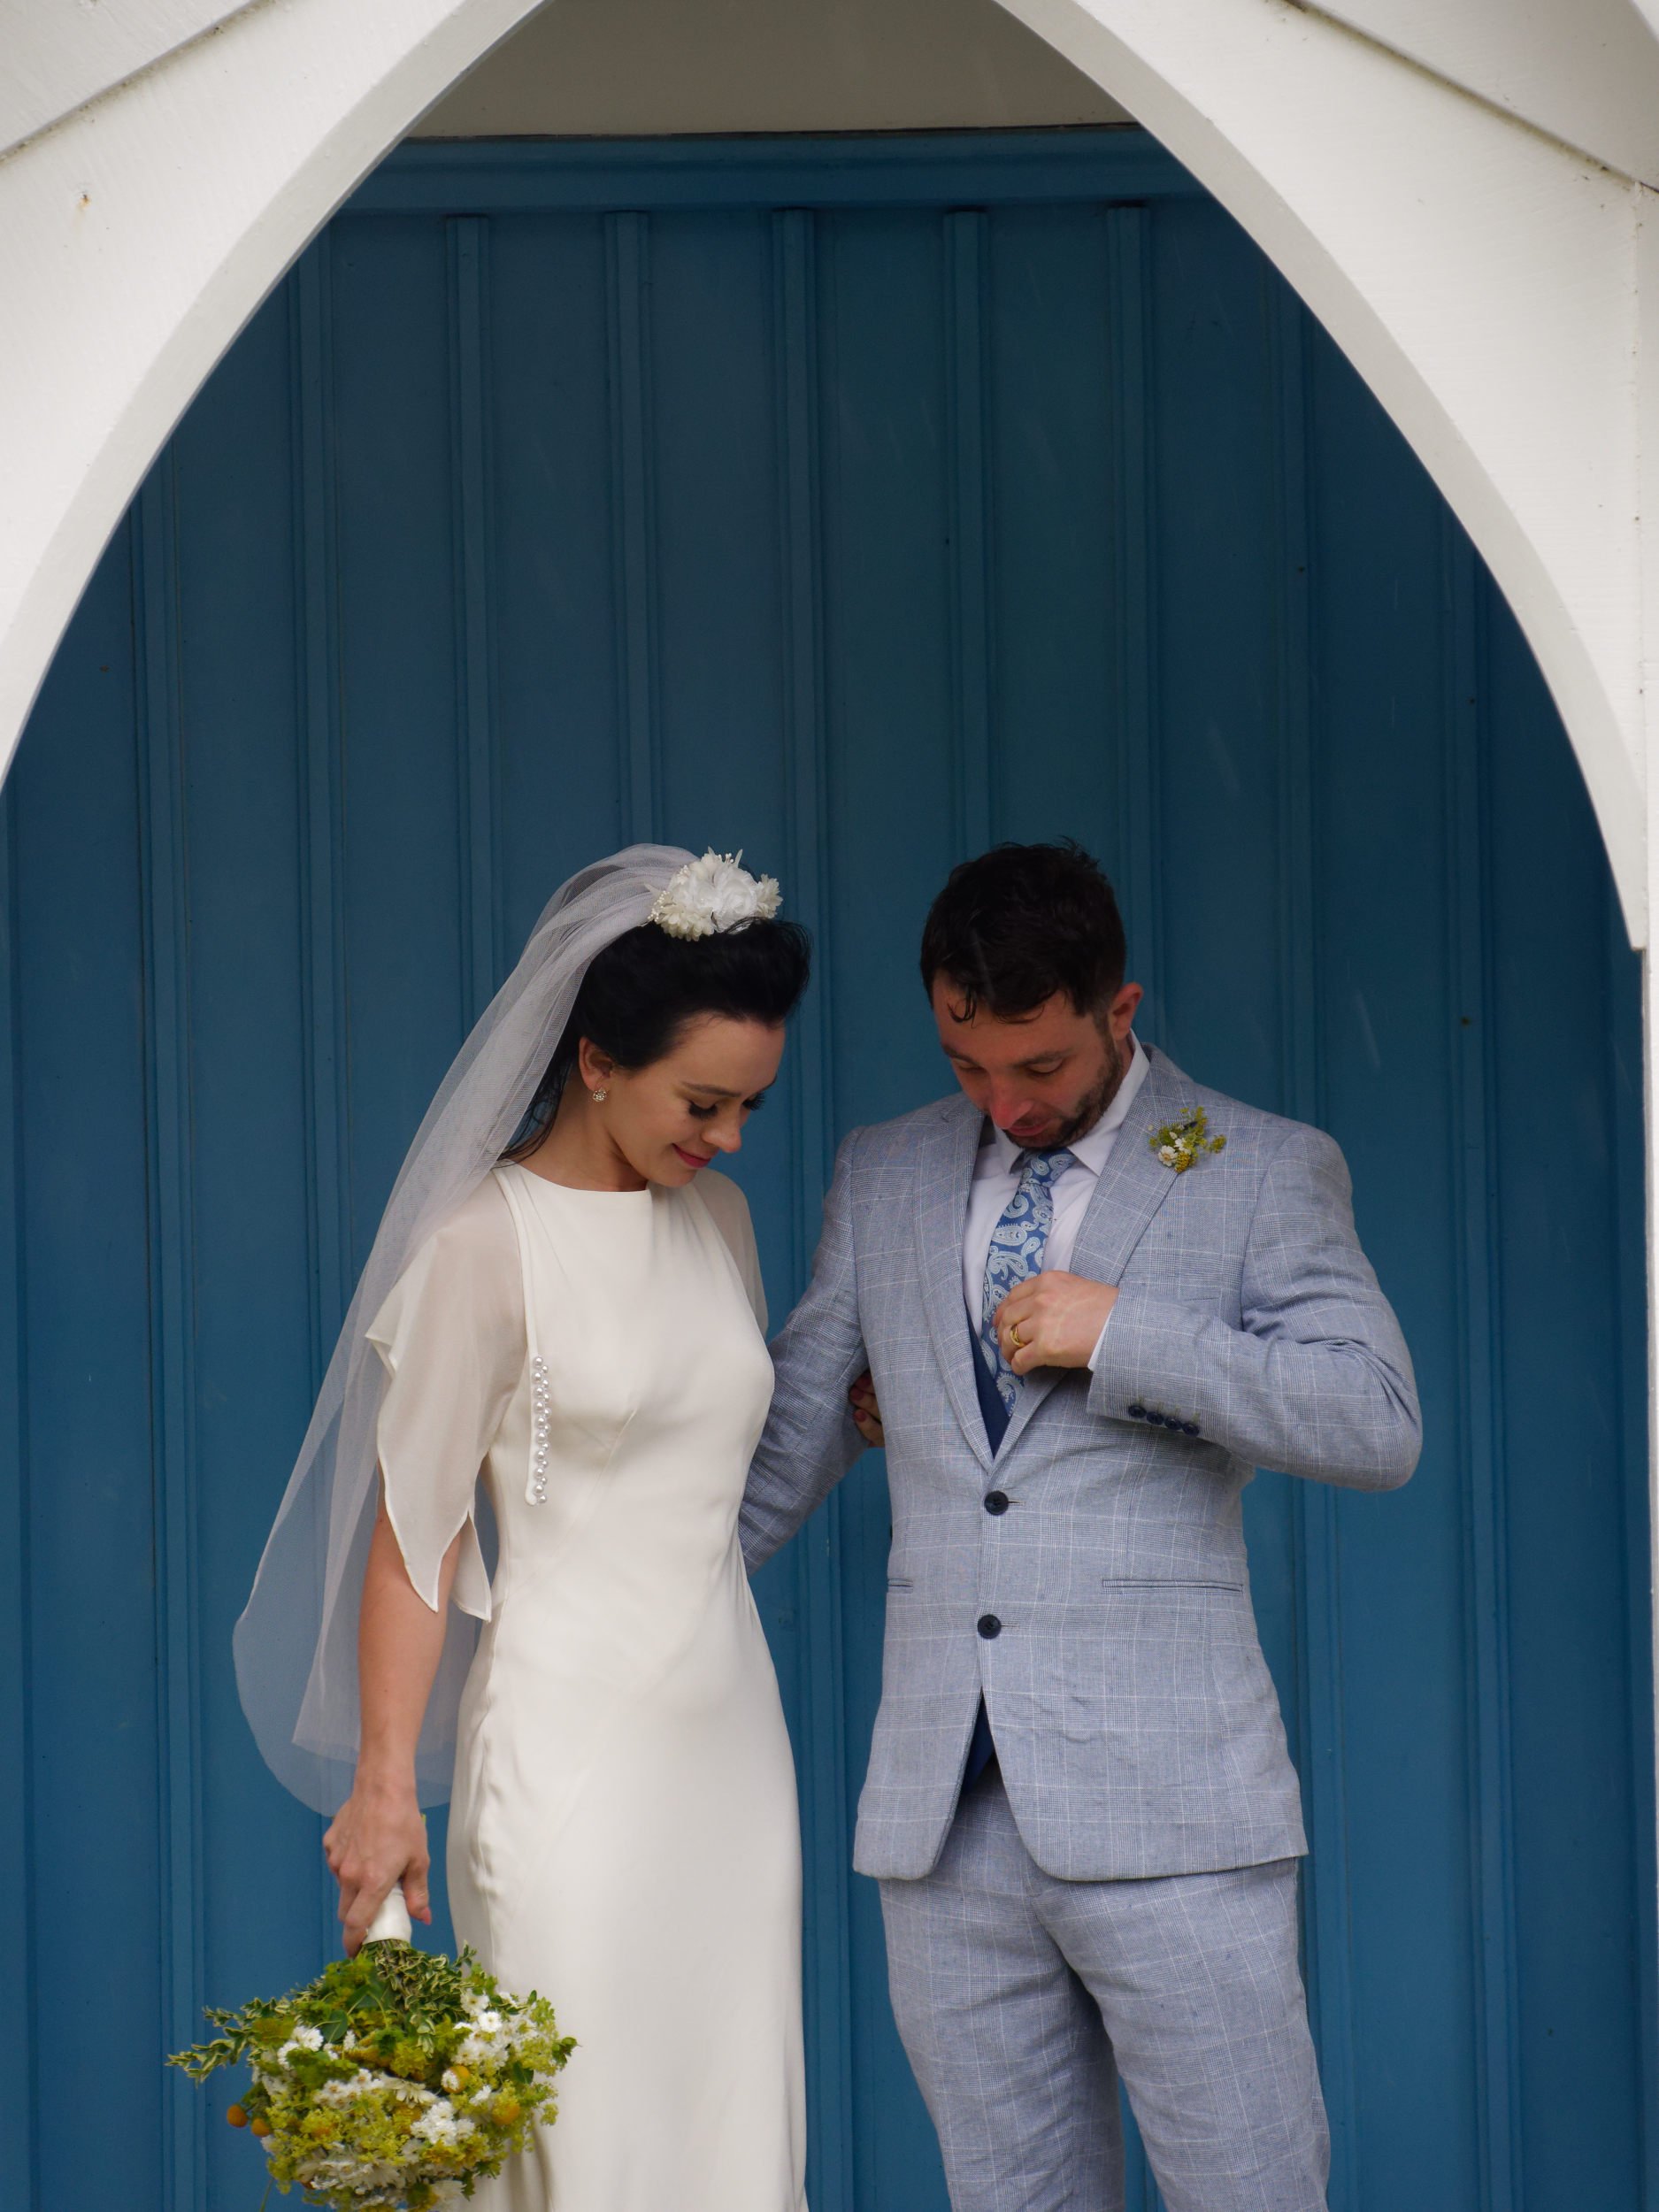
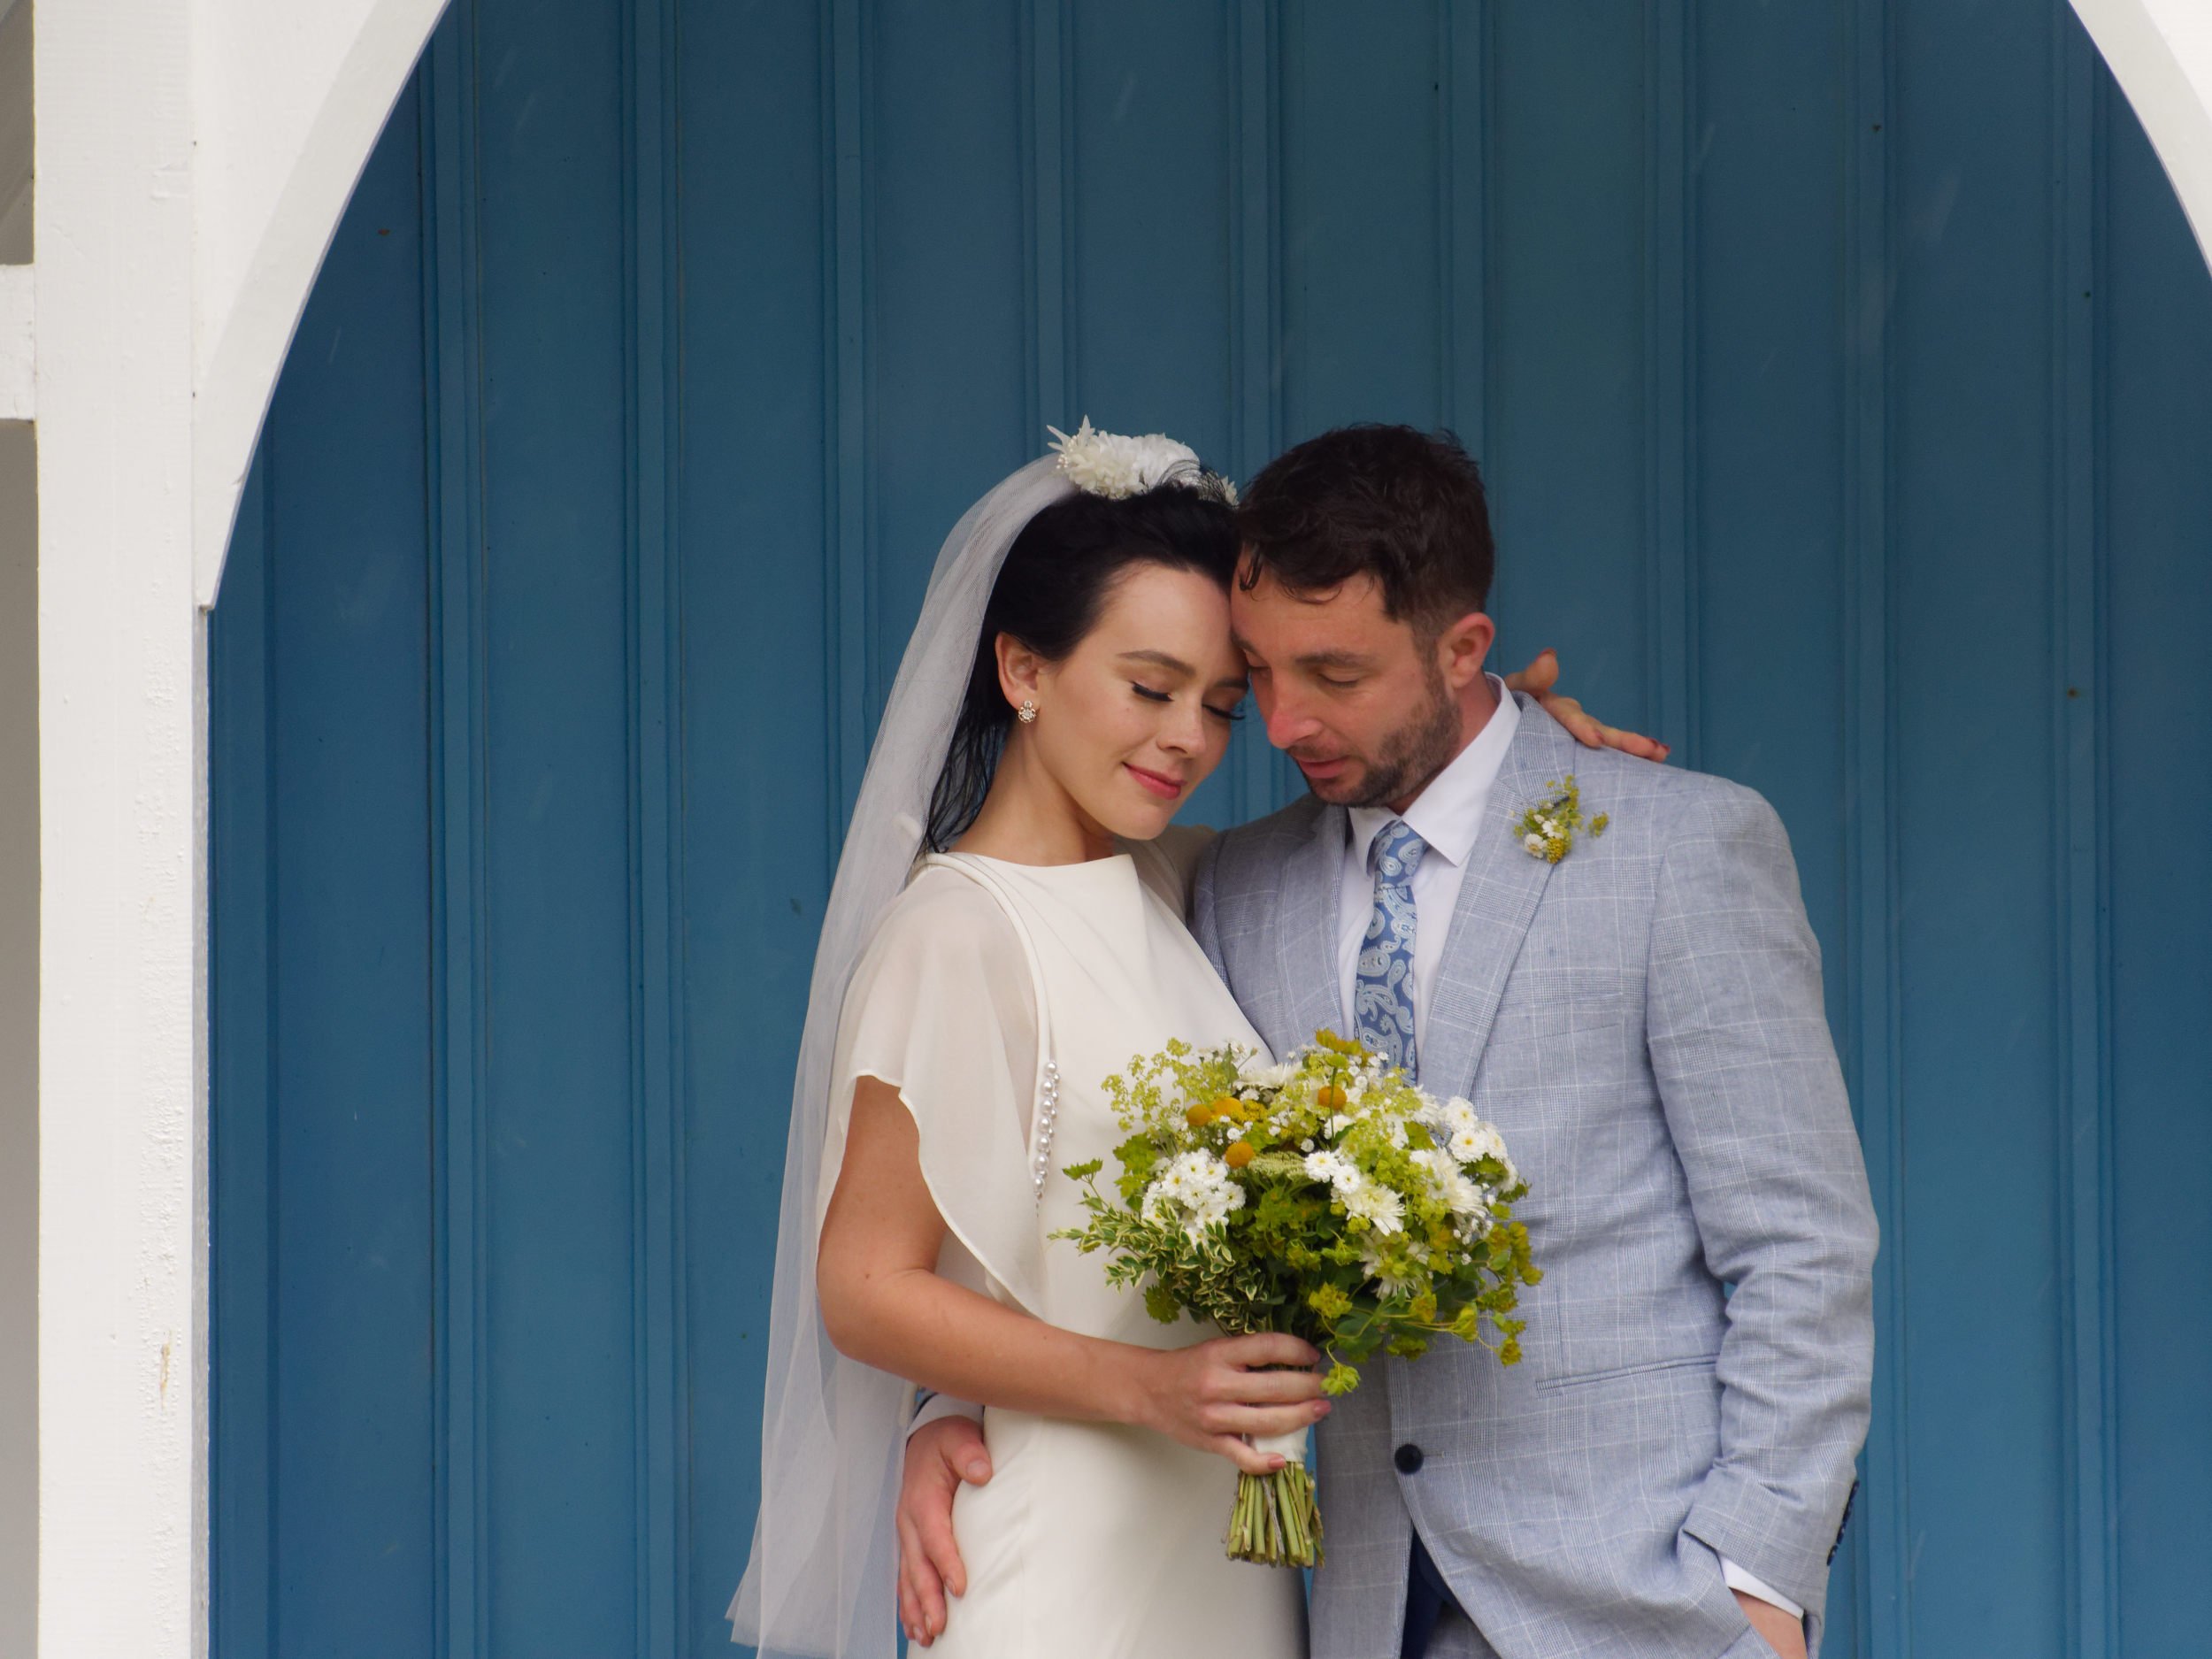
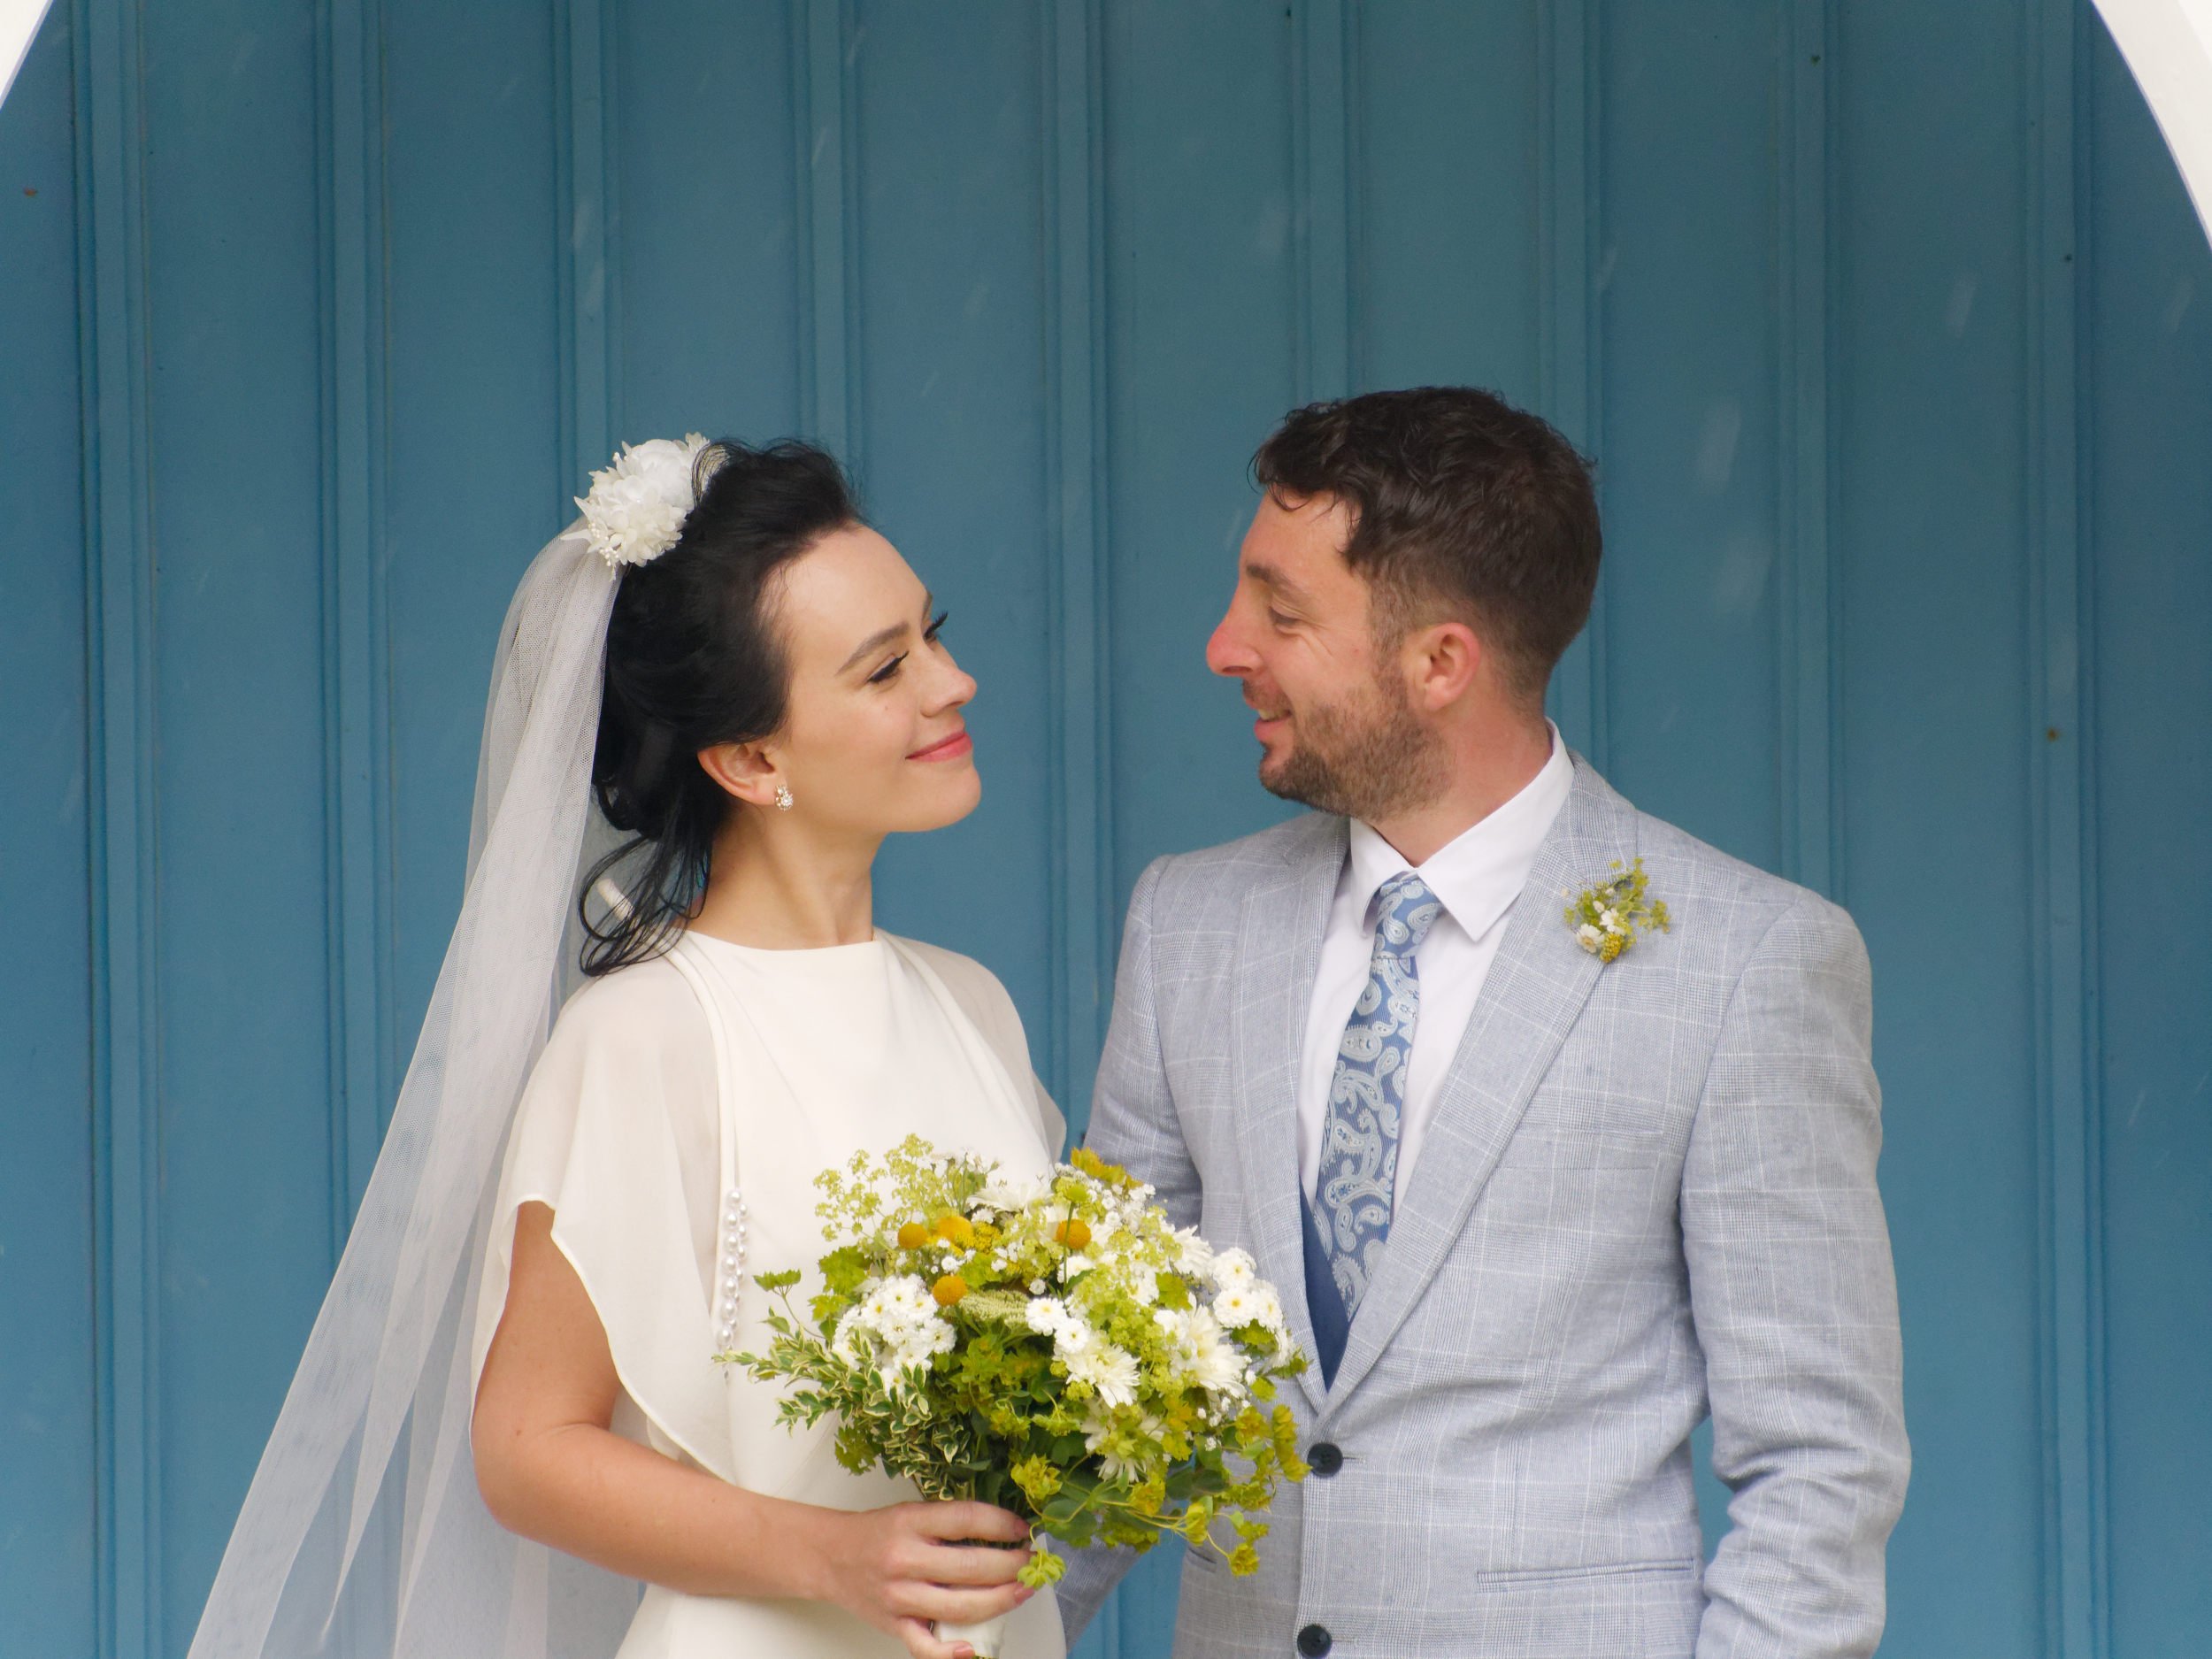
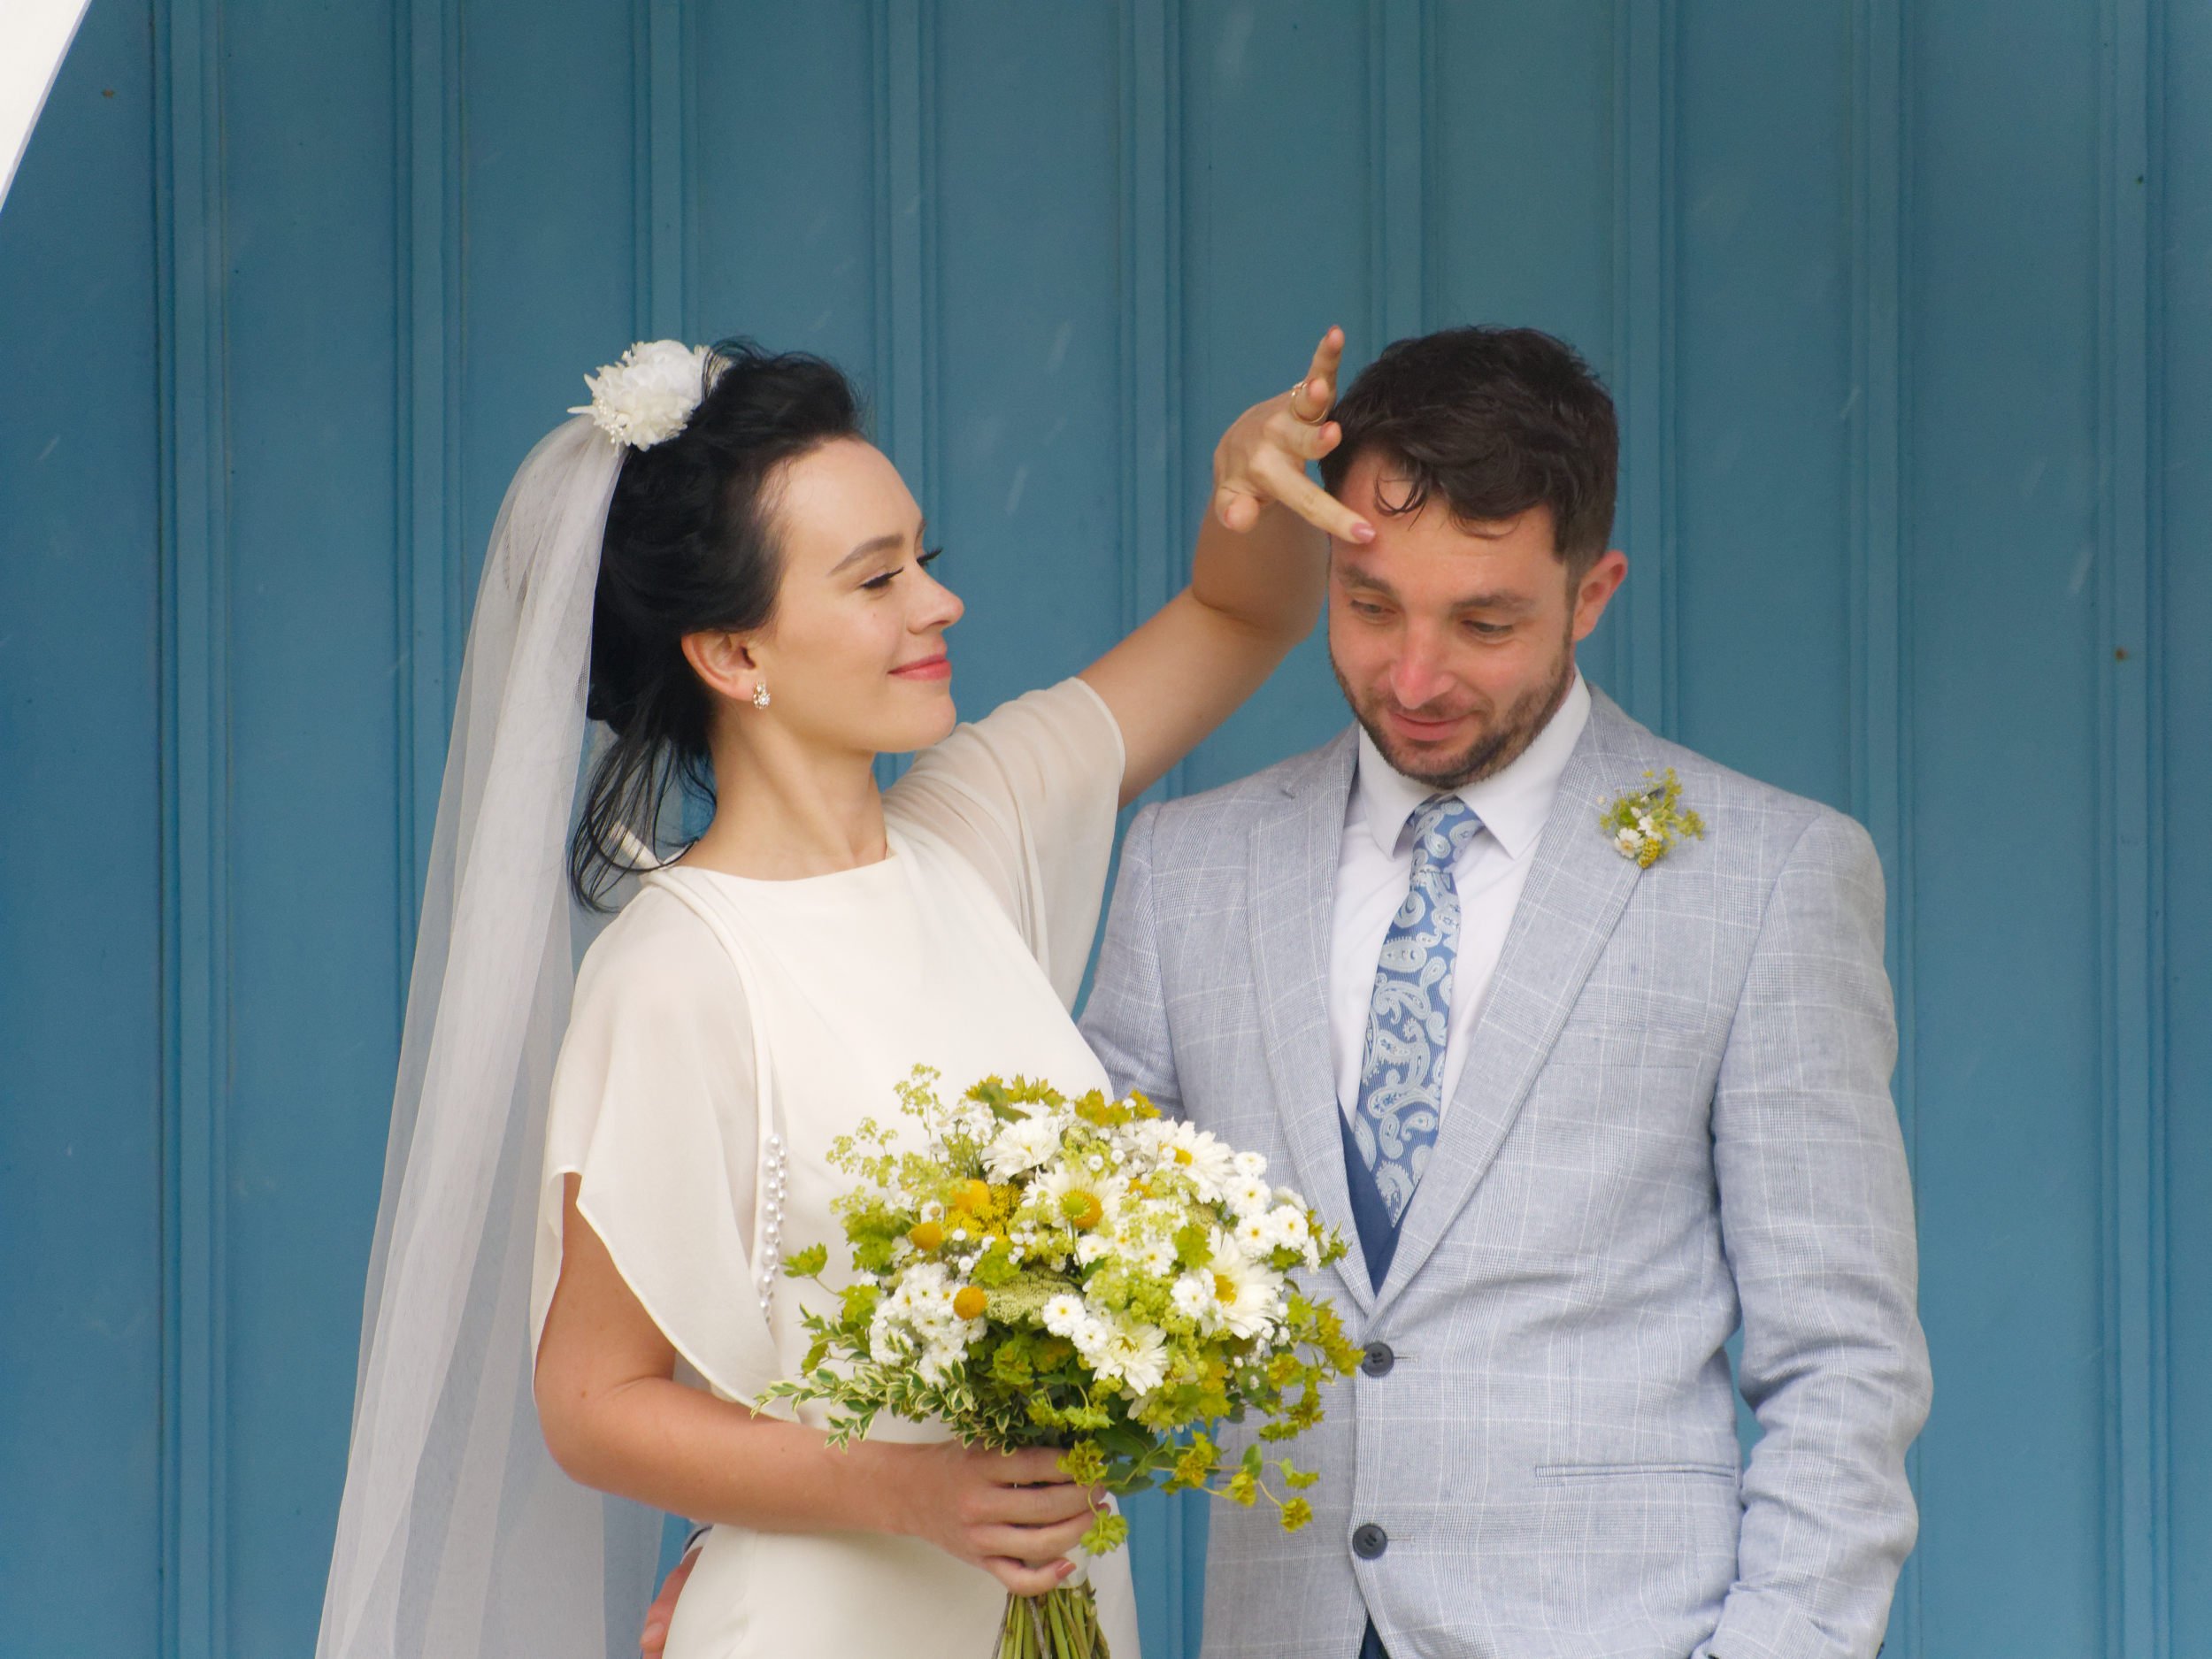
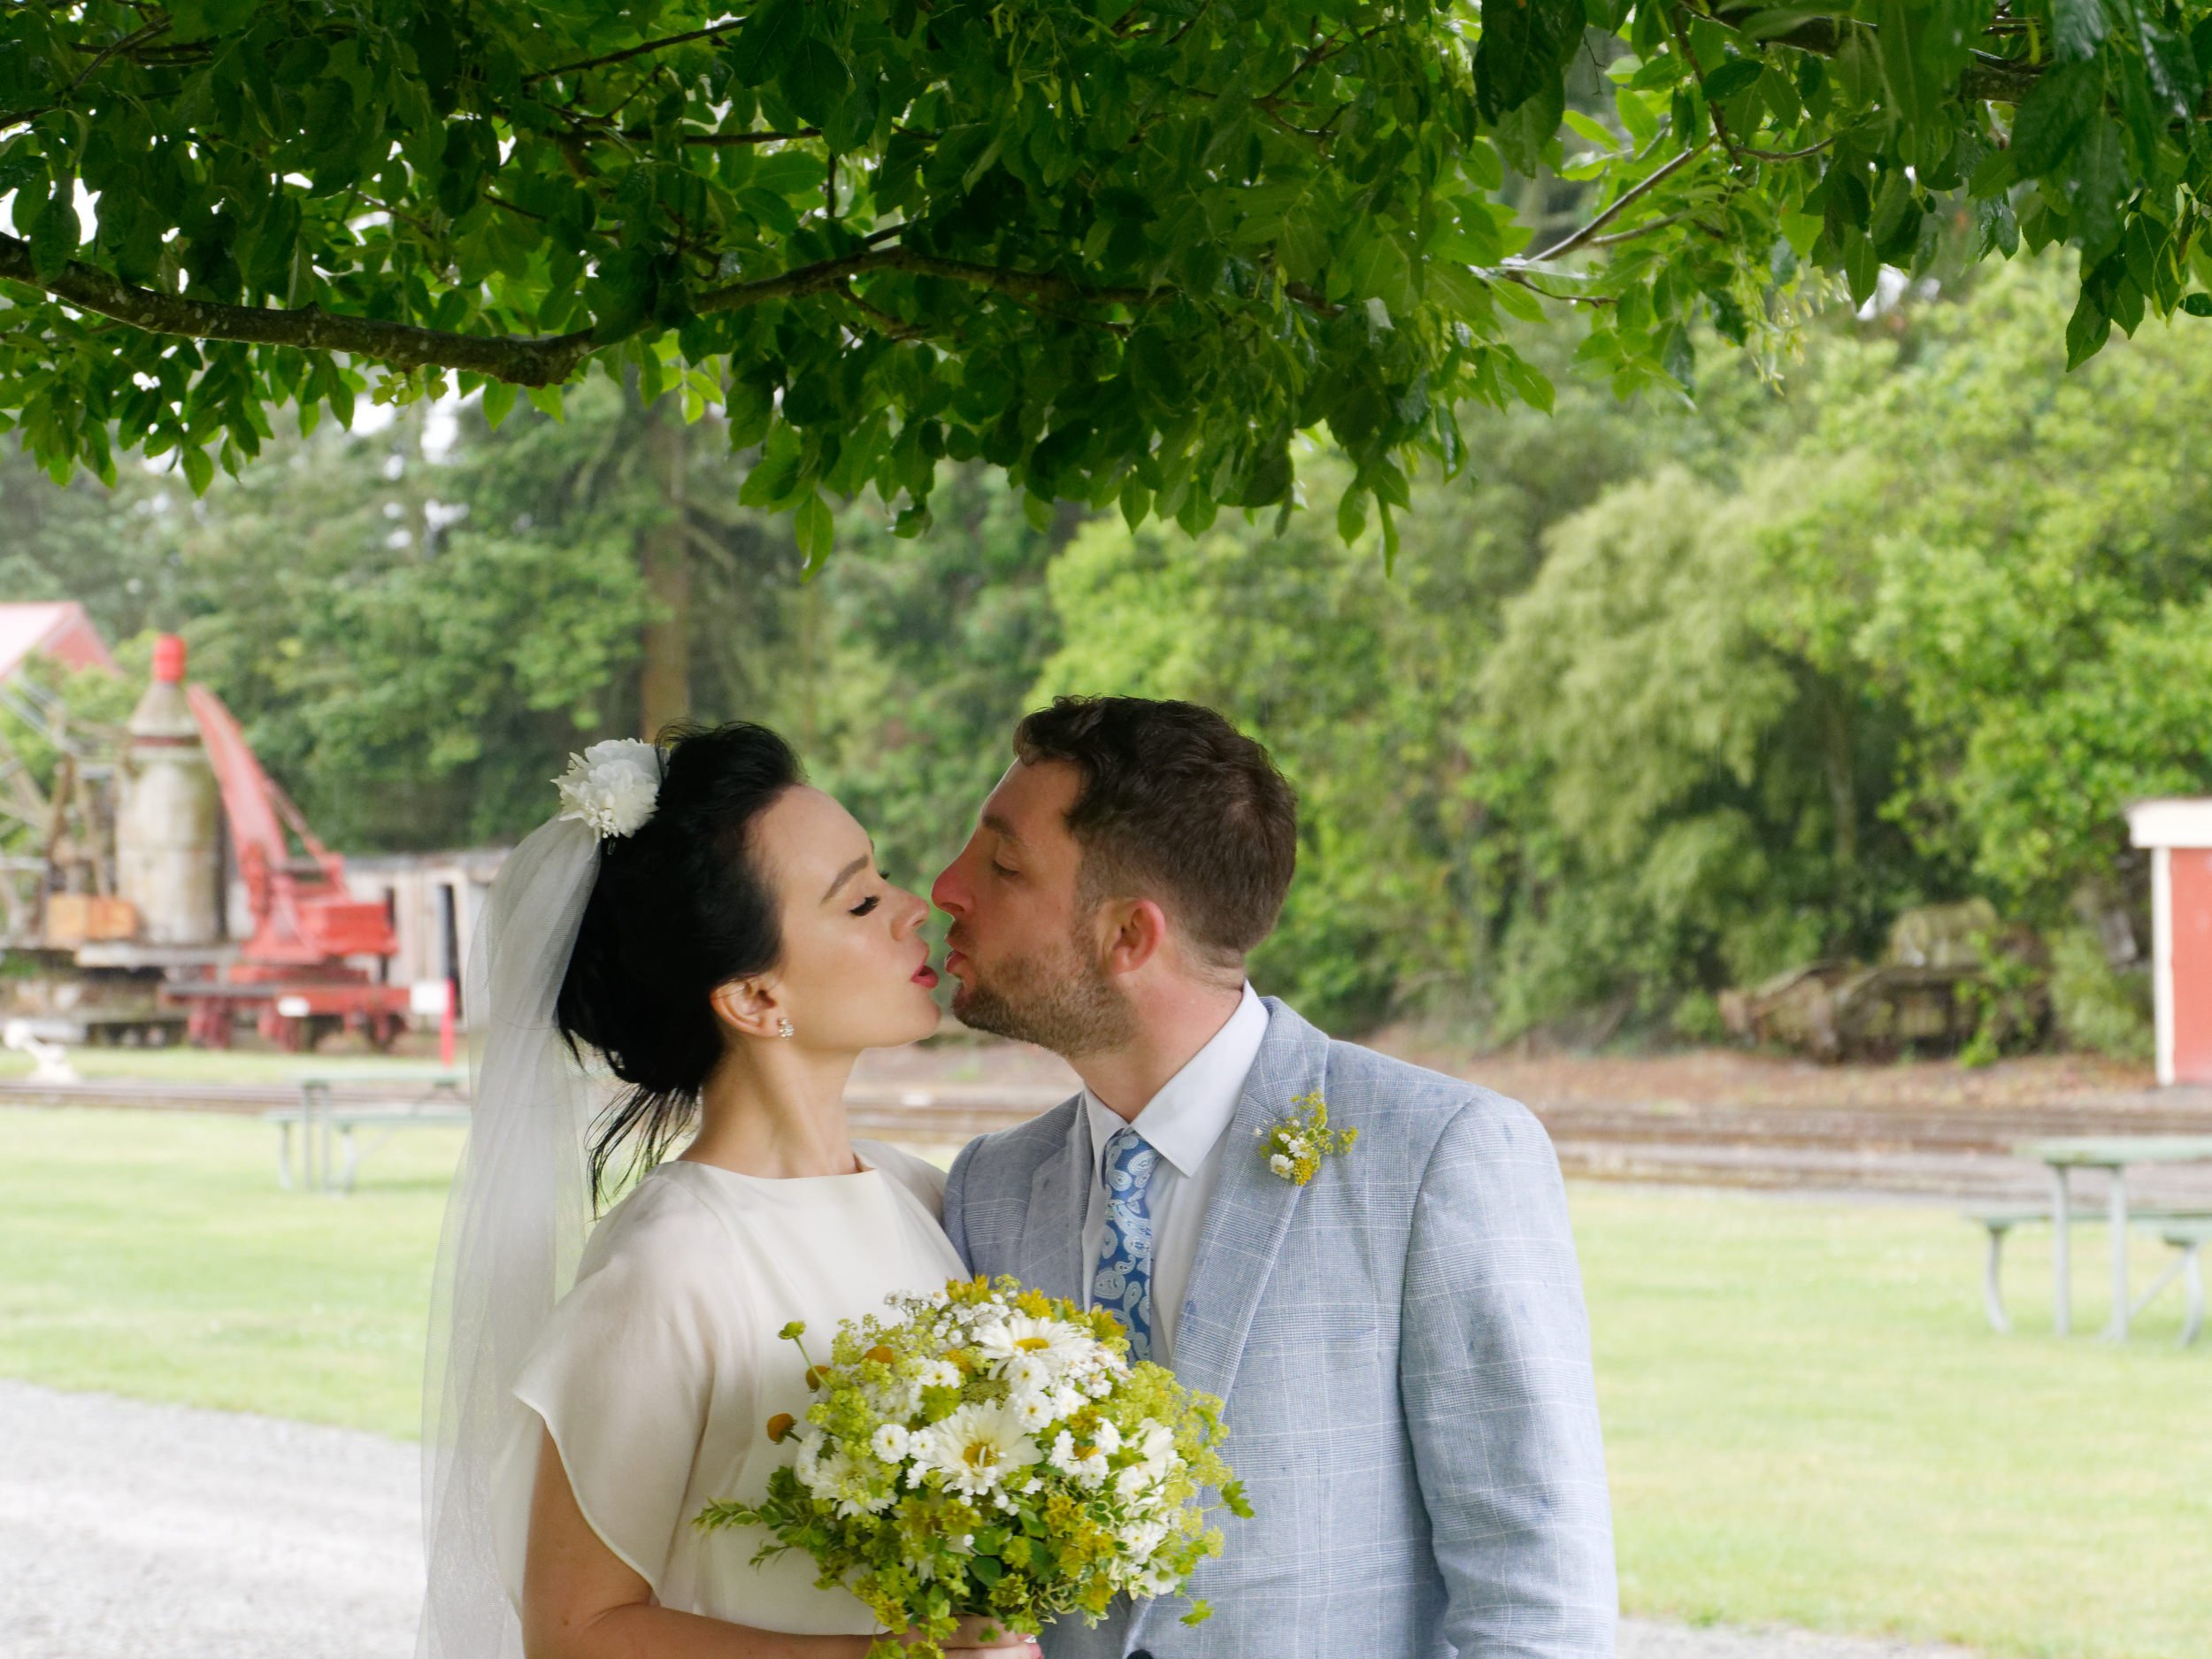
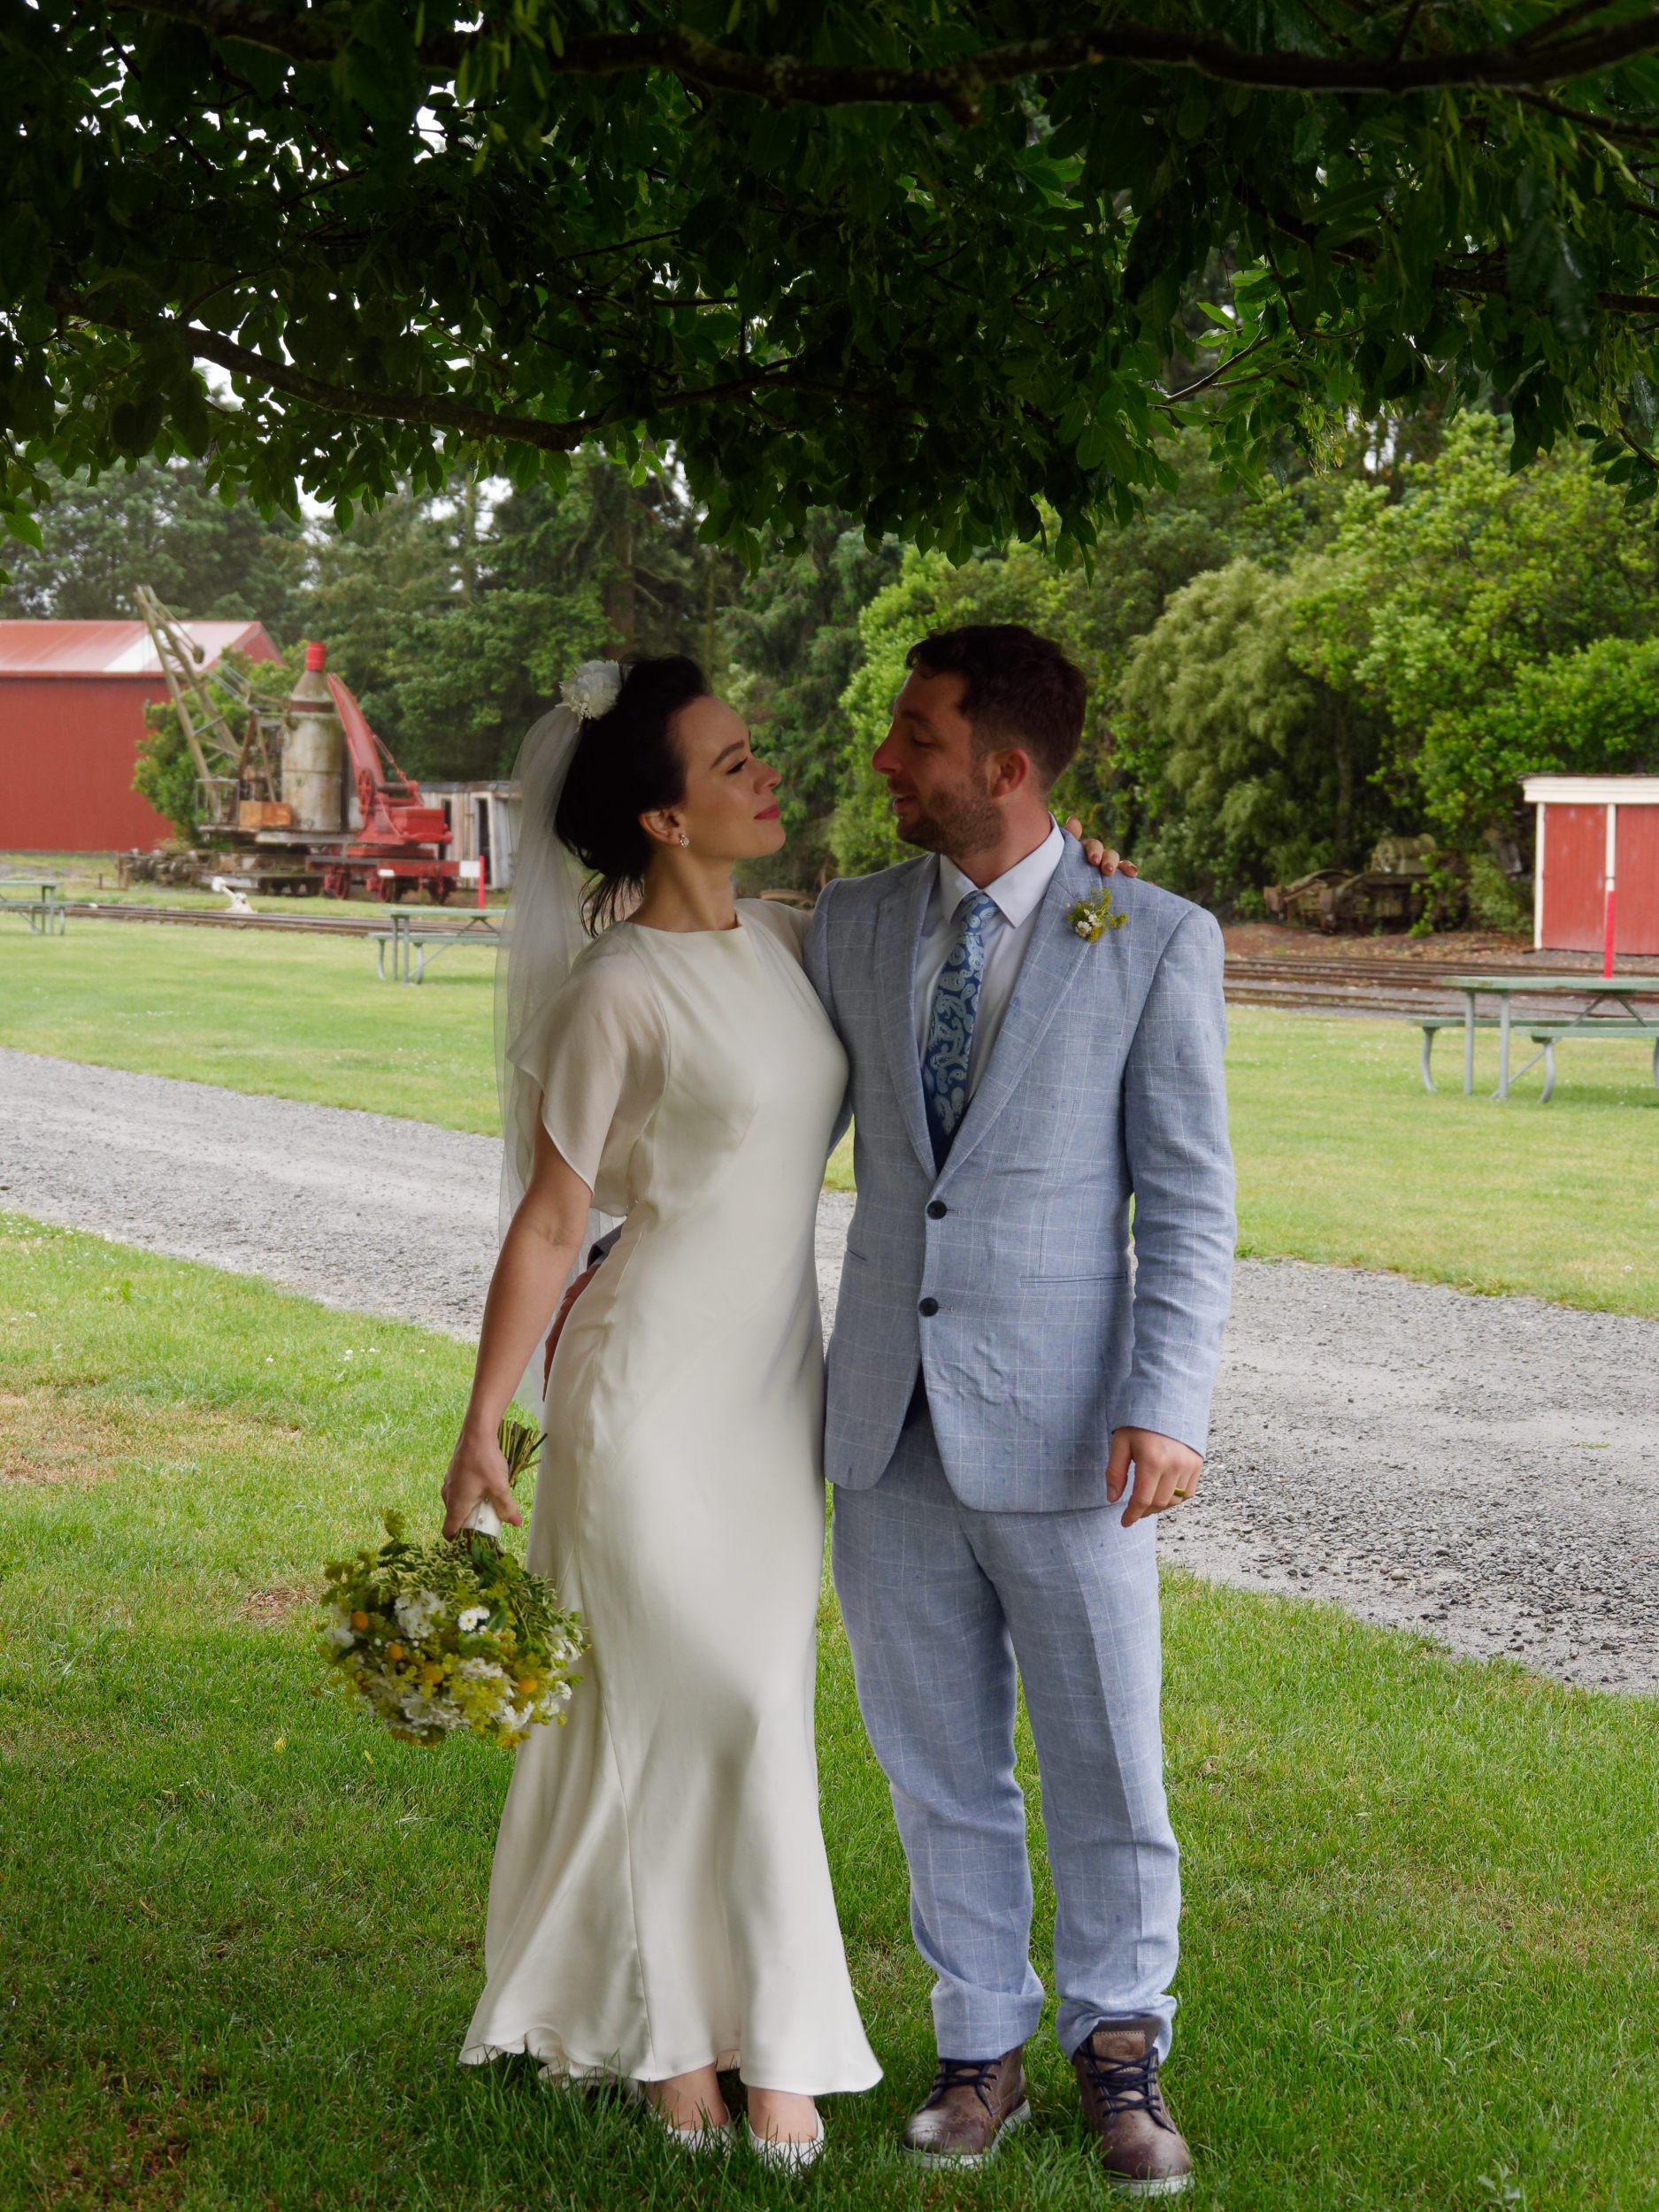
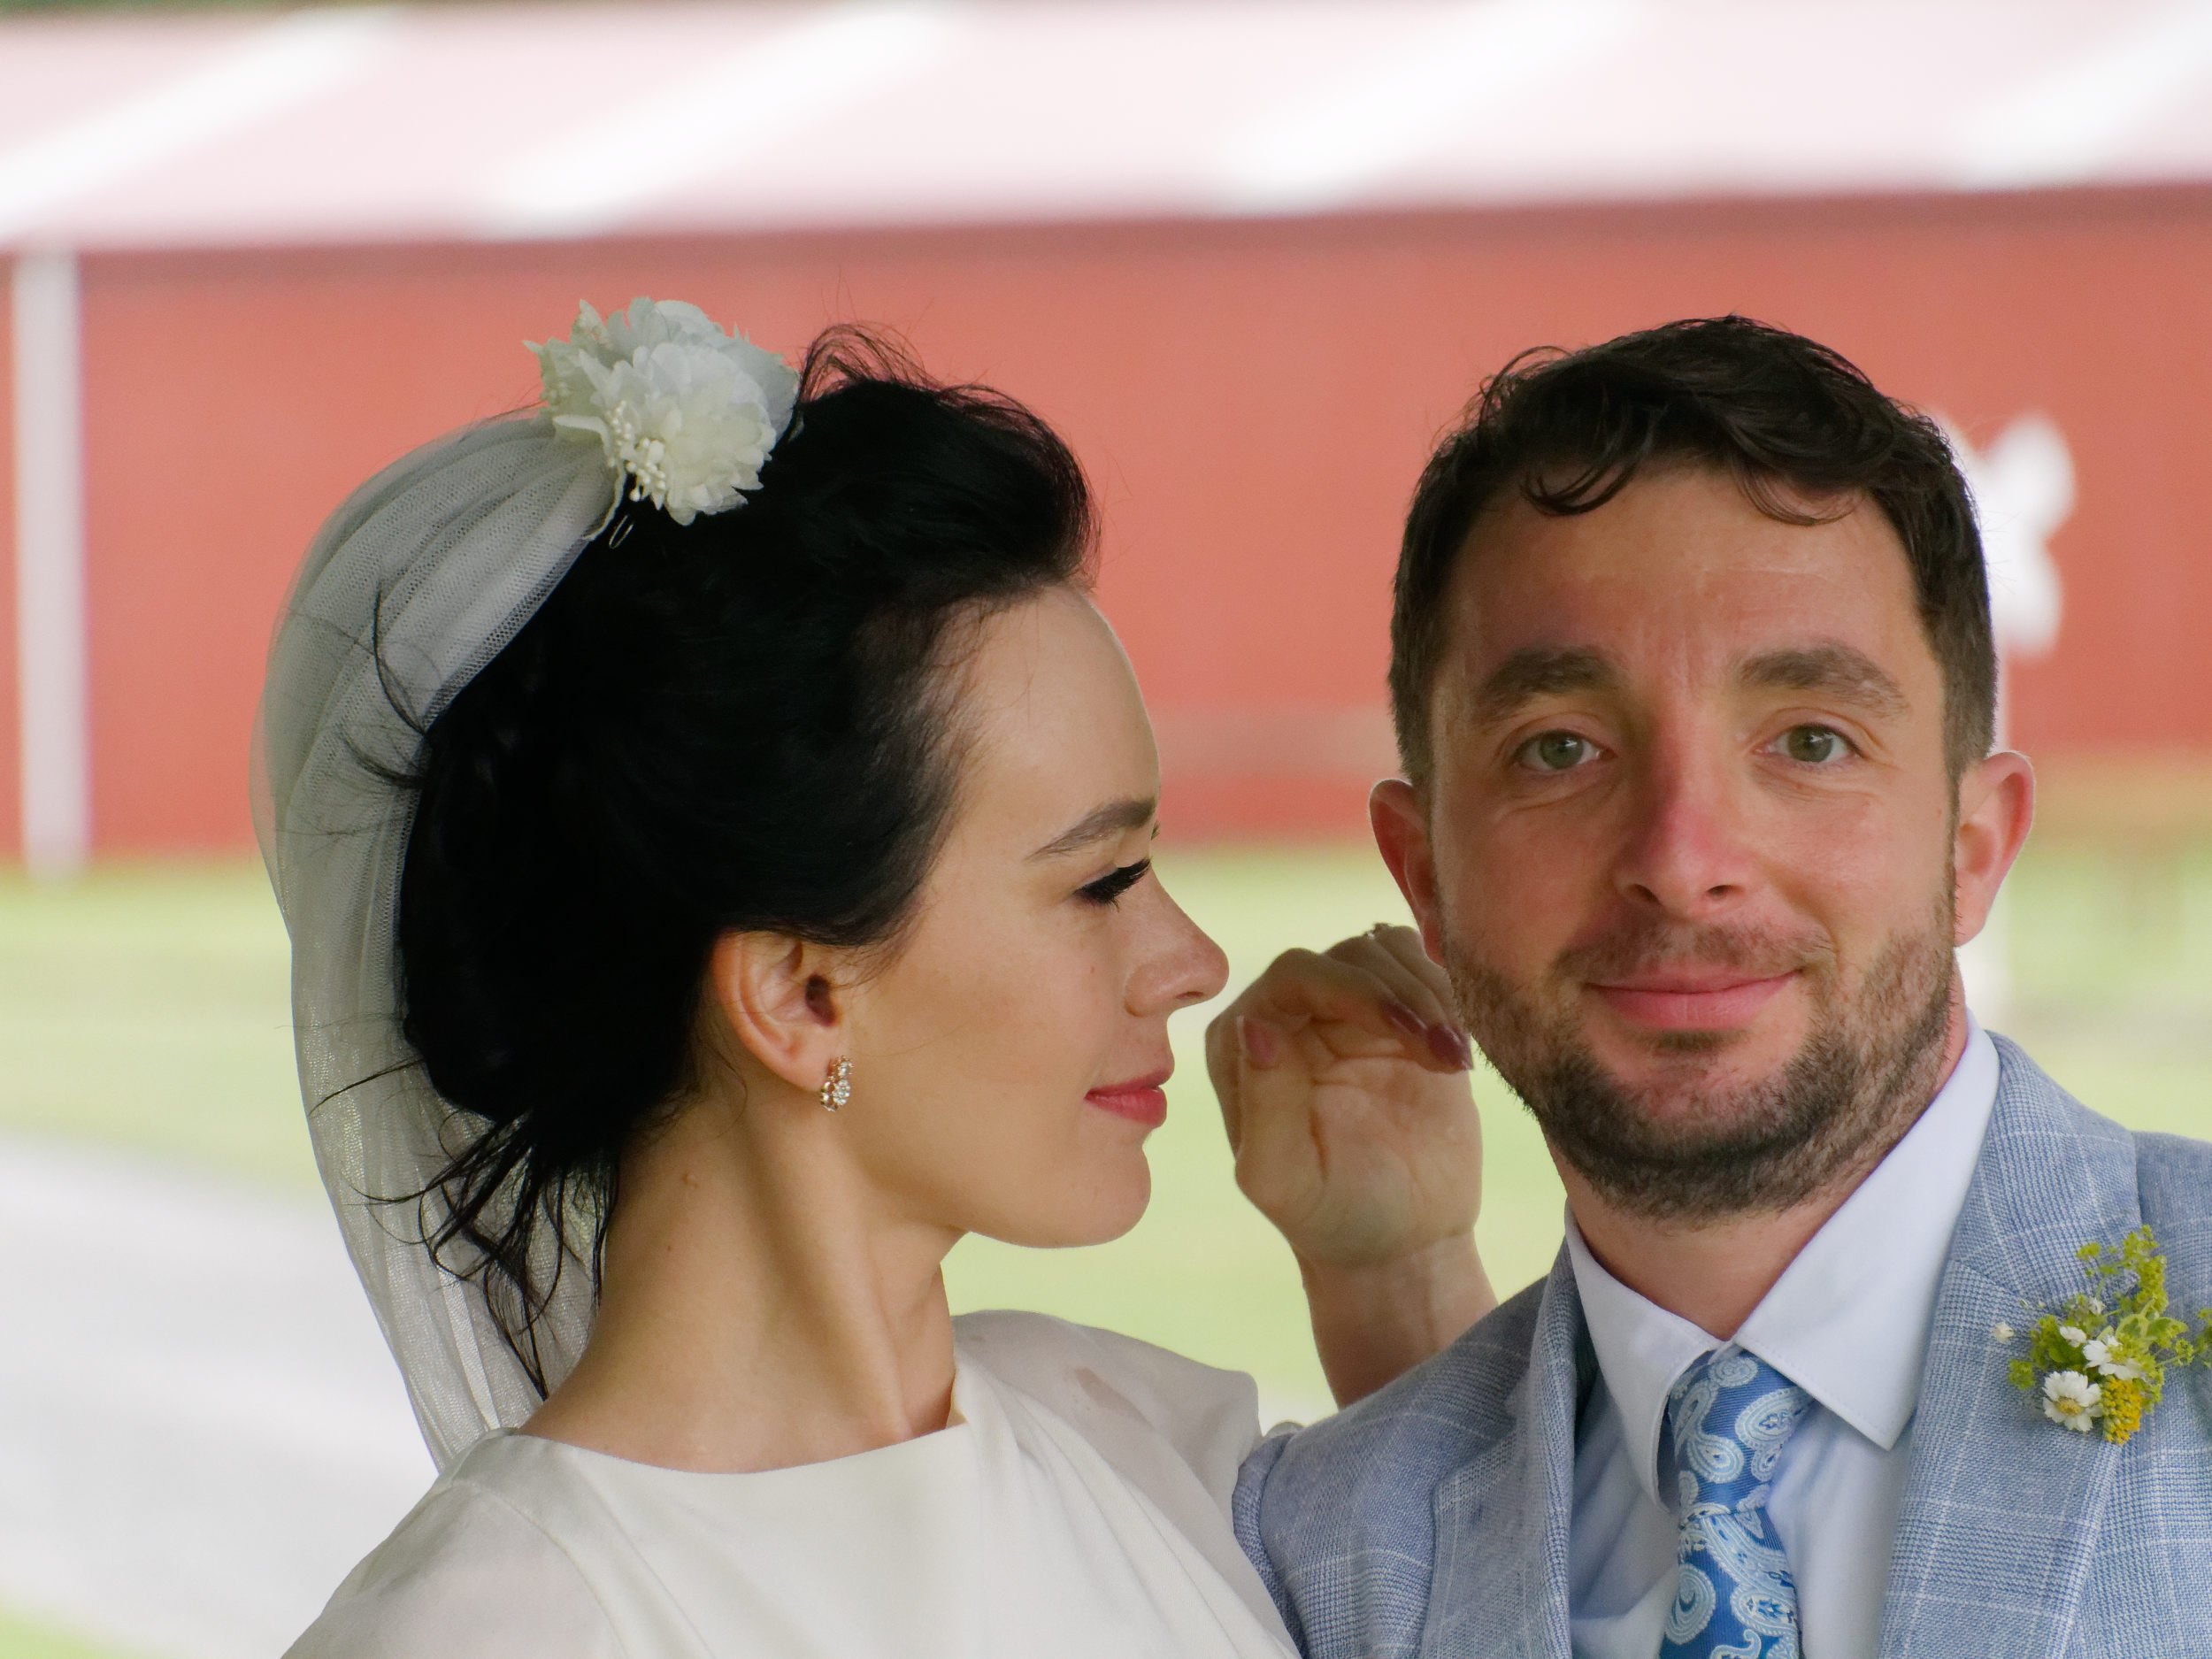
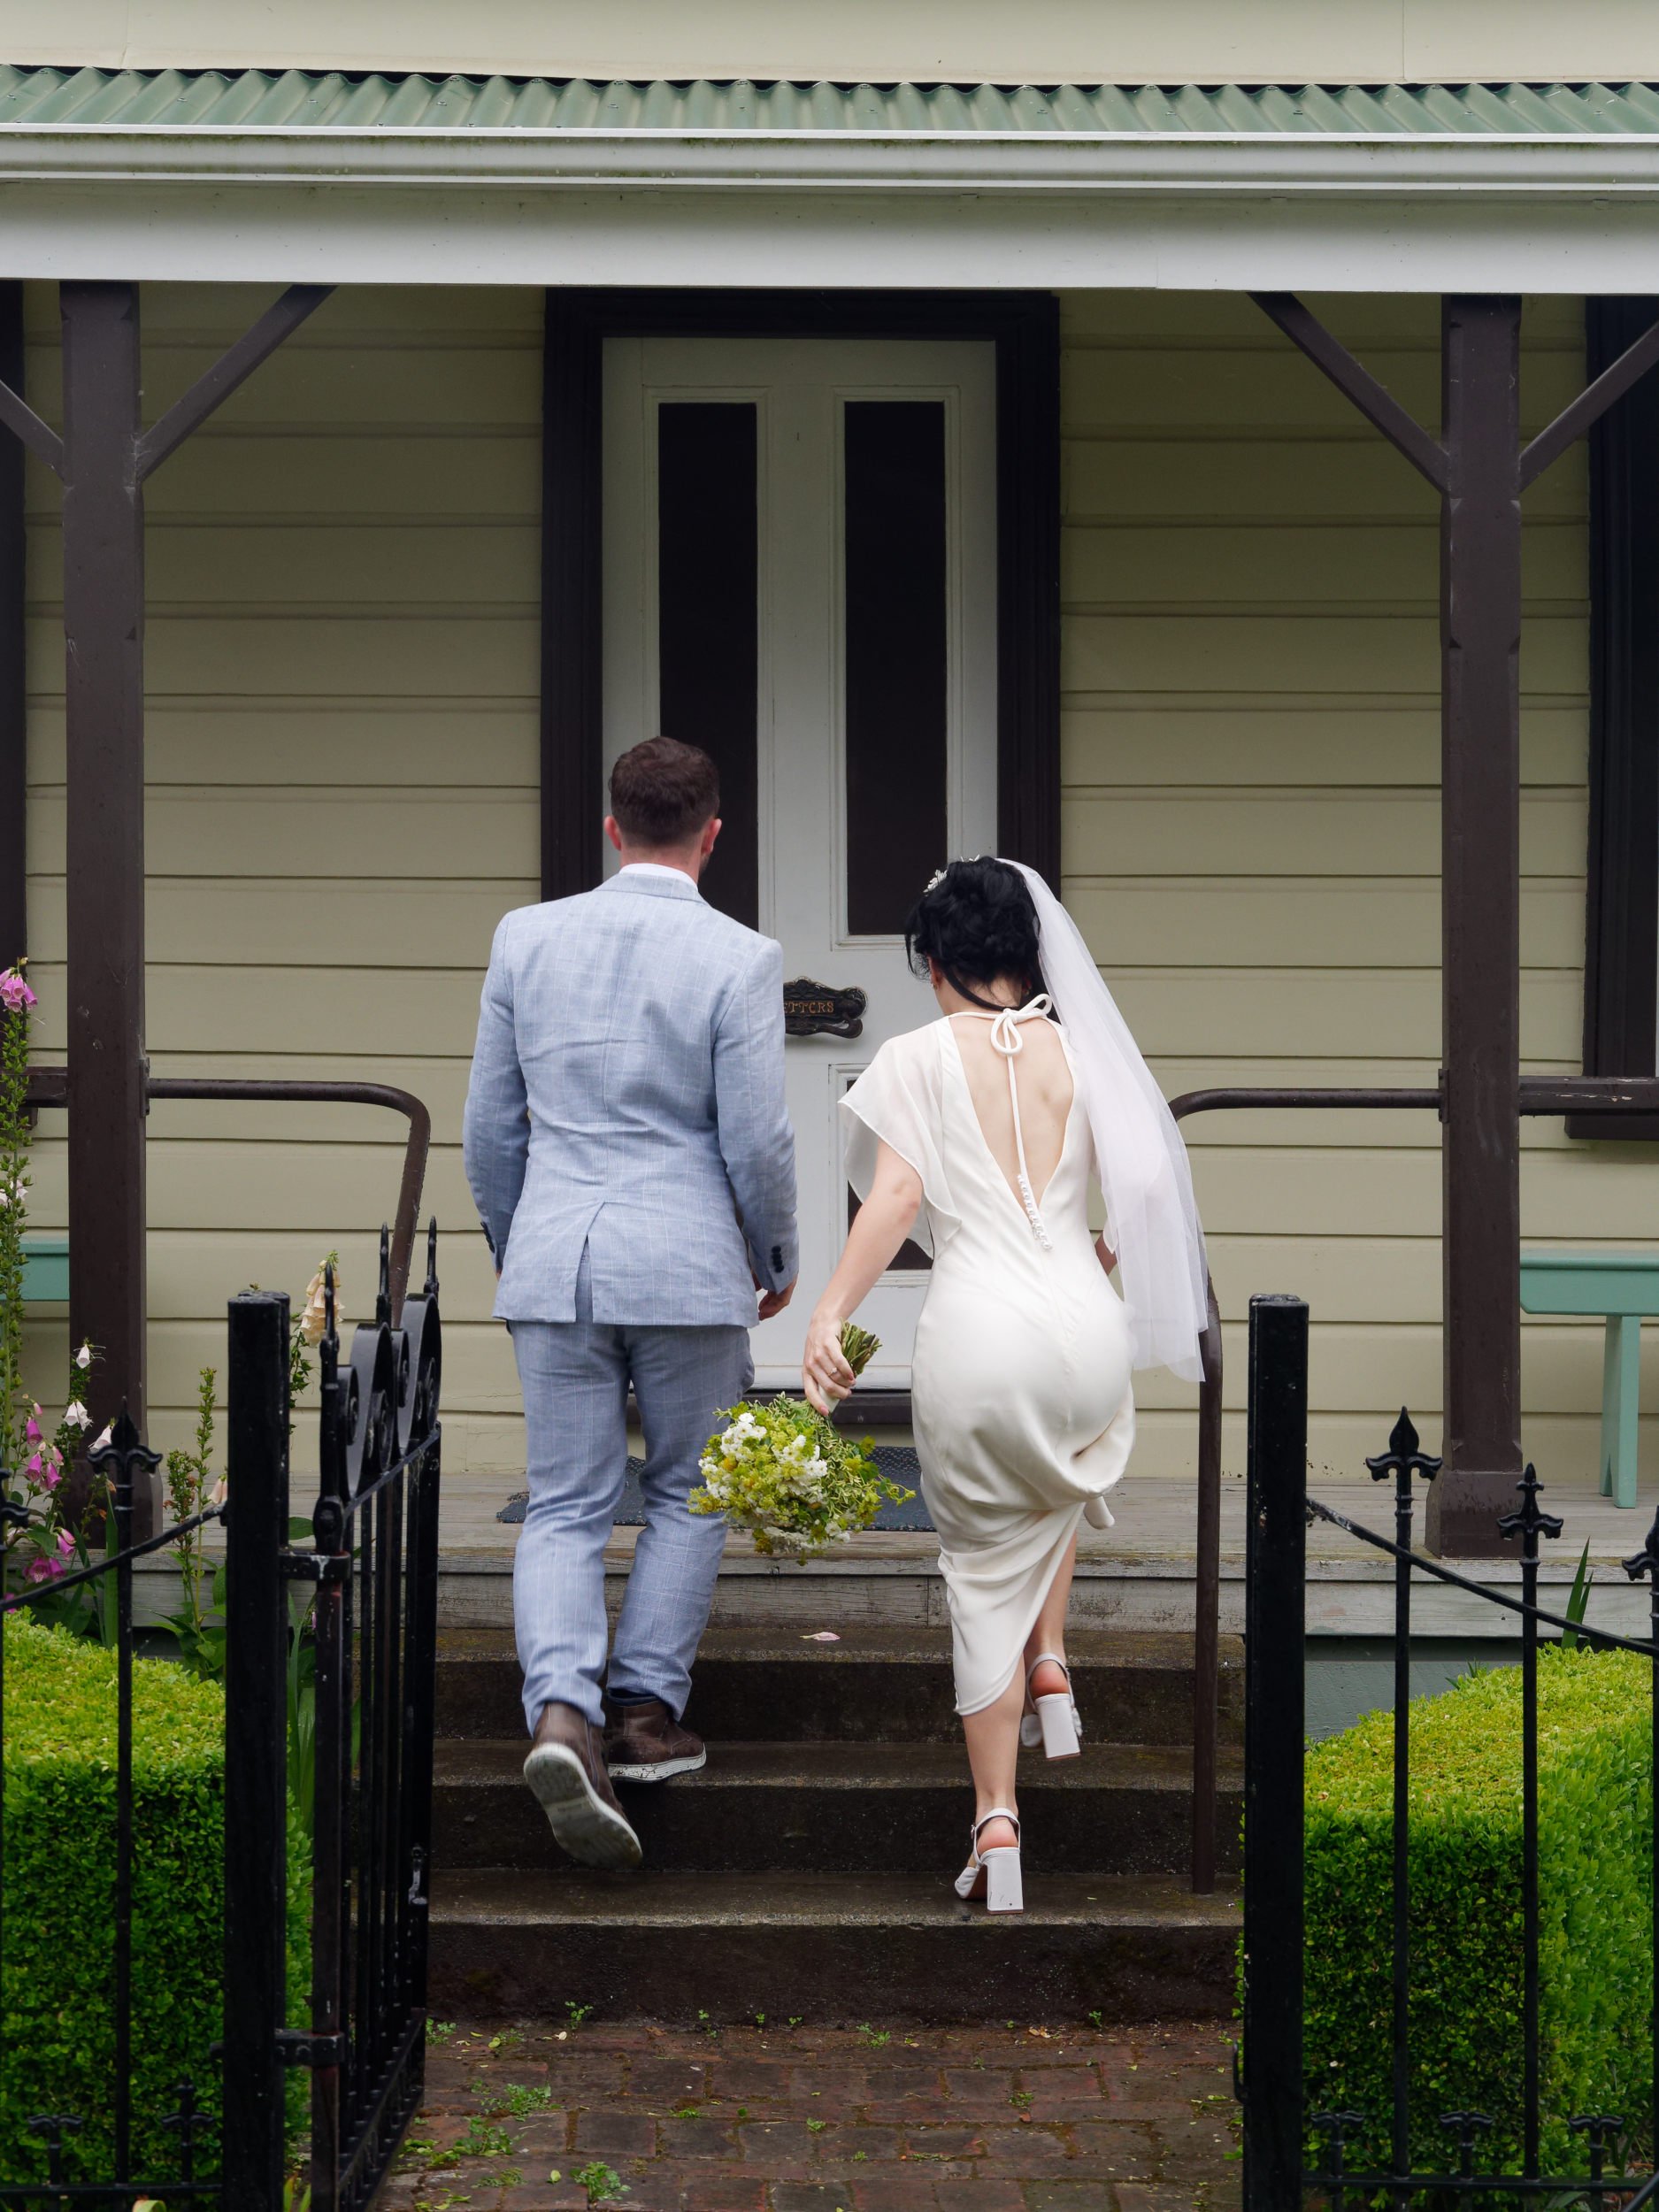
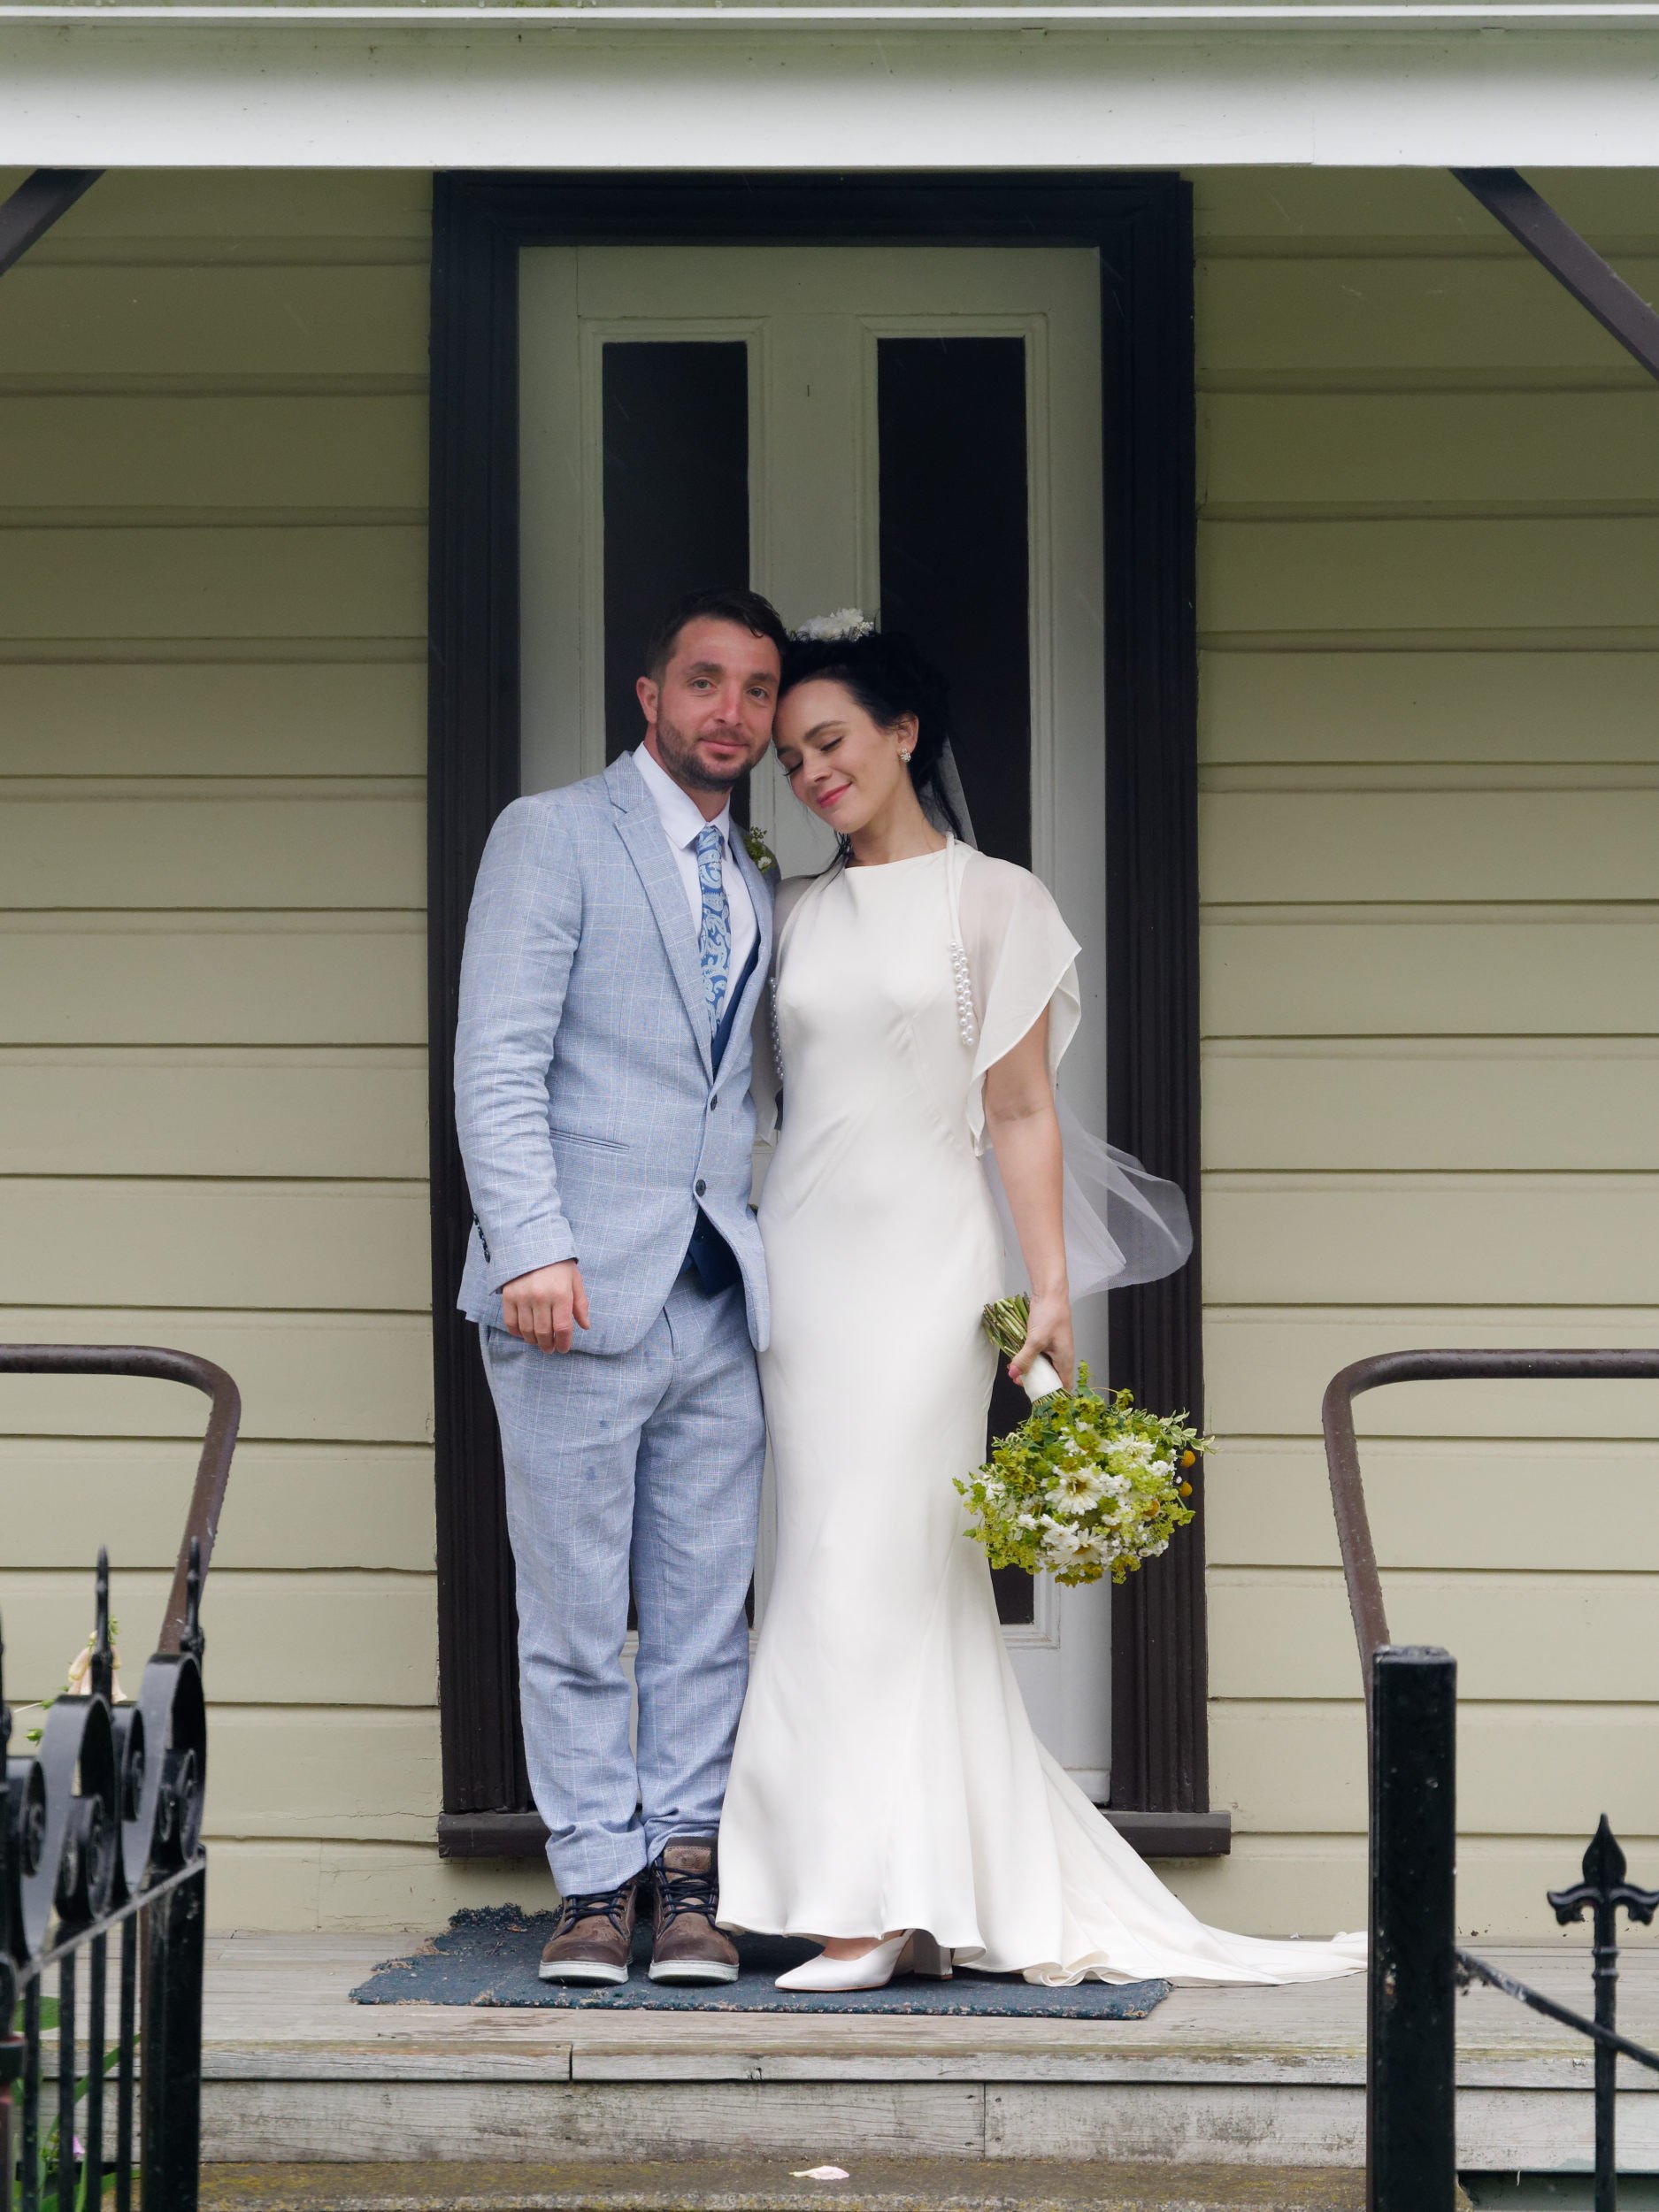
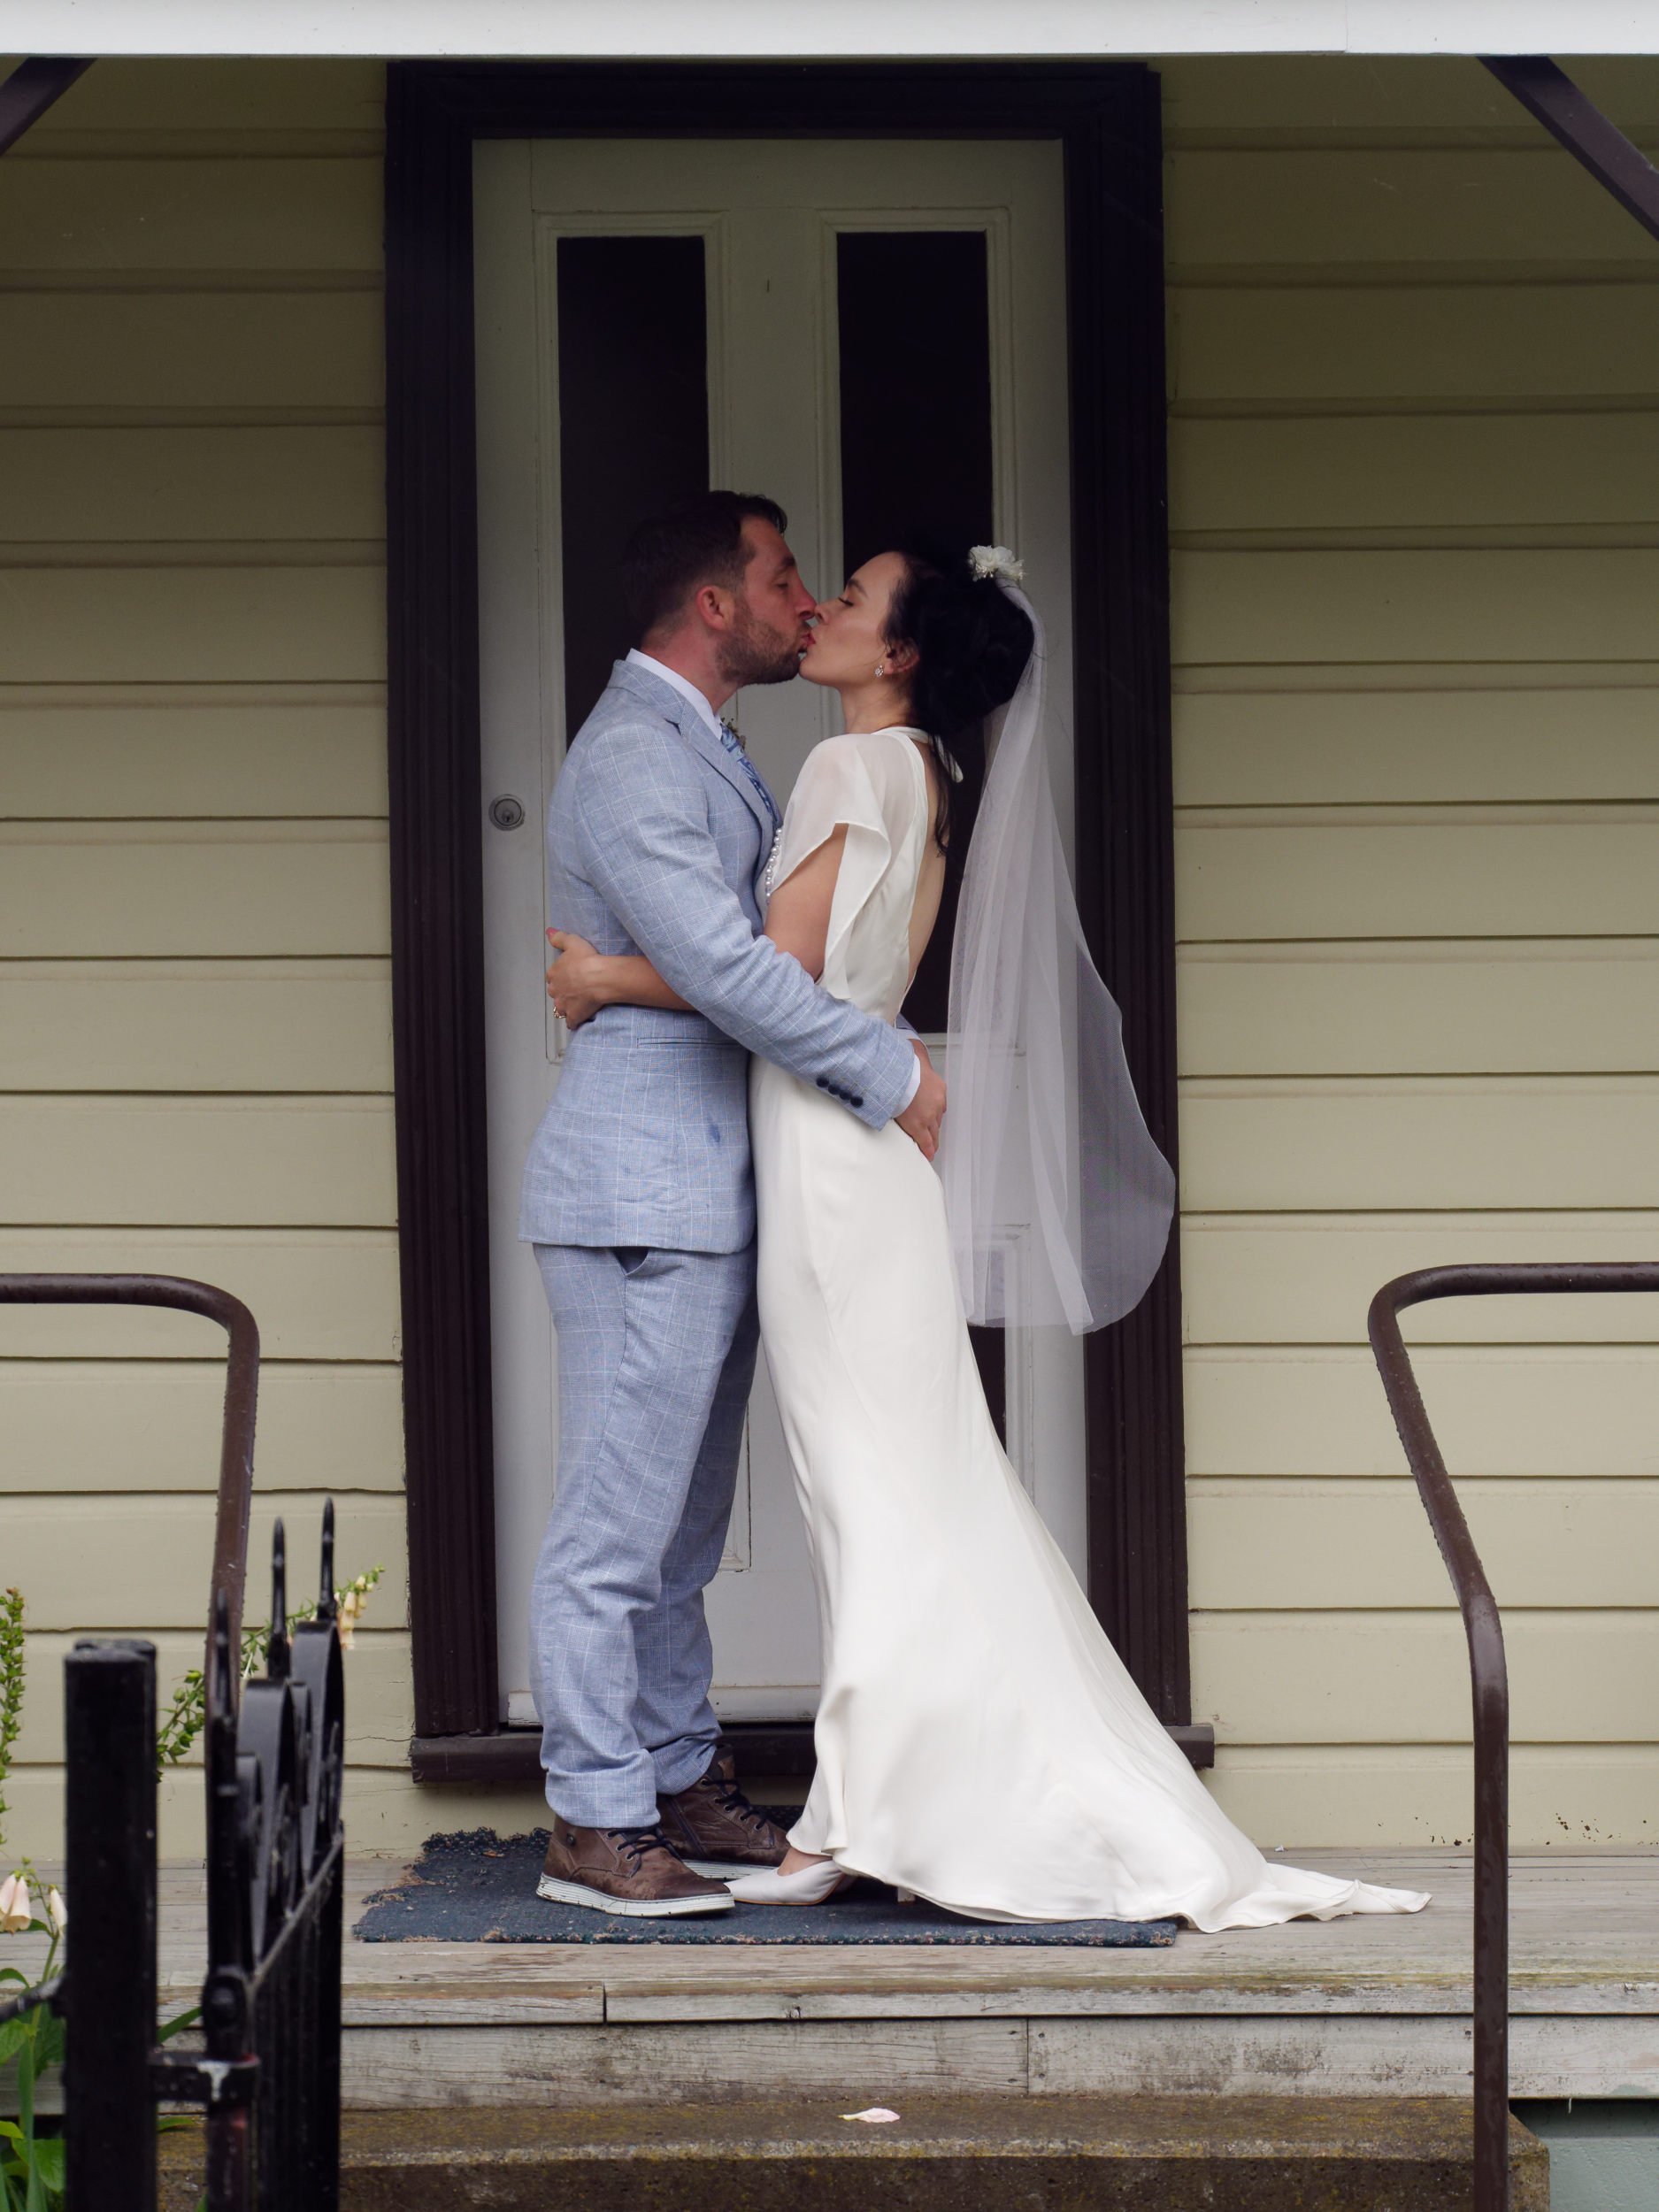
For the second “2 hour shoot” I was asked to also take photos, though I had hoped to concentrate on video. Anyway here are some of the shots from the GH5 and 14-140mm lens.


Though I don’t like suggesting that people spend thousands to get the best camera available one thing I do suggest is getting a camera with dual card slots because having backup at an important shoot is a very valuable asset in a camera. I have the GhH5 set to record everything to both cards at once, and photos are set to RAW+jpeg because most of the time I’m happy with the jpegs during normal shooting but for weddings I edit the RAW files because it’s handy to batch process a scene to the same white balance and do the occasional exposure adjustment. I found that I was adding about a half a stop to the images from the GH5. But that’s mostly my fault, because when you have live view and a histogram on the screen [and in the viewfinder] you simply set the front dial to exposure compensation and dial it in as you’re taking the photos.
Now I’m not a professional and don’t make my living from videography but I’m pretty happy with the results from the GH5 and 14-140mm combination compared to what I have seen out there.
Another positive for the GH5 is that it has built in stabilization which means not having to worry about using a tripod or monopod or gimbal of any sort. If you want super-smooth footage while moving then by all means get a gimbal or old fashioned stabilizer - but realistically every highlights reel I’ve watched only has about 2 seconds of footage from each clip anyway which almost makes using a gimbal for 10-20 second walking clips pointless, except for the ceremony video where all the footage will be used, and for me, I prefer to keep my distance from the couple rather than trailing them everywhere they go. It’s down to personal preference but I feel some videographers and photographers can overdo the part of “being in the action”, to me it’s a bit like the uncertainty principle in science, if you get too close to them will they behave the same was as if you had kept a reasonable distance? :)
What was really great about the camera-lens combination was the ability to go wide or zoom in within seconds - there’s no way I could zoom that fast with my feet. The customer was really happy with the second wedding shoot I did and the candid footage that was possible in the highlights video.
The final word: Use what you’re accustomed to shooting with, don’t be bullied into the mould of ending up shooting only primes because that’s what someone famous does, tomorrow they may change their mind - CONTENT is king and you get more of it with a zoom lens.